Select the
Brush tool

in
Photoshop's tool bar
Click in the option bar on the button marked with red in the next screenshot to open the Brush preset picker window.
Select a round brush, a Master Diameter of 1 px and a Hardness 0% (that means it's a soft brush):
The other settings in the option bar: Mode should be normal, flow and opacity should both be 100%.
Make sure that the layer mask of the Basic Shape layer is active (important!).
Save your work in Photoshop first before you continue.
Press the letter D on your keyboard to make sure that your fore- and background color are black and white.
Understand that everything that is black on the mask will hide r, so we have to make sure that our foreground color is black. If it isn't, then just press the letter X on your keyboard to switch fore- and background color.
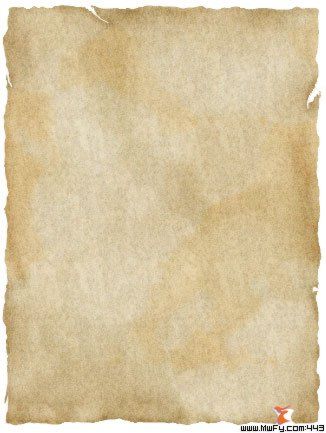
Now paint some random rips with the black brush. Make sure that you zoom in between 300-800% before you add a rip, because it makes it easier to control your mouse and you'll have a better view on what you're doing.
Here's an example of where I added some rips.

Just use your imagination and remember; if you make a mistake, just press the letter X on your keyboard (to switch to white) to paint back what you removed and press X again (switching back to black) to continue.
Note: it's quite often the little details that make an image stand out.
Clip on the top layer to make it the active layer and then click on the
Create a new layer icon

in the layers palette to add a new layer and rename it
Dark Edges by double clicking on its name.
Go to the menu and select Edit / Fill... and in the new window that pops up, select 50% Gray in the box that reads Use: and click OK like we did in one of the previous steps.
Set the blending mode of this layer to Soft Light.
Clip the layer like we've done in several previous steps.
Select the Burn tool  in the tool bar.
Select a medium soft brush with a size of about 30 and set the range to Shadows. Exposure should stay at 100%.
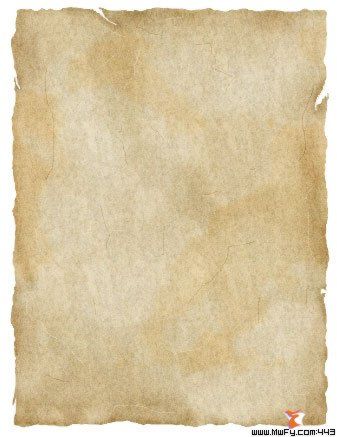
Now move your cursor over some parts of the edge of your poster. Don't make the complete edge darker, but leave some edges untouched to make it look more natural. Once you're done, switch to a slightly larger soft brush with a size of 70 and set its exposure to about 50% and make the inside of the edge in some area a little darker (not too much).
This is how the result might look like:
Note: after I added the darker edge I decided to increase the opacity of the Texture layer from 25% to 35%. Do the same.
Click on the top layer to make it the active layer and add a new layer by clicking on the
Create a new layer icon at the bottom of the layers palette.
Clip this layer and rename it to Scratches.
Press the letter D on your keyboard to make the foreground color black and the background color white. Select the Pencil tool  in your toolbar, select a size of 1 and an opacity of 100% in the option bar and draw a few scratches. Then switch the foreground color to white by pressing the letter X on your keyboard and draw some white scratches:
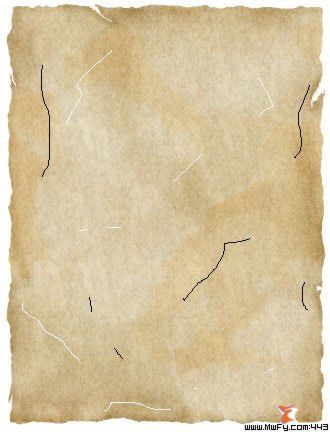
Set the blending mode of this layer to Soft Light and change its opacity to 45%:
You can if you feel like it soften the effect of the scratches by partly going over it with the Blur tool  with a Strength value in the option bar of about 20%.


