Make the layer
Basic Shape the active layer in
Photoshop by clicking on its thumbnail in the layers palette; it will then have a brush icon

in front of it.
Ctrl + click (Command + click on the Mac) on its thumbnail in the layers palette to create a selection based on the rectangular shape.
Go to the menu and select Select / Modify / Contract...
Enter a value of 5 pixels and click on OK:
Add a mask to the current layer (Basic Shape) based on the current selection by clicking on the Add layer mask icon  in the layers palette:
In the Photoshop menu select Filter / Brush Strokes / Spatter...
Enter a value of 15 for both Spray Radius and Smoothness and click OK:
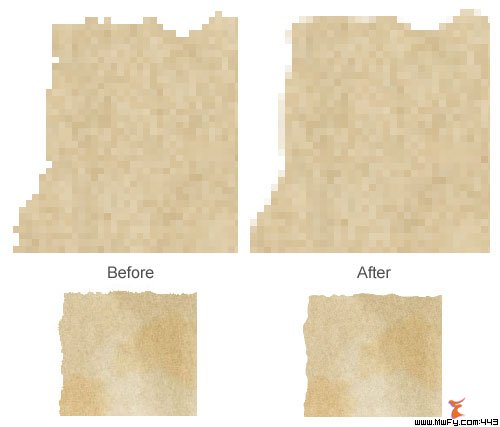
The result, after we added noise (in an earlier step) and added the edge, should look a bit like this:
Now if we zoom in at the upper left corner, we'll notice that the edges aren't really smooth:
Let's fix that in the following steps.
Make sure that the mask of the Basic Shape layer is active (it will have a double border or this icon  in front of it).
Select in the menu Filter / Blur / Gaussian Blur... , enter a Radius value of 1 and click OK.
With the mask still active, select in the menu Image / Adjustments / Levels... and move the black slider to the right and the white slider to the left to the location shown in this screenshot. You can of course also enter an input level value of 160 for black and an input level value of 195 for white (both input boxes marked with red) if that's easier for you:
Click OK.
After that the edge should be a lot smoother:
Note: this Photoshop technique is discussed in more detail in the Smoothen Edges tutorial. What we're actually doing here is adding our own anti-alias.


