This is the last and final step to makeing your cd player. Make sure you have fully completed steps 1, 2, 3, 4, and 5 before completing this one.
This first step to making our cord is to zoom in.
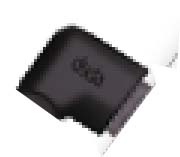
Now make and fill a selection like the one below.

I now added a lighter section inside the dark one, and a small square to the side were it will blug into the cd player.
I now added 2 circle, making sure that the center of the circles are the lightest part so it give it that slightly 3d feel.
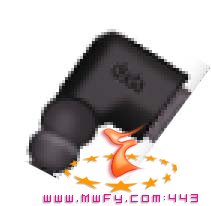
I now added 3 small square shapes to the bottum of the 2 circles. And gave them a s small outline, along with the 2 circles.
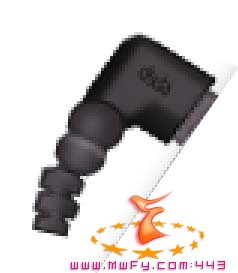
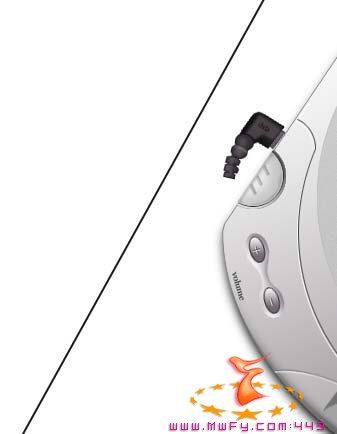
Now zoom out to see how good it looks.
Now we are going to make the cord.
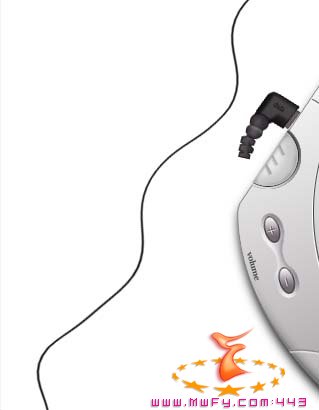
First use your line tool to make a black line. Set the thickness to 2 pixels.
Now go to layer >liquify and use the tools to add the curves to your wire.
Now duplicate the wire and position it next to your other wire, to give it the double wire look that many cd players have.
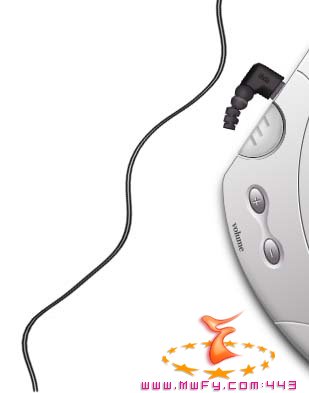
Now connect your wires to your blug
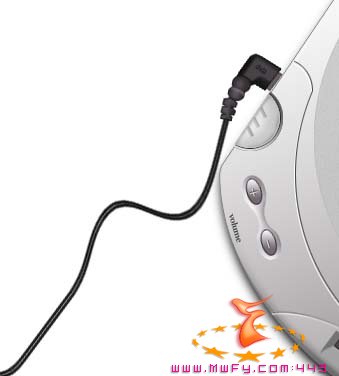
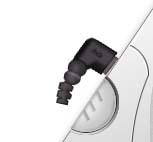
Now merge your wire layers, and hold control and click on your merged layer. This should give you an outline of your wire and plug. Make a new layer under your other layers and fill it with black and give it a blurr. Position your new shadow so it looks like the image below.
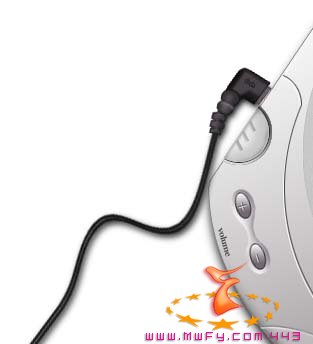
Now zoom out and take a look at your finished product!


