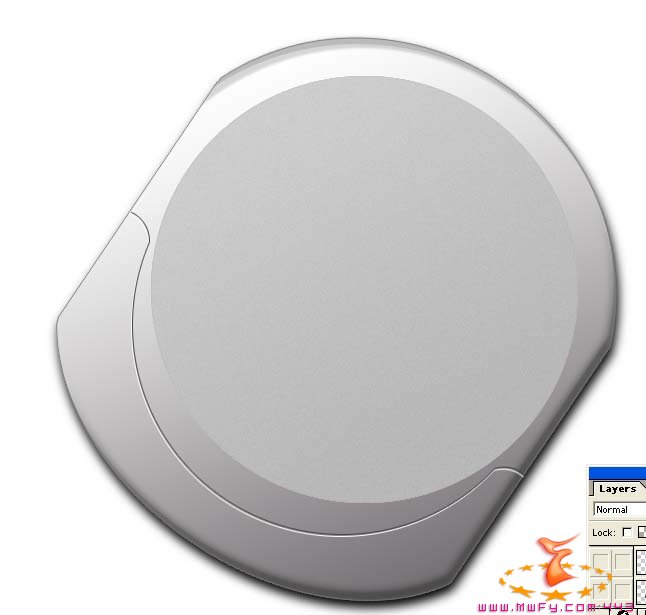
Now, this is the third tutorial in a series of tutorials showing you how to make a realistic cd player image. Do not use this tutorial until you have completed steps 1 and 2.
The first thing you need to do is add a top to your cd player. Use your circle selection too to select a circle in the middle of your shape and fill it with a medium gray.

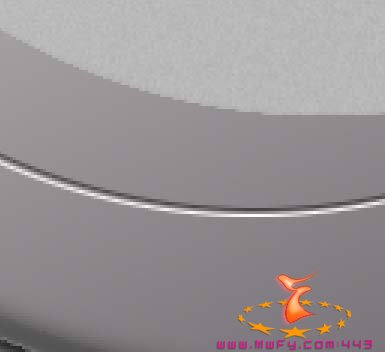
Now we are going to add a small pixel ineer bevel. Use the image below to see what I mean.
The secret behind this is to make 2 different lines. Make sure that the lighter line is below the darker one, as shown in the image below.
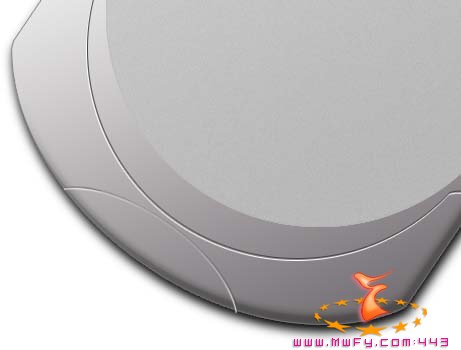
Again, use your circle selection tool to add another small pixel inner bevel as shown below.
Now, lighten the area inside the second pixel bevel. To do this, merge your layers. Then select the portion that you want to make lighter and go to edit >adjust > brightness/contrast and slightly increase the brightness.
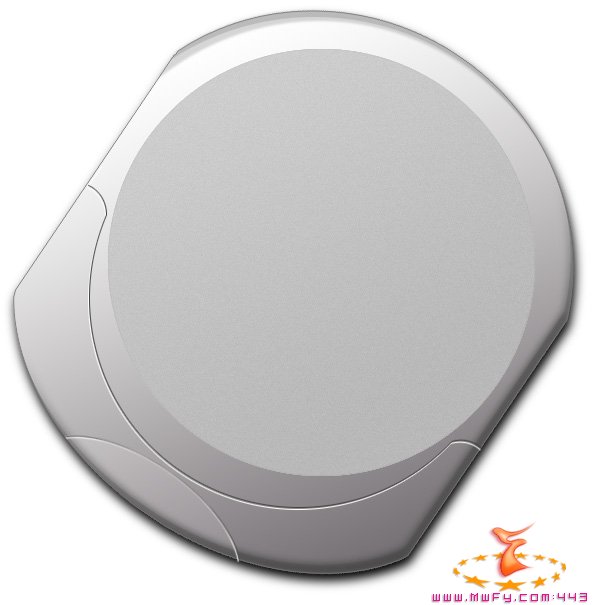
Now that we are done adding these small details it is time to go onto the next tutorial to learn how to make the buttons! So lets go...


