This tutorial is the forth section to the six part tutorial on making a cd player. Make sure you do tutorials 1 2 and 3 before doing this one.
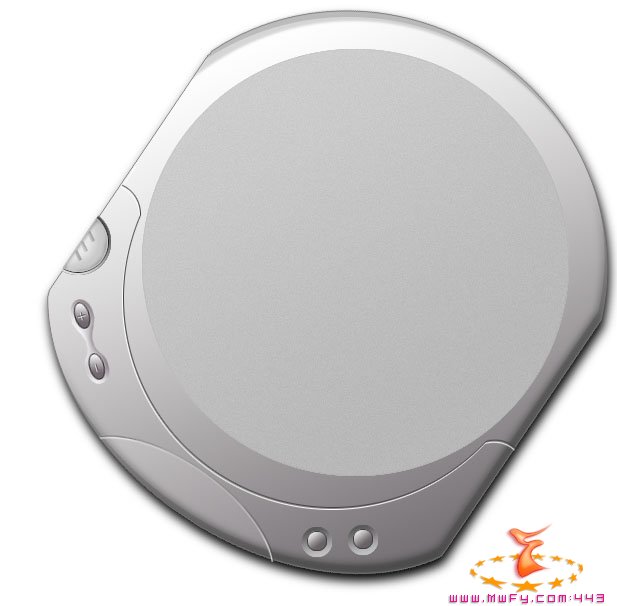
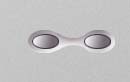
In the end of this installment, you should have an image like the one below.
The first step is learning the key behind making the buttons. When you make these buttons, the steps are really easy.
First, zoom in to make it easier.
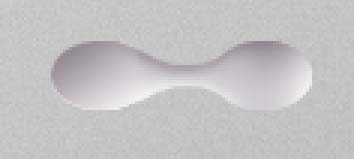
The first step is to make the part that te button will sit in. When doing this, make sure that you make the top section dark, and the button section light. This is due to the fact that the light would be hitting the bottum, and not the top.
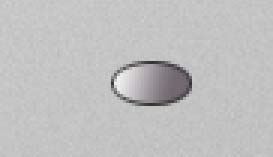
When making your button, use the gradient tool, making sure that the light portion is to the left, and the dark portion to the right. Then give it a good outlie.
Now place your butons in there slots.
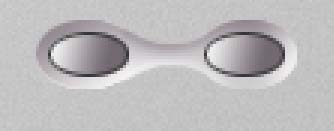
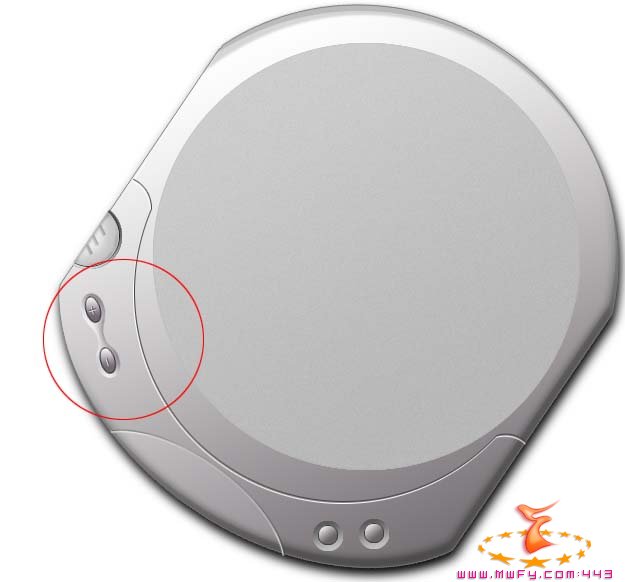
Now zoom out and your will see how good it looks.
Rotate your butons and place them as shown below.
Use the same method for the other 2 buttons and place them as shown above.

Now that you are done making the bottuns, its time to do to the next tutorial. You are getting close to the end :)


