This tutorial is the second step in a series of tutorial showing you how to make a realistic cd player. Make sure you have done the first step befre doing this one.
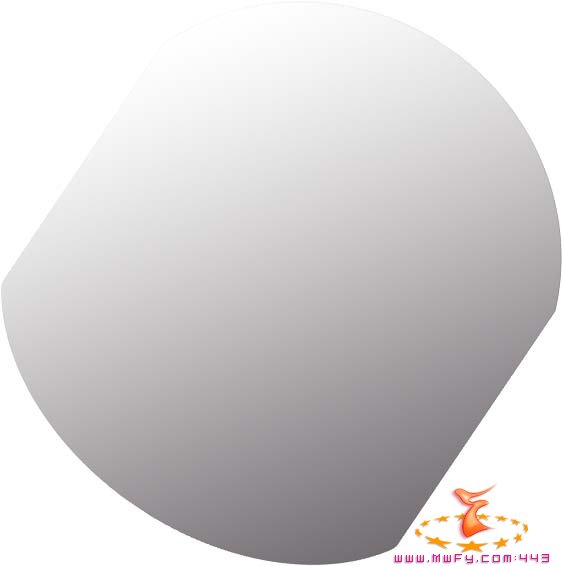
We left off with our basic cd player shape. You might want to cut down a little bit on the rounded corners to more of an oval shape if you prefer, or just leave it how it is.
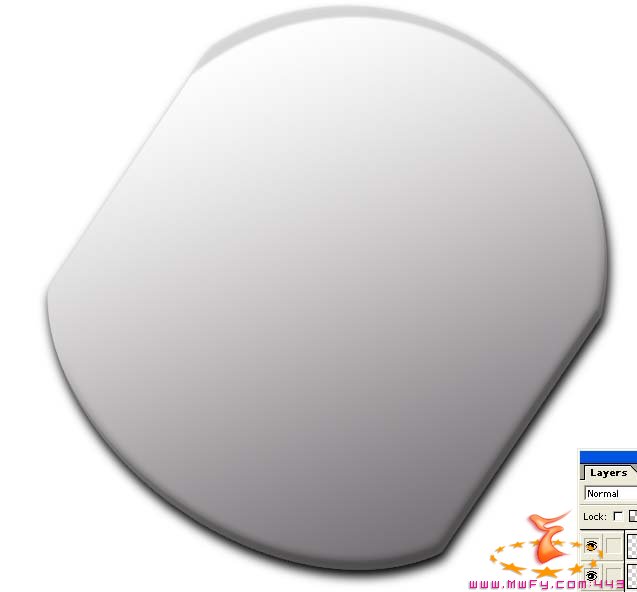
Our first step is to add a gradient. So make your forground color a light gray, and your bg color a medium gray. Now fill your shape until you get the right effect.
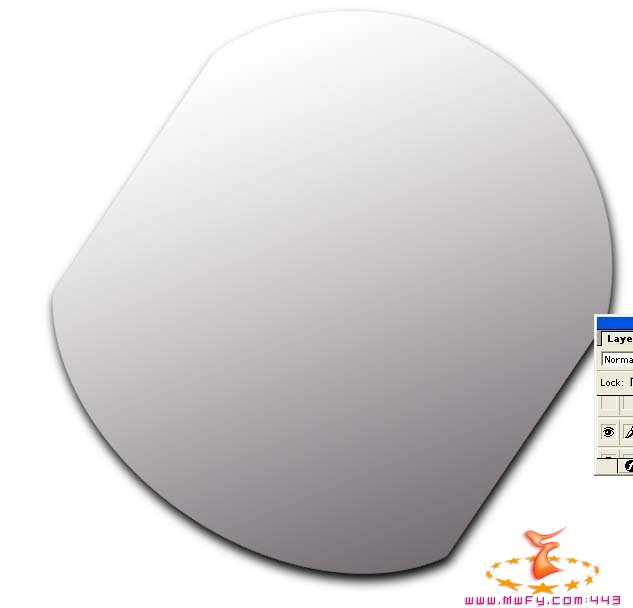
Now, make a new layer under your other layers and select your cd player shape. Fill the selection with black and give it a gaussian blur of 5. Now position your new shadow so that it looks like the image below.
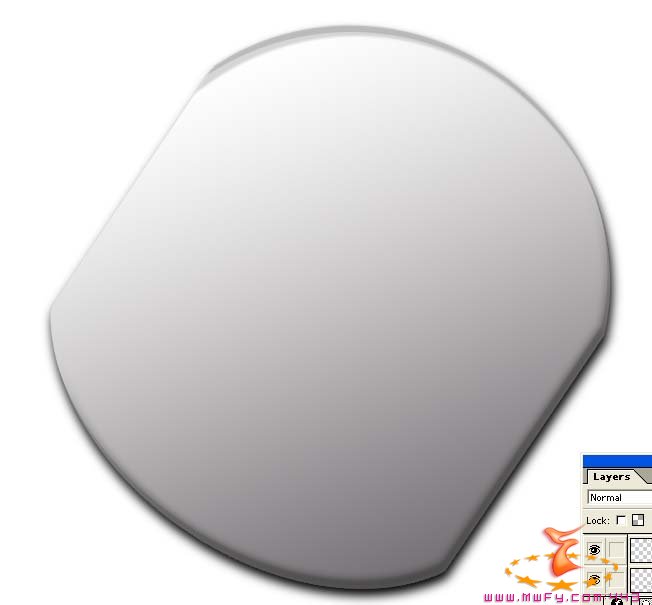
Now, make a new layer above all of your previous layers and select a small portion of the top of your shape. Fill this selection with a gray color slightly darker that your main gradient color. Make it as close to the image below as possible.
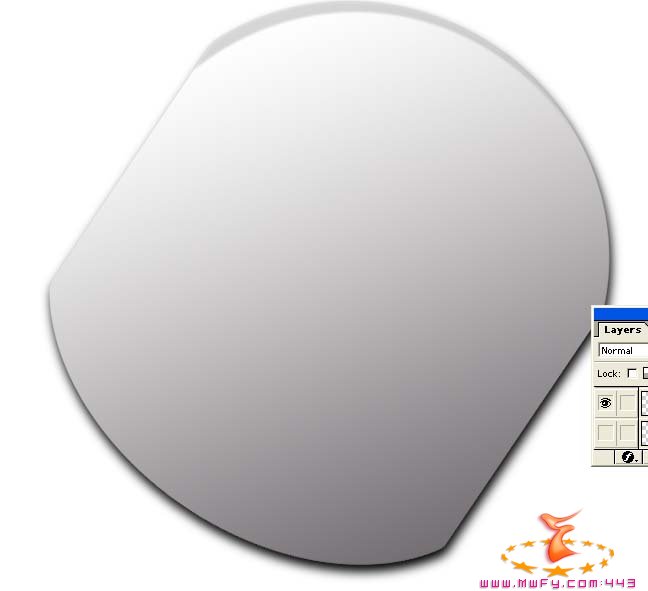
Now make another layer. We are going to do the same thing, but this time of the bottum of the image. Again, try and make it look like the image below.
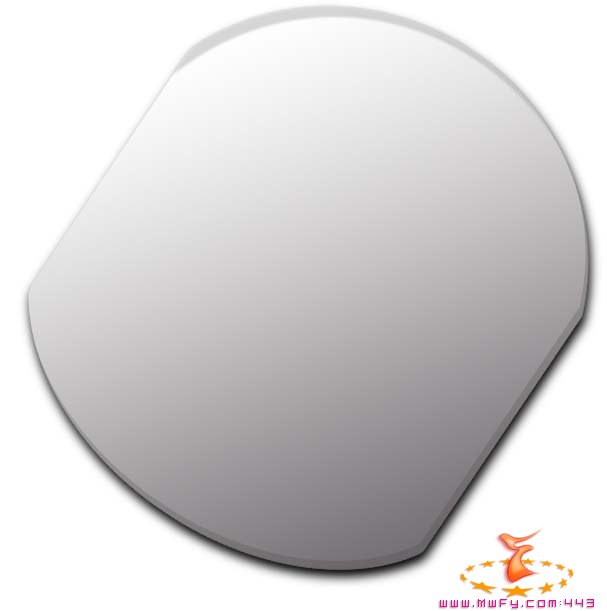
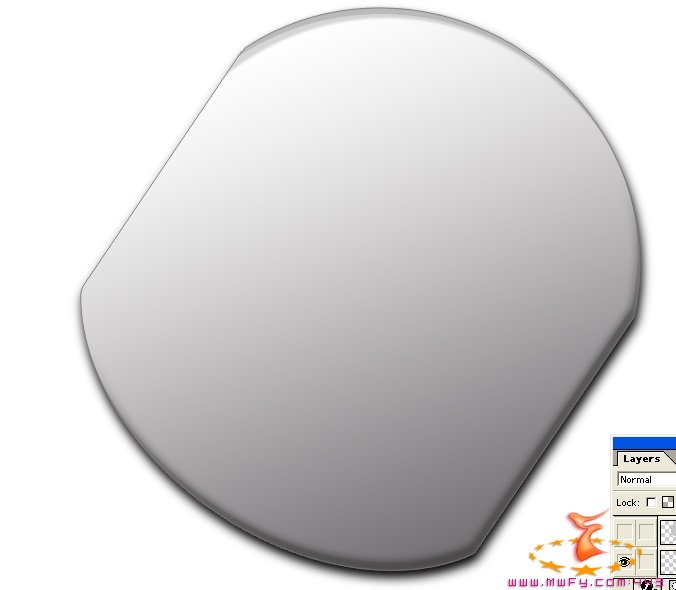
Now duplicate the layer you just made and add a blur to it, you should now have an image like the one below.
Now I added a thinner line of gray at the top of the shape to give it some more depth.
Now just make a new layer, select your cd player image and give it a nice gray outline. To do this go to edit > stroke
Now you should have a nice shape going. Now that you have come this far, on to the next tutorial! Hope your having fun ;)


