жӣҙж–°ж—¶й—ҙпј� 2006-07-18
еҪ•е…Ҙпј� й»„еҸ¶йЈһжү¬ пј�
Click in
Photoshop on the
Create new fill or adjustment layer icon

at the bottom of the layers palette and select
Solid Color... Enter a value of
5C687D (dark gray/blue) in the window that opens and click
OK .
Set the blending mode of this layer to
Color.
Clip this layer with the layer underneath (Layer 4) by pressing Ctrl + G (Command + G on the Mac) or or Ctrl + Alt + G (Command + Option + G on the Mac) if you use Photoshop CS2. :
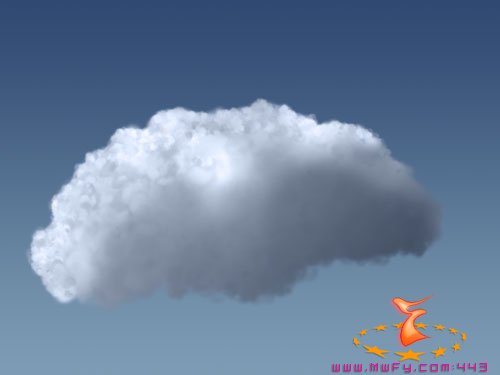
How well your cloud looks depends on a few things;
- how much time you spend on it
- how many different brushes you use
- how many layers you use
- you paintng skills
- patience
I've shown you the most direct approach with still reasonable results, just to make this tutorial easy to understand. Do understand that I would use more brushes, layers and little touch-ups to make the clouds look even better. All I can say at this stage: experiment and look at pictures of real skies to find inspiration.
To make an interesting composition it's best to use several different clouds. In this tutorial we will however use only one single cloud.
Only when you're complete done with your clouds, you should add a new layer by clicking on the Create a new layer icon  . Double click on it's name to rename it to Cloud. This layer will become the layer that will contain a merged copy of all our layers.
First make the background invisible by clicking on the eyeball icon  in front of it. We do this for the same reason as when we merged the 3 clouds layers at the end of step 3.
Make sure the empty top layer named Cloud is active (it will have a  icon in front of it).
Press Ctrl+Shift+Alt+E (Command+Shift+Control+E on the Mac) to merge all visible layers on layer Cloud.
Continue by making every layer invisible except for the Background layer and Cloud layer.
Make a duplicate of the Cloud layer, by clicking on its thumbnail in the layers palette and dragging and dropping it on the Create a new layer icon :
Make a 2nd duplicate by repeating the process.
This is how the layers palette looks right now:
Select the move tool  in the tool bar and move each cloud around until you have a composition you like.

Click on the background layer to make it active.
Add a new layer by clicking on the
Create a new layer icon
.
Select the
Brush Tool 
. Select our original cloud brush set to a size of
5 px.
Change the foreground color to
D9E5FA and the background color to
A2B6D9:

Check the settings for the brush in the the options bar. Pay special attention to the fact that the
opacity is set too
100%:

Now draw a few random lines between the clouds in the lower half of the image:

Go to the menu and select Filter / Blur / Motion Blur.
Enter a value of 0 for Angle and a value of 129 for Distance and click OK:
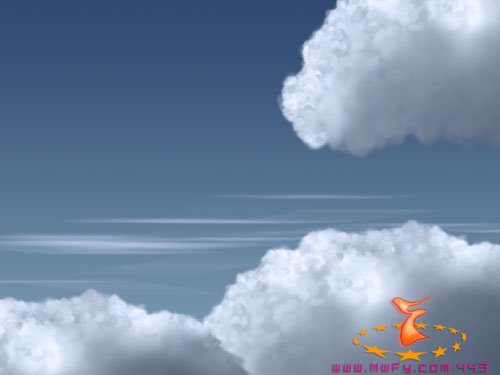
If the result looks artificial, then repeat Motion Blur using the same values or start all over.
We have come to the end of this tutorial. I leave it all up to your imagination what else to add.
In this example I took it a step further:
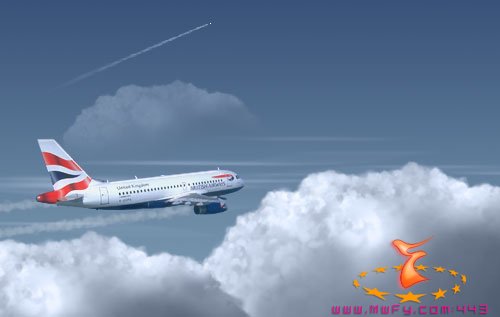
Note: the plane is from a photograph, contrails were added with the clouds brush. In this example I've moved the upper right cloud to the background, lowered the opacity to 25%, added a mask and removed the bottom of the cloud with a soft brush and added a distant plane in the background.
I hope that you enjoyed this tutorial.


