In this section I'm showing you how to use
Photoshop to add a non-destructive lighting effect to an image.
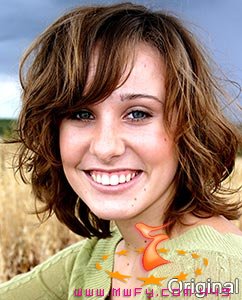
Open the photograph that we've used earlier and again, add a new layer and fill it with 50% Gray and set the blending mode of this layer to overlay like we did with the 50% Gray layer in the previous section about Sharpening. No screenshots this time, since you've already seen them earlier in this tutorial.
Go to the menu and select Filter / Render / Lighting Effects...
Use the following settings:
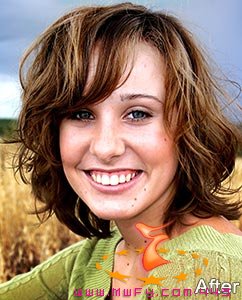
The result:
Of course you're not restricted to a single light or color and again neither should the blending mode or opacity restrict you to apply additional effects to this lighting layer.
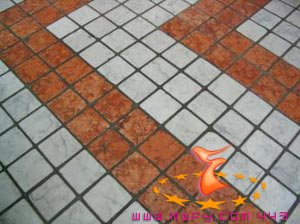
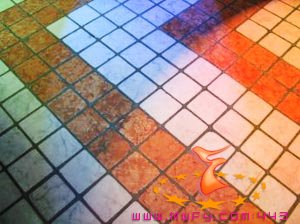
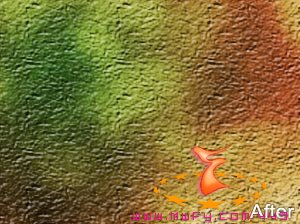
In the following example I've used 3 different colored lights to light a stone floor:
But hey, that's not all. We can even add a Lens Flare (Filter / Render / Lens Flare) to a 50% Gray layer that we've set to blending mode Hard Light like in this example:
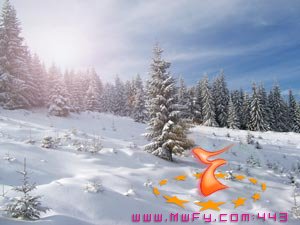
Again, we have avoided to damage the original image.
Layer styles were introduced to create editable effects. Most people think about shapes and text (like my
Car Name in Chrome Photoshop tutorial) when you mention layer styles, but the same layer styles can also be applied to photographs.
You can add a layer style to an existing layer by clicking on the Add a layer style icon in the layers palette.
Note: Layer Styles can only be added to layers that are not locked and this includes the background layer. To unlock a background layer, double click on it in the layers palette.
Many of the effect that can be used are also part of what we call Adjustment Layers (more about them in the next section).
The advantage of layer styles is however that we can apply more than one effect, without having the need to create a separate Adjustment layer for each one of them.
Look at this example:
...achieved by adding the following effects to the layer style:
I'm not going into too much detail as what the different settings are, but instead it's important to understand that adding a single layer style can change the looks of an image tremendously and every effect inside this layer style is still editable.
Btw, if you're still interested in the settings then download the the original style here (right click, save target as...). Be aware that I've created this style in Photoshop CS for Windows, so compatibility issues may exist if you use this style on a Mac or a different version of Photoshop.
You can load the style in Photoshop by clicking on the little black arrow in the Styles Palette (A) and then selecting Load Styles... (B) in the menu that slides out:
In general you will use layer styles mostly to add effects to shapes and text, but it can also be useful for photographs.
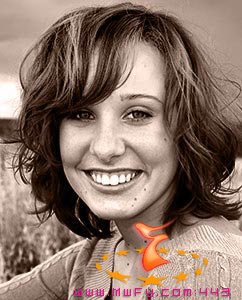
In this example I've added the Color Overlay and Gradient Overlay effects to create a sepia look:
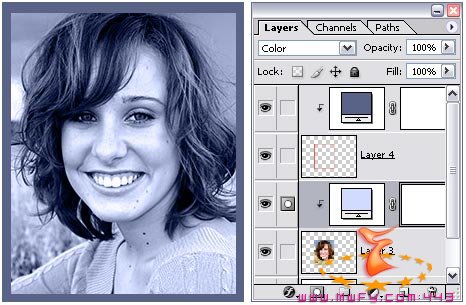
But we can even take it a step further by adding a mask to this layer style by clicking on the Add Layer Mask icon :
:

...and like always, everything is editable, the layer style is editable, the mask is editable and the original is not damaged in any way.
Adjustment layers are really powerful and while layer styles are mostly used for shapes and text, adjustment layers on the other hand are often used to retouch photographs.
You can add an adjustment layer by clicking on the Create new fill or adjustment layer icon  in the layers palette.
Here's an example of the 15 layer adjustments that are available in Photoshop CS:
Let's have a look at some of them.
Solid color: this will create a layer with a solid color. You might ask yourself what this is useful for. This can be useful if you want to colorize images in combination with the color blending mode for example or to color shapes when used in combination with clipping layers as seen in this example:
The other advantage of a Solid Color adjustment layer is that the layer is always completely filled, regardless whether you increase the canvas size of your image.
Btw, if you wonder what a clipping layer is; a clipping layer only affects the pixels of the layer to which it's 'clipped'. You can clip a layer (in our example the two fill layers) by activating the layer that you want to clip (you'll see a  in front of it) and pressing Ctrl+G (command + G on the Mac) or Ctrl + Alt + G (Command + Option + G on the Mac) if you use Photoshop CS2.
Gradient: the gradient adjustment layer is not often used by most people, yet it can be very useful. It allows you to add any kind of gradient that is normally available if you would have used the regular gradient tool in the tools bar and you can even create your own gradient. You can also select what kind of gradient you want; linear, radial, angle, reflected or diamond gradient. You can adjust scale, reverse angle and what a lot of people don't know, even move the gradient around in the document window!
Pattern: a pattern adjustment layer can be useful if you want to add a pattern to an object or layer.
Levels, Curves, Color Balance, Brightness/Contrast, Hue & Saturation, Selective Color, Photo Filter and Channel Mixer are very often used by people who want to correct color and/or lightness in photographs.
The others are Gradient Map (creative effects), Invert (Inverts an image, very useful in combination with masks), Threshold (for example useful to find the black and white point in an image) and Posterize (creative effects).
It's important to remember that a lot of these adjustments layers can be used in combination with a blending mode and/or a mask or opacity. This makes them even more powerful and often saves you space in your layers palette, because you need less layers when you plan to use masks in combination with layer adjustments.


