Adding the photo
Step 10: Pop open a Soon To Be Festively Framed photo. Duplicate the background layer (just to be on the safe side), and turn its visibility off by clicking its corresponding eyeball in the layers palette.
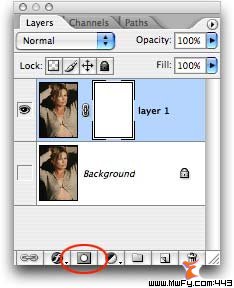
Step 11: Create a layer mask by pressing the little circle within a square icon at the bottom of the layers palette.
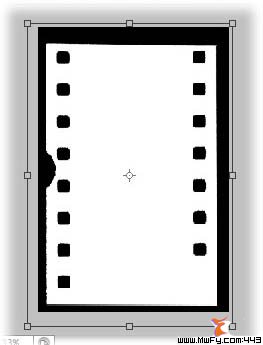
Step 12: Option click the layer mask (PC: Alt click) in the layers palette. At this point your document should turn completely white. You are now peering into the entrails of an empty mask. Press Command + V (PC: Ctrl + V) to paste the film strip into the mask (it should still be on the clipboard if you haven't copied anything else).
Step 13: The film strip negative is a slightly wider than the photo. Press Command + T (PC: Ctrl + T) to bring up Free Transform and make size adjustments. I tugged on the top middle handle to make it taller, and pulled the right middle handle to the left to make it thinner. When finished, press return to accept the transform.
NOTE: To resize proportionally, hold down the Shift key while dragging the corner Free Transform handles. In this particular case, the height/width proportions of the mask don't really matter to us.
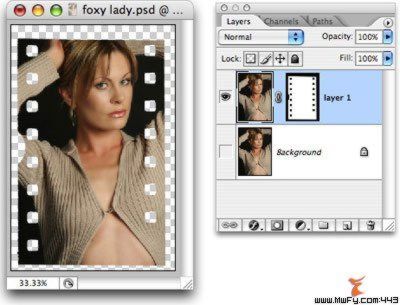
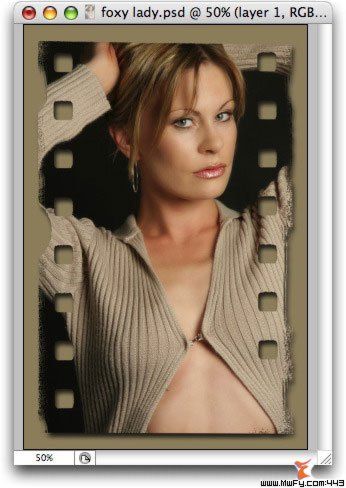
Step 14: Click on the photo portion of the layer (because we were viewing only the mask above) and POOF! You'll see the lady pop into the film strip negative, as shown below.
At this point you can do many things such as select the layer mask in the and paint with black (or white) to hide (or show) more areas of the photo.
Extra credit!
For a bit more fun, let's add some sloppiness to the film strip edges.
Step 15: Edit the layer mask in black/white mode by option clicking it (PC: Alt click) in the layers palette.
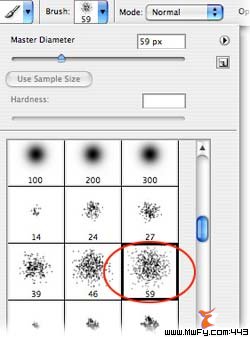
Ste 16: Press B to select the Brush tool and choose a spatter brush from the options toolbar at the top of your screen.
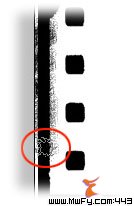
Step 17: Set the foreground color chip to black, and click along the edges of the negative, like so:
Step 18: When you're finished editing the mask, click on the photo portion of that layer in the layers palette to see the fruits of your labor.
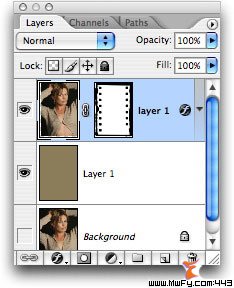
For a final touch, I added a new color layer on the bottom of my layers stack, filled with a hue I sampled from the photo using the Eyedropper tool. I then tacked on the obligatory drop shadow using layer effects.
This is what my layers palette looks like in the end:
I hope this tutorial gives you many ideas for turning interestingly-shaped graphics into photo frames. The key is to make them black and white, with the white area indicating where the photo will show through.
Until next time, happy photo framing!