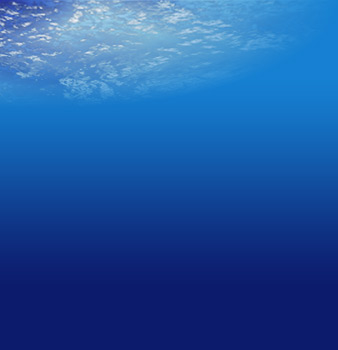
To produce the following result.
Next, lets apply a sunbeam affect coming from above the surface to a short distance below.
Create another new empty Layer (Shift + Ctrl + N (Mac: Shift + Command + N), just above the 'Layer 2'.
Activate that new empty Layer 3 by selecting it in the Layers Palette.
Next, select the 'Gradient Tool (G)'

again on the Toolbar.
Set the foreground Color to a variant of aqua blue. (I used #32F7E7).
As before up on the Options Bar for that particular tool, select the 'Gradient Preset Picker' to define the gradient to use for this next effect. I will use the 'Foreground to Transparent' preset as I have selected below (the first one).
Also, on the Options Bar choose the 'Radial Gradient' style

Second one in the group of 5 gradient styles

Also, Mode settings: Normal / Opacity: 100% / Transparency: ticked.
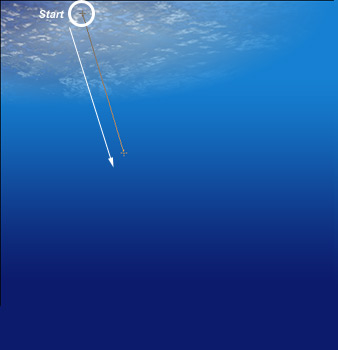
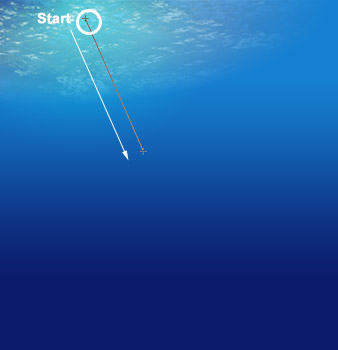
Next, still with the 'Layer 3' and the 'Gradient Tool (G)' active, start the gradient transition around the area that I have captured below.
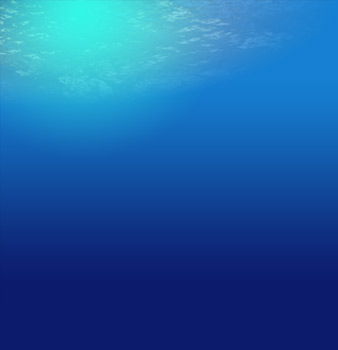
This will produce the following result.
I then set that Layers Blending Mode to Overlay and bumped down its Opacity Level, as indicated below.
To produce this softened affect.
Finally, create another new empty Layer (Shift + Ctrl + N (Mac: Shift + Command + N), just above the 'Layer 3'.
Activate that new empty Layer 4 by selecting it in the Layers Palette.
Next, select the 'Gradient Tool (G)'
again on the Toolbar.
This time, click on the 'Gradient Preset' that was last used. In this case,

.
This will bring up the 'Gradient Editor'. But within the 'Gradient Editor', change the 'Gradient Type to 'Noise'.
Then applied the below settings. Then OK.
Note: I adjusted the R (Red) slider to the right to srip any red variants from the gradient.
Also, your results will not be exactly as shown.
Once you have those similar settings, make sure 'Layer 4' is active, as well as, the 'Gradient Tool (G)' on the Toolbar, and up on the Options Bar for this tool, choose the 'Angle Gradient' style from the five styles.
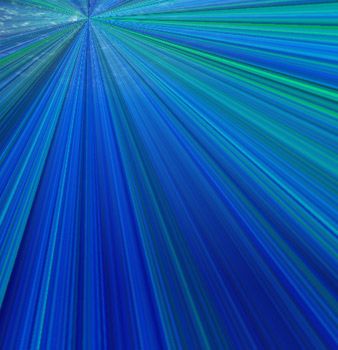
Then create a click and drag gradient transistion as in the area as I have captured below.
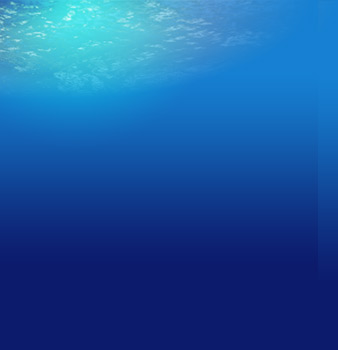
This will produce the following result.
Finally, I set that Layers 'Blend Mode' to Screen and bumped dow the Opacity Level to 19%.
To produce this resulting image.