
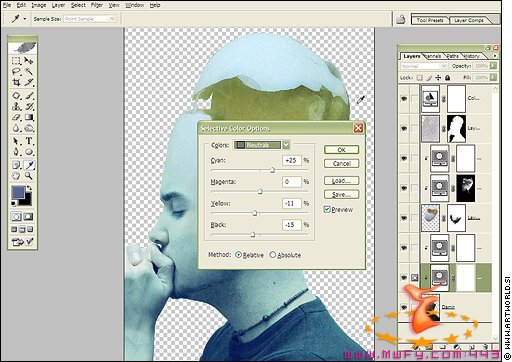
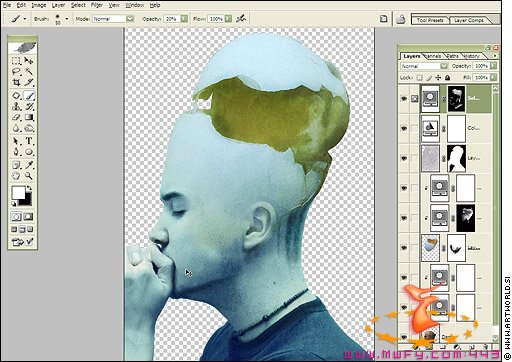
I am doing selective color adjustments now to the face making it as much cyan as the egg and trying to get as close to the luminosity values as possible. I will not go into detail as of how to use the selective color adjustment, because Jason has written a tutorial about it which you can read here.
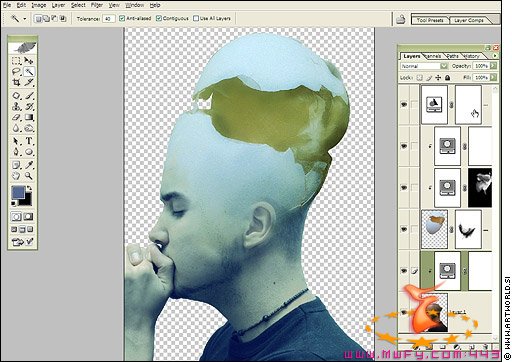
Some more selective color adjustments, this time doing shadows on the image. Did I mention a competition with big prizes will be done very soon on ArtWorld? <!--emo&:D-->

<!--endemo--> More info on that in the last paragraph of the tutorial. Read on:
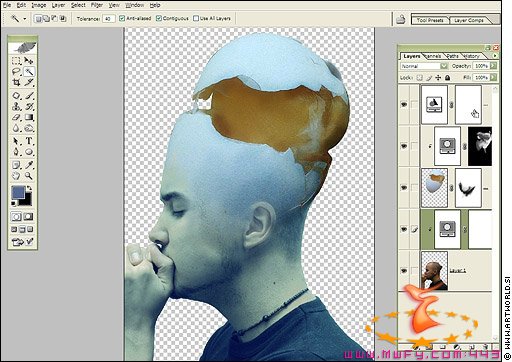
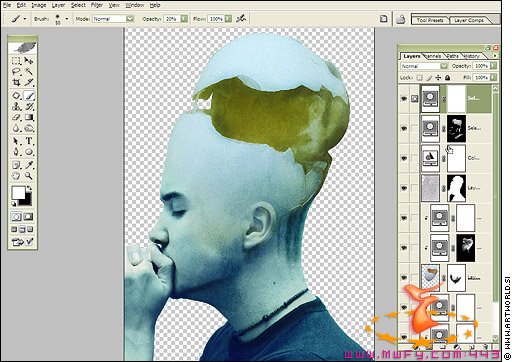
Selective color layer to turn some hues in the egg around to make the color transition a bit more seamless.
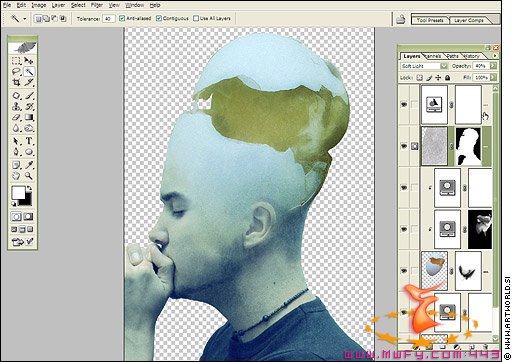
I added a very slight texture at 40% opacity and soft light as the blend mode to cover both the face as well as the egg part. It's masked to only affect those two and not the background. The mask was done by combining the selections of the two layers.
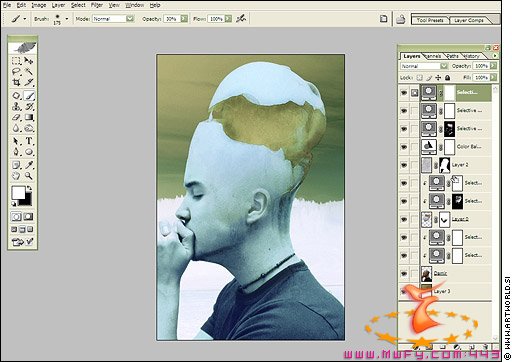
Another selective color adjusmtent layer on the face/body, turning even more cyan. You might notice at this point that I always like to do my color adjustments with selective color. It might be a bit more complicated than ather means but it gives me ultimate control over the values and in the end that's the only thing that really matters to me.
x
This adjustment layer effectively darkened a lot of the image giving a stronger contrast out. Looks much more real and appealing at this point in time, huh?
Even more selective color! This one did some gamma tweaking on the midtones. This is how the final creature looks like.
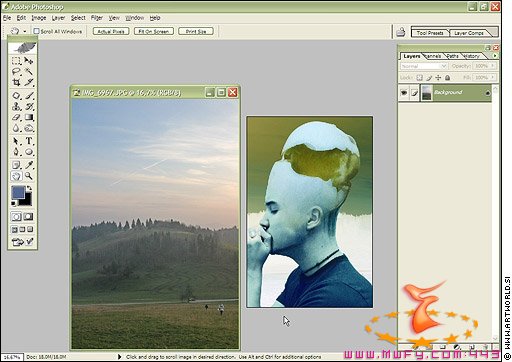
Now for the background... I took an image that I shot in winter on a mountain here in Slovenia (notice my girlfriend's parents in the picture). Basically what I did was an invert to the luminosity values (Ctrl+I) and a place in the background of the image. Whalla, final image all done. Yay! Here's a final shot:
Thanks for taking the time to read this. I would really appreciate some feedback on what you think about the tutorial (and if would like to see more of this kind of tutorials), you can comment on it in the below comment field. If you come up with an interesting image with the help of my techniques here I would love to see it - you can post it in the gallery here on ArtWorld. You get free exposure and some critiques fr0m me and the staff <!--emo&:)-->

<!--endemo-->
Anyway, to wrap things up ... there is a competition coming on ArtWorld - the competition will be opened for photo manipulation artwork and there will be some fairly interesting prizes for you to win in it. More information very soon!


