Abs Walkthrough
[ 作者来源:shiver7
编辑整理:
PhotoShop资源网
更新时间: 2006-07-18
录入: 黄叶飞扬 ]
8. Adding highlights to your brushing makes it more attractive. Flat clouds get somewhat boring so I added some more 3d ones here.
9. As you can see I am brushing alot, and if i were to do this all by hand it would take forever. The trick is to make 2 or 3 different brushing layers and duplacate them. You dont want to have redundant brushing so you can just distort them (Edit >> Transform >> Distort/Skew/Perspective)
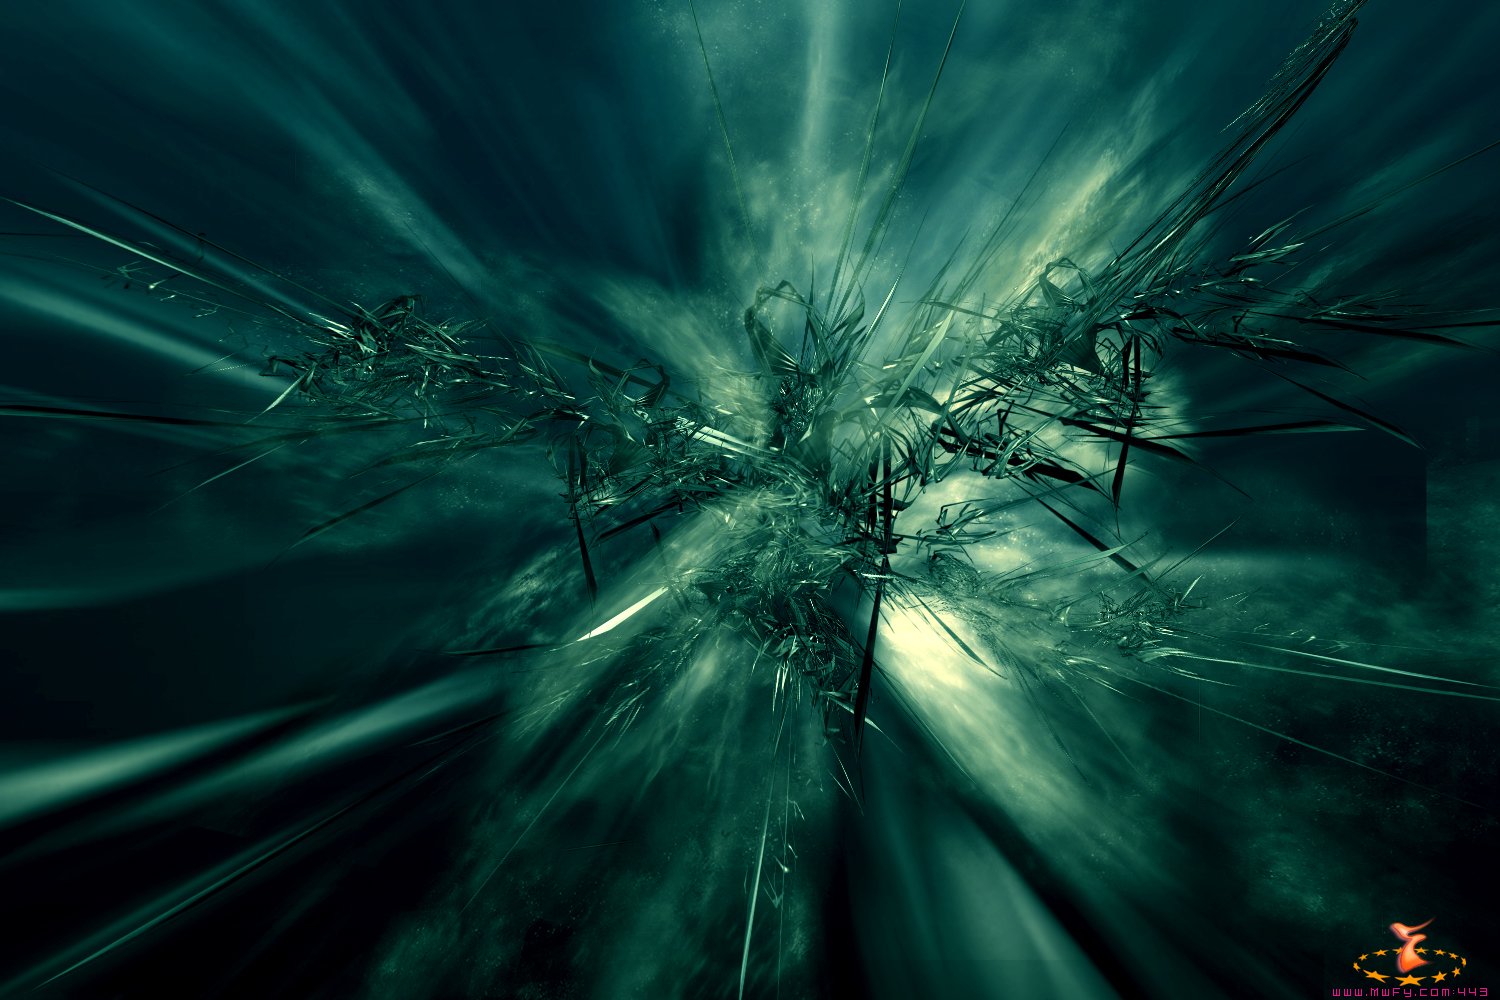
10. Even more duplicating of brushing layers and using as highlights.
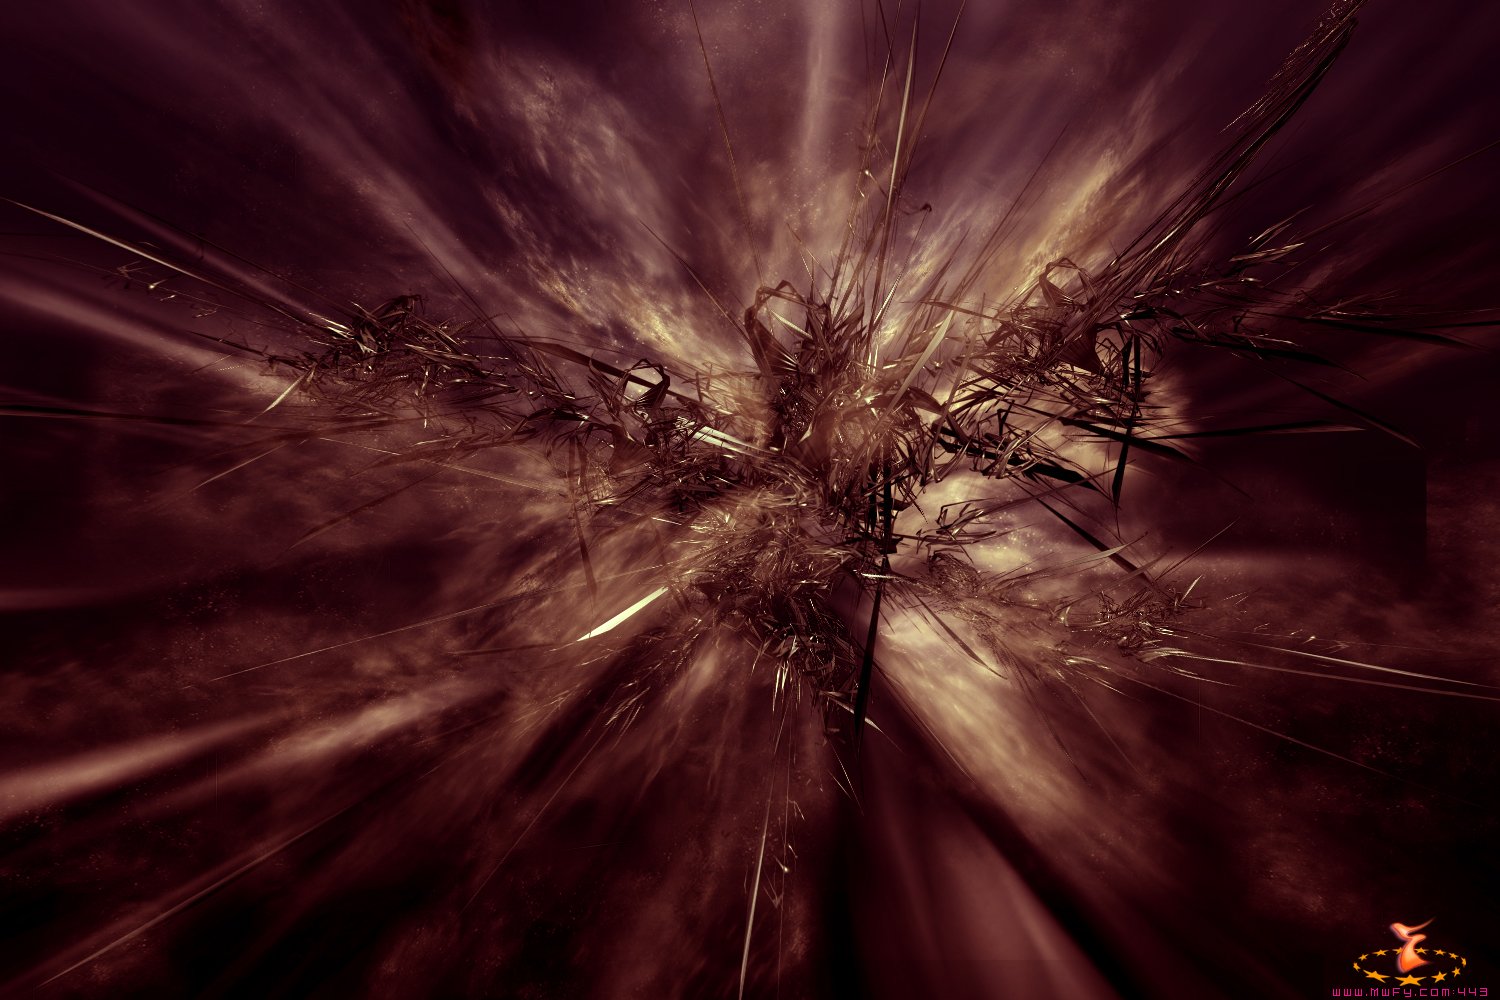
11. A very important part of doing your image is trying other things. Here I tried a different color, but since i didnt like it too much, i tried another.
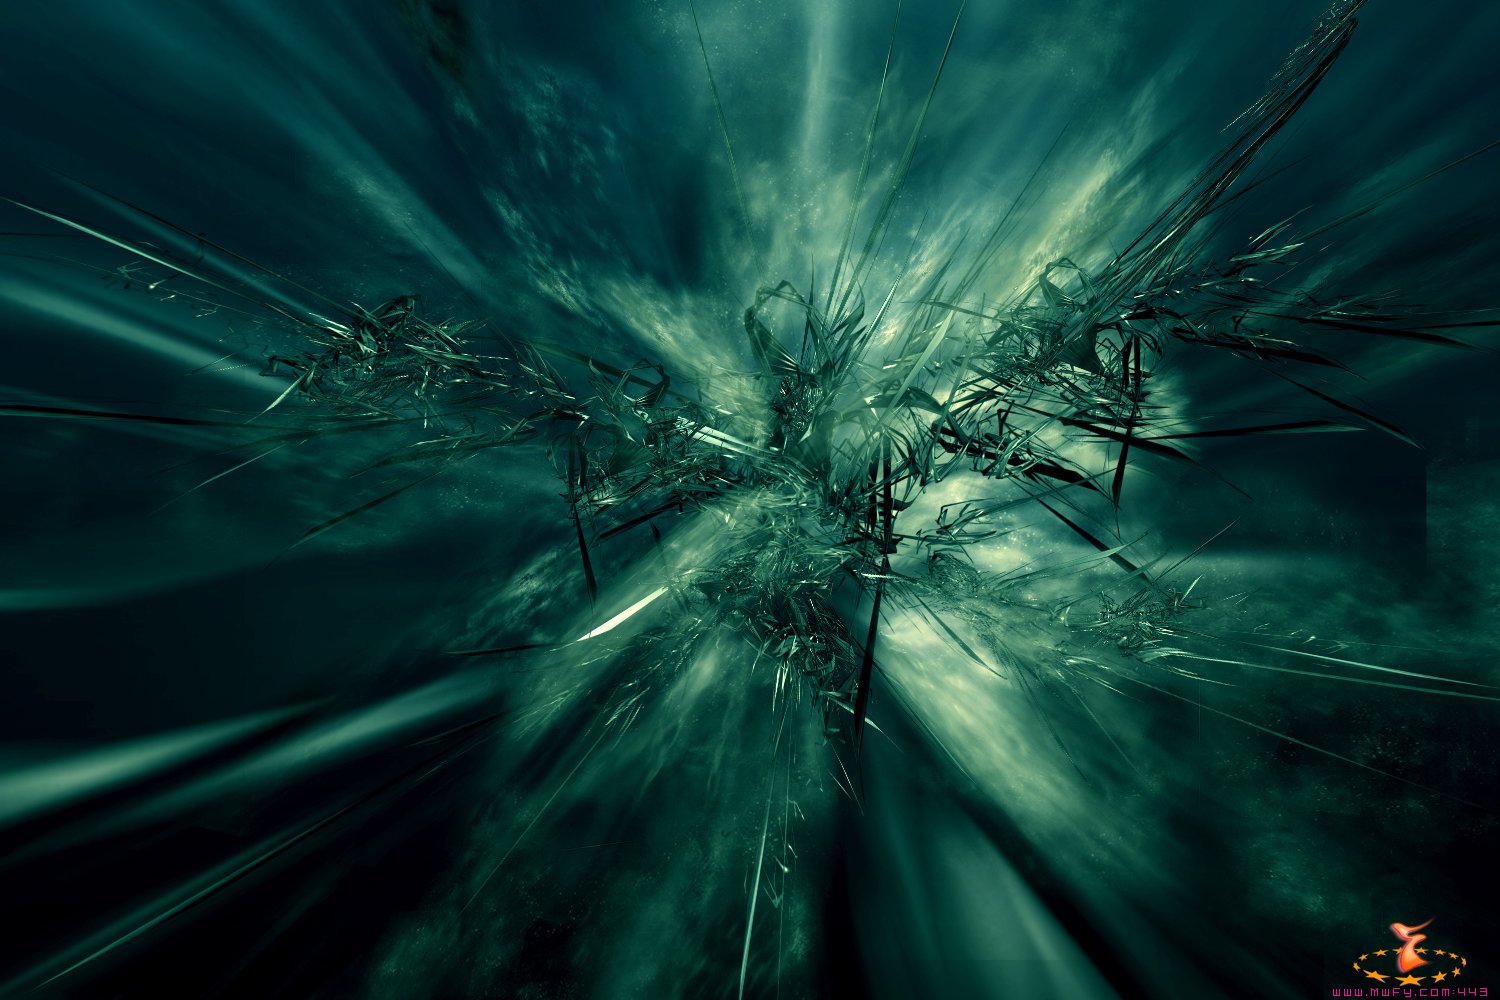
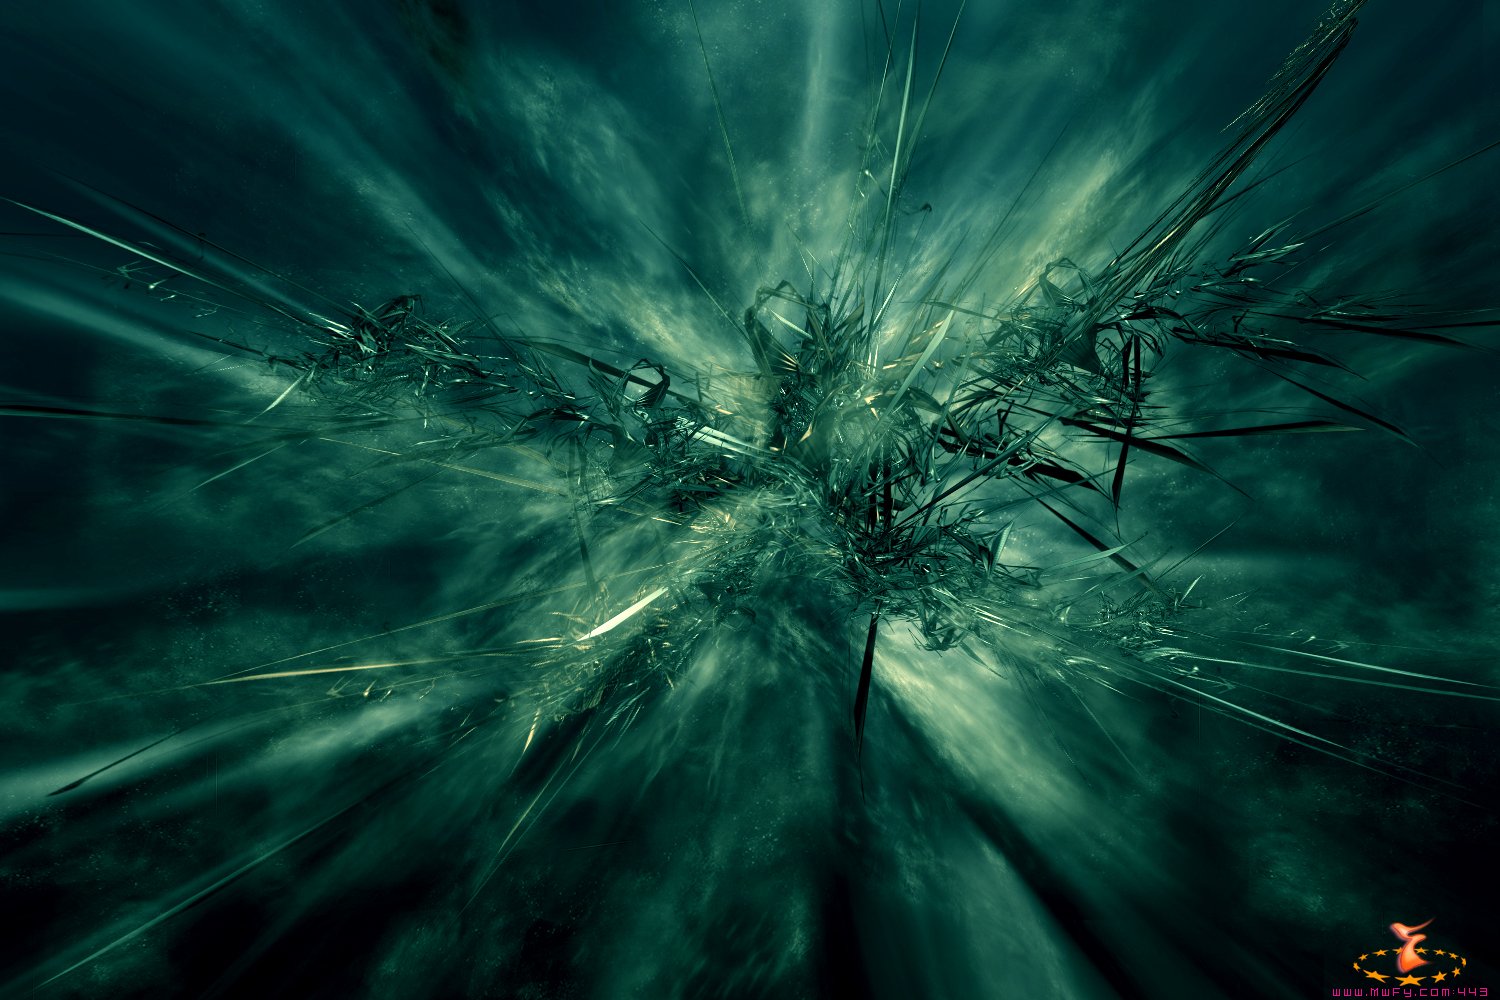
12. I like this one a little more but still the green is better. I am changing the color all with one layer of Color Balance.
13. I rotated it 90 degrees. The point of my doing this is not just to see how it looks but to fix things, such as cut off lines and other things I couldnt see from the other perspective. I must have fixed 5 or 6 things.
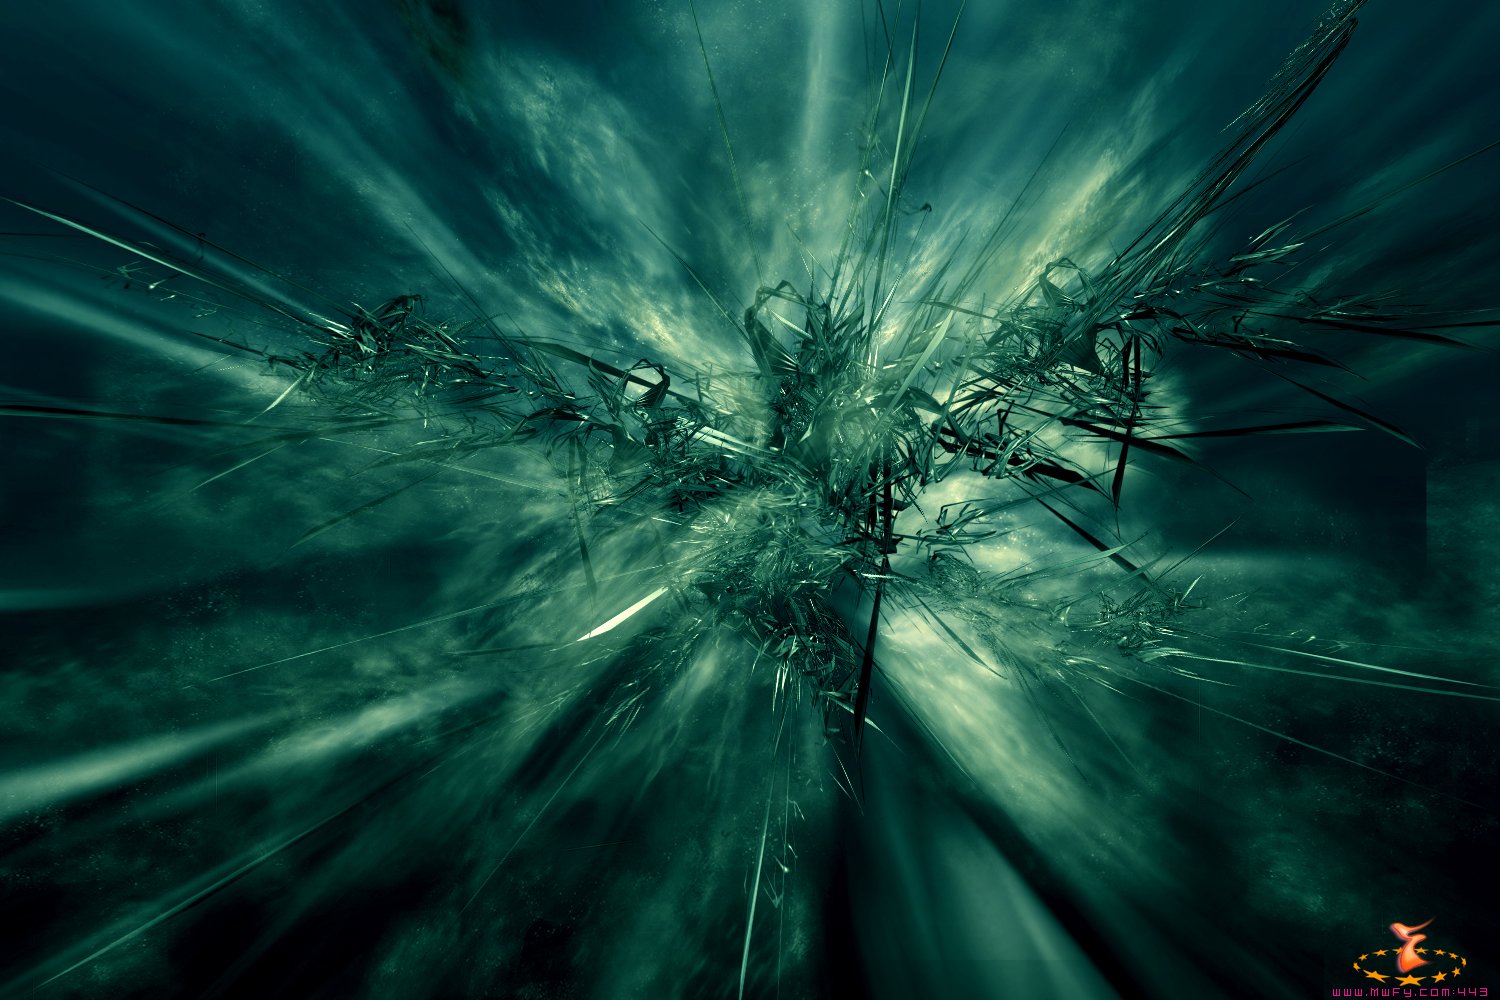
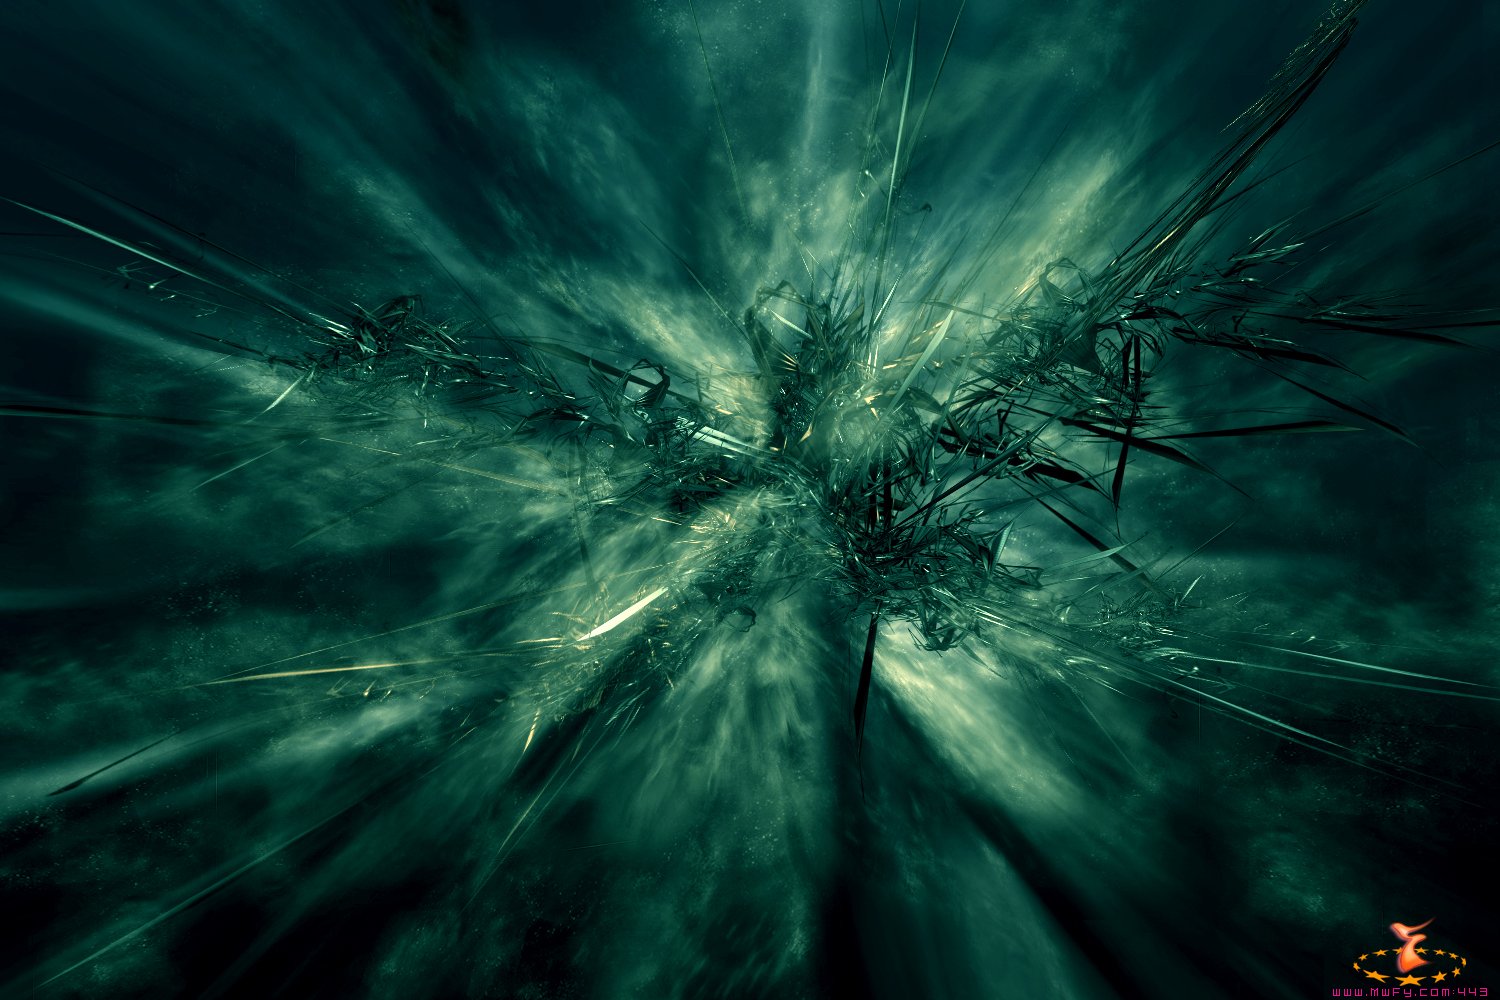
14. I rotated it back to its previous state and spread out some more brushing. I also erased some cloud to make the 3d stand out more.
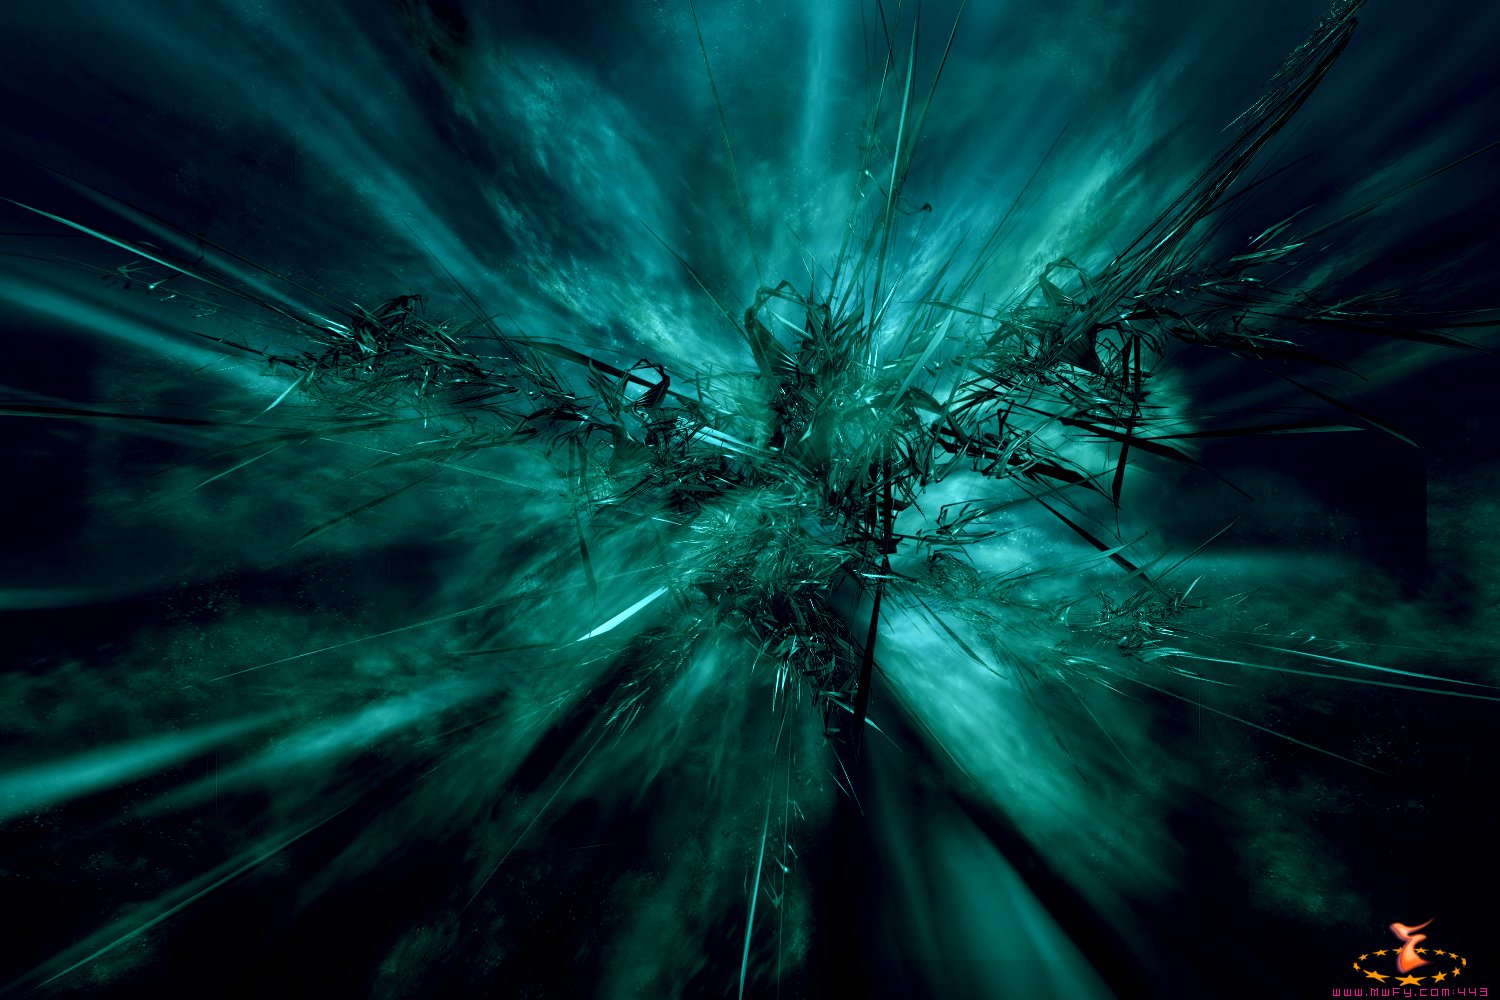
15. I put on a layer of curves so to tone down some of the middle brightness and bring out the shadows and highlights. I am pretty much done with the image now.
Helpful? Not sure how much technical use this will have, but it shows you how i do it and some of the things I do to improve my wallpapers.
This tutorial can be discussed at the forums