- PS+AI结合制作动感线条视觉海报教程(06-17)
- PSCC操控变形工具制作一个沙漠中脖子打结的长颈鹿(06-04)
- PS使用烟雾笔刷制作抽象风格环保人像海报(06-02)
- PS+portraiture制作创意吹出人头形状的泡泡糖的教程(05-28)
- PS使用火焰素材合成一个火焰眼球魔女游戏海报(05-28)
- PhotoShop制作3D立体风格剪纸艺术效果的教程(05-26)
- PhotoShop制作质感PS标识方形按钮图标的教程(05-25)
- 数学达人教你用PS精确绘制一个八度旋转的相机镜头图标...(05-23)
- PS给黑寡妇打手们穿上喜气洋洋的东北花棉袄(05-22)
推荐精品创意设计PS教程
| ||||


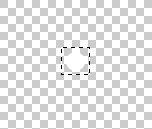
 Open a new window with WIDTH 300, HEIGHT 200, and transparent background. Draw a 20x20 pixel white circle on it as as shown below. Select it with a Rectangular Marquee Tool
  and go to Edit > Define Pattern and give a name like circle or something.
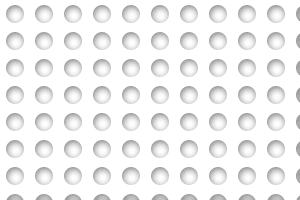
 Make a new layer and fill it with white, delete the one with the circle we don't need that anymore. Make another new layer, choose Paint Bucket Tool (G) - Select your circle pattern and fill the new layer with it.
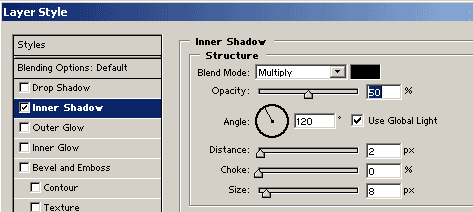
 Select the layer with the Pattern and choose Blending Modes > Inner shadow Select the Opacity 50, Distance 2, and Size 8 as shown below. Click OK.
 By now you should have an Image like this.
 Choose Elliptical Marquee Tool
  and make a round circle in the middle of an image on the layer with the pattern.
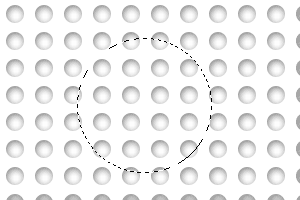
 Go to Select > Inverse and press delete button on the keyboard to get rid of the sides.
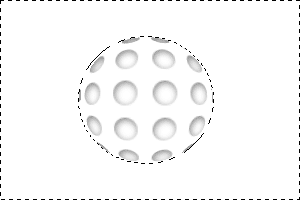
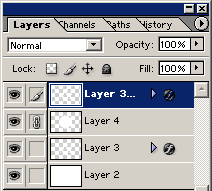
 Dublicate your pattern layer by dragging it to New Layer icon
  on the layers pallette. Drag the dublicate layer on top of the white circle layer. Select the white cirlce layer and link it with the pattern layer dublicate and press Ctrl + E to merge them, or you can go to Layers > Merge Linked
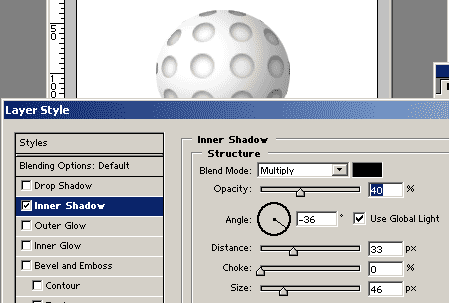
 Select your merged layer and go to Blending Options > Inner Shadow and select the fields as shown below. Opacity 40, Angle -36, Distance 33, Choke 0, and Size 46.
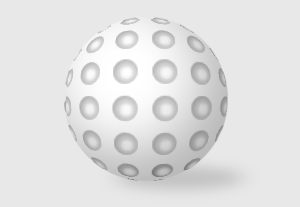
 Choose Linear Burn for the upper layer and Pin Light for the lower layer. And set lower layers Opacity to 40%. That is it you should have your 3D ball now. You can tweak it some more by adding background and adding shadow...etc.


