The Graphic Reporter
http://www.graphicreporter.com
As with most things in Photoshop, there are a thousand ways to do the same thing. Here lies what I truly believe to be the quickest and easiest way to highlight a certain portion of an image: Make one bit of it color and the rest black and white.
It's a really interesting photo effect, and you'll be amazed at how quick and easy it is.
Crop it!
Step 1: Pop open a photo and press C to select the Crop tool. Draw a box around the subject matter of the image and press Return.
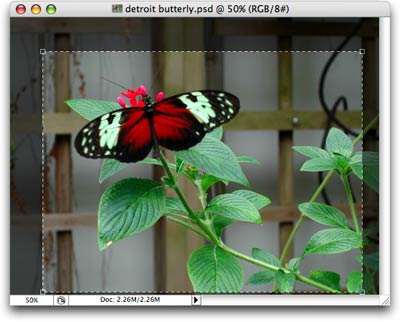
TIP: If you want to crop to a certain size and resolution, you can dial those numbers into the Options toolbar at the very top of your screen. Remember to include the unit of measurement on width and height, such as "5 in", else Photoshop thinks you mean pixels.
Zap the color...
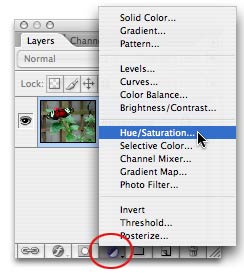
Step 2: immediately trot down to the bottom of the Layers Palette and click the half black/half white circle to create an Adjustment Layer. Choose Hue/Saturation.
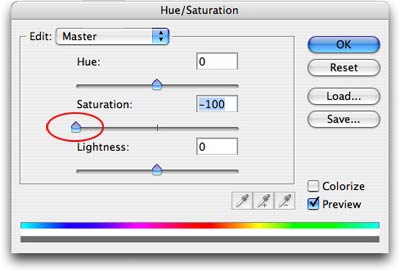
Step 3: In the resulting dialog box, drag the Saturation slider all the way to the left. This causes all color to drain from the photo. Click OK.
...then add a little back
Lucky for us, all adjustment layers come with their very own layer mask. This will allow us to hide the effect of the adjustment layer in certain areas.
Step 4: With the layer mask still selected in the Layers Palette (you'll see a tiny hairline rule around it), press B to select the Brush tool.
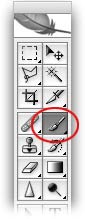
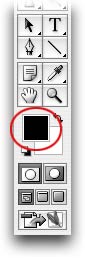
Step 5: In the realm of layer masks, painting with black hides and white reveals. Since we want to hide a bit of the adjustment layer, let us paint with black. Take a peek at the color chips in the main Toolbar and press X until black sits happily on top.
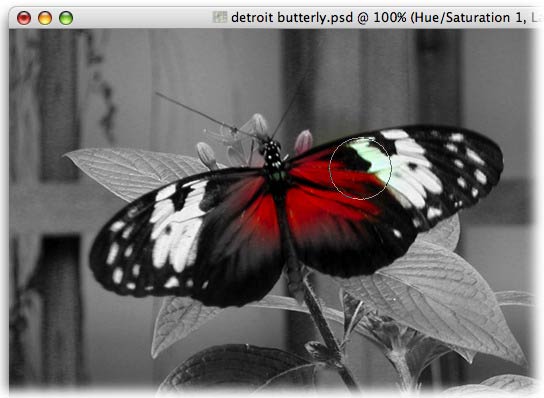
Step 6: Back on the photo itself, begin to paint the butterfly's wings. Notice how the color starts to show back through.
Step 7: Press the left bracket key, [, to cycle down in brush size to get its head and tail. Likewise, press the right bracket key, ], to cycle back up in brush size to fine tune the wing area.
TIP: Press Command plus (PC: Ctrl plus) to zoom in so you can see what you're doing. Press Command _minus (PC: Ctrl minus) to zoom back out.
Step 8: If you bring too much of the color back, just press X to swap color chips so that white is on top, and paint that area back out like I'm doing here:
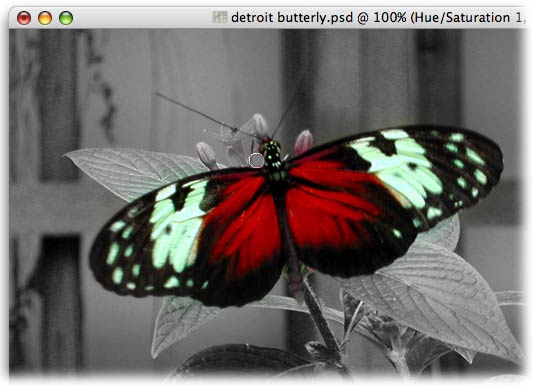
Chances are, you'll do quite a bit of color swapping while tweaking the layer mask.
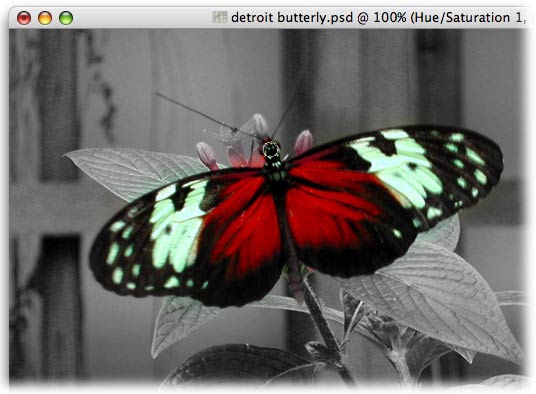
Here's the finished photo, with the layer mask circled in red:
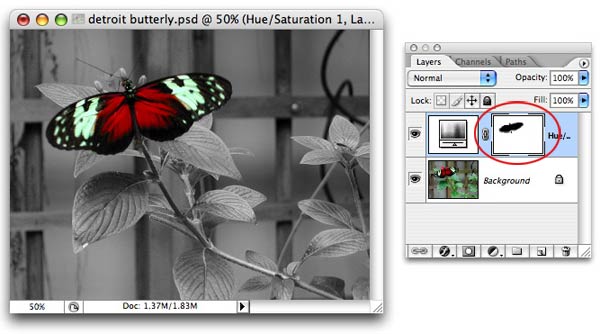
Notice how the mask matches the butterfly. The beauty of zapping the color and then bringing it back with this technique is that we've not harmed a single pixel. To start completely over, we could just trash the adjustment layer.


