by Lesa Snider
The Graphic Reporter
http://www.graphicreporter.com
Continuing on with the Photos within Type tutorial series, here's another fun effect to create: grungy type. It's often used on movie posters. To create the effect, you need a very "busy" photo, something with lots of hard lines. By using the Threshold adjustment, we'll morph a photo into a grungy texture which we'll place on top of some type.
Type something
Step 1: Pop open a new document. In the Toolbox, set the top color chip to orange.
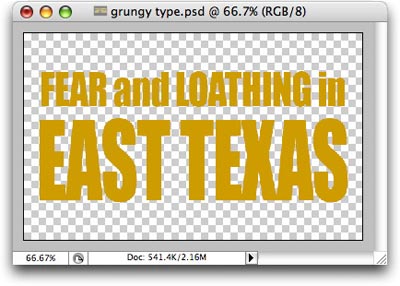
Step 2: Press T to select the Type tool and set some type in a large, thick font (try a nice slab, sans-serif like Impact). For reasons which will become clear to you in a moment, I typed "FEAR and LOATHING in EAST TEXAS."
Create a grungy texture
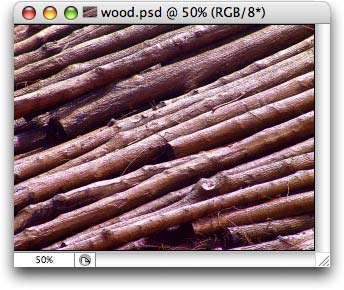
Step 3: Open the Soon To Be A Grungy Texture photo. I took this shot of logs at an East Texas sawmill recently. (Spending a week in the slightly backwards, rather isolated piney woods of East Texas provided inspiration for the title above.)
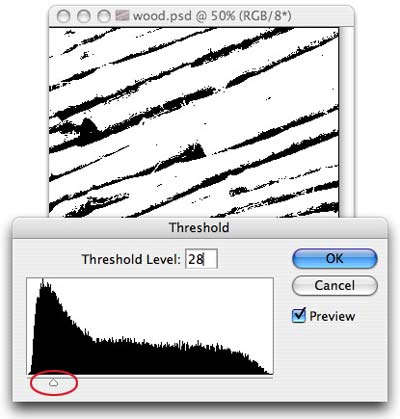
Step 4: Choose Image > Adjustments > Threshold. Drag the slider almost all the way to the left and click OK. The black bits remaining onscreen will become the grungy texture. NOTE: Experiment with the Threshold slider, though bear in mind that creating too much grunge will render text unreadable.
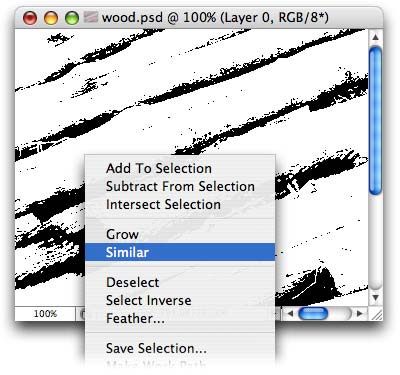
Step 5: To create a selection around the new black texture bits, we'll use the Magic Wand tool (it's made for selecting color). Press W to select the Magic Wand and click inside one of the black areas of the photo. You should now see tiny marching ants around that area of black. To select the rest of the black texture bits, control-click (PC: right-click) inside the selection area and choose Similar from the contextual menu.
Bring the texture and type together
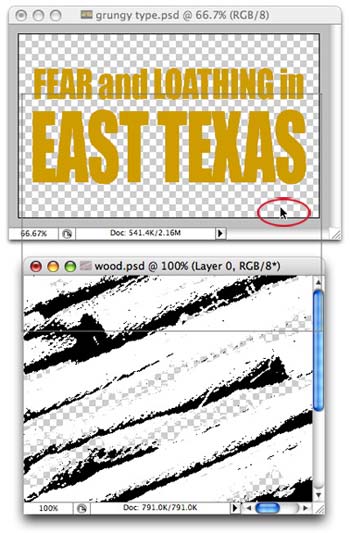
Step 6: Use the Move tool (press V) and drag the texture selection into the type document, as shown below. Photoshop will dutifully create a new layer upon which the texture shall live. TIP: Press Command + D (PC: Ctrl + D) to deselect the texture and banish the marching ants.
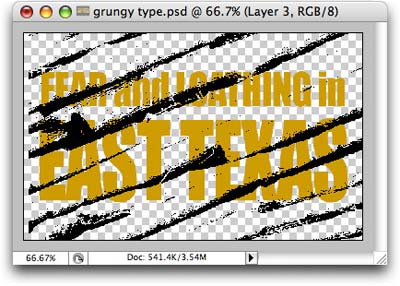
While the Move tool is still selected, use it to position the texture wherever you'd like. This is how my document looks:
At this point you can:
• Resize the texture by pressing Command + T (PC: Ctrl + T) to bring up the Free Transform tool.
• Fill the texture with another color to match the desired background color of your document. Just Command-click (PC: Ctrl-click) the texture layer to select it, then choose Edit > Fill and choose a color from the Use pop-up menu.
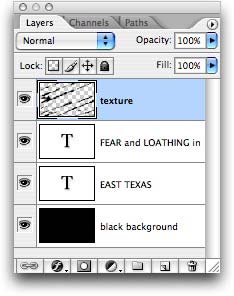
For dramatic effect, I created a new layer and filled it with black. This is what my layers palette looks like:
And here's the final image:


