Here's a detailed walk-through to simulate an ocean mist scenery using Photoshop CS 'Fibers' filter and varying Gradients combined with alternating Blending Modes.
First, start a new document, I used an equal size preset of 500x500.
Create a new empty Layer (Shift + Ctrl + N (Mac: Shift + Command + N)), just above the default document background Layer.
Next, set the Foreground Color to a variant of blue (I used #7AA6E8) and set the Background Color to Black #000000.
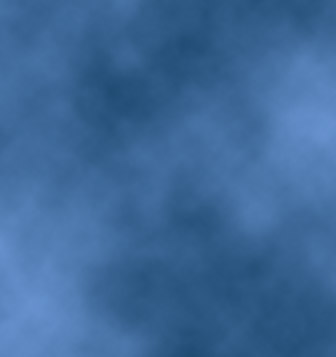
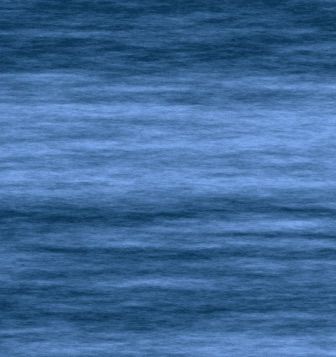
Next, go to 'Filter/Render/Clouds' to that your first effect is similar to what I have captured below.
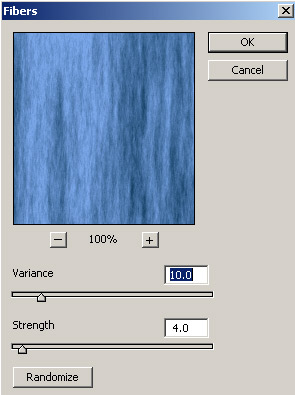
Next, go to 'Filter/Render/Fibers' and select a setting that your comfortable with, so that you can see (though in vertical direction) varying crests of waves within the render. (My settings are captured below)
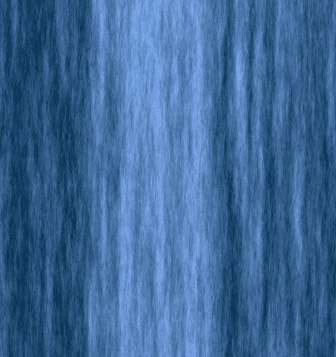
Your document preview should look like the below. (Ultimately, adjusting the 'Fibers' Variance' level is up to you)
Here is what the Layers Palette should look like!
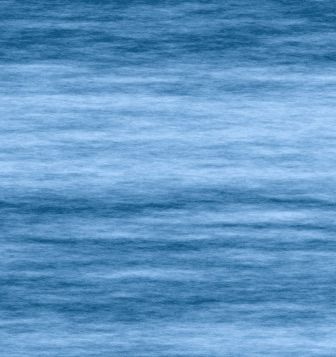
Next, we need to revert the direction of the water to a horizontal position. So, simply, go to 'Image/Rotate Canvas. 90 CW' to position the image as I have captured below. (This is why I used an equal size preset so that there would be no further resizing or positioning!)
Looking good so far! From here it's simply a matter of adjusting varying color and adding some gradient layers for sky and mist effects.
First, lets tone down the contrast in this image by duplicating the water Layer 1, and change the 'Blending Mode' to 'Screen', and bump down the 'Opacity' level to one that you are comfortable with.
Here is the Layers Palette thus far.
And here is the improved water texture.
Now, on with the mist and sky effect.
Create a new empty Layer, (should auto name to 'Layer 2' at this point) directly above Layer copy 1. (Shift + Ctrl + N (Mac: Shift + Command + N))
Your 'Foreground Color' should still be the variant of blue (#7AA6E8) that we set earlier. Then select the 'Gradient Tool (G)'  on the 'Toolbar', and up on the 'Options Bar', select the 'Foreground to Transparent' preset from within the 'Gradient Preset Picker'. on the 'Toolbar', and up on the 'Options Bar', select the 'Foreground to Transparent' preset from within the 'Gradient Preset Picker'.
Select the 'Linear Gradient Tool' and the 'Blending Mode' to 'Normal', with 'Transparency'.
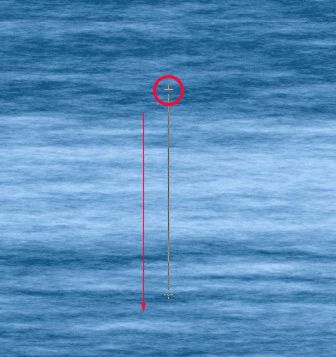
With the new empty 'Layer 2' (that we created above) active and the 'Gradient Tool (G)' still selected, click and drag the just beyond the midway area of your water texture (red circle).
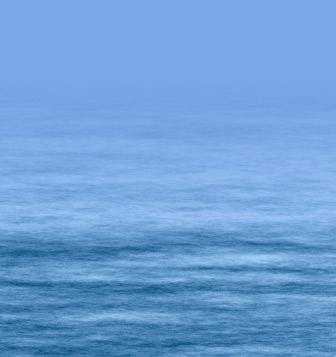
And this is the result.
Here is the Layers Palette thus far.
≡★ 免 责 声 明 ★≡
除本站原创外,本站所提供的所有教程均收集整理自网络,其版权归该教程直原始作者或原始出处所有!
除特别声明外,您可以在保持教程的完整和注明来源的前提下免费复制、转贴本站所提供的所有教程;但是,不可以盗链本站的图片!
除特别声明外,在未经许可的情况下您不得将本站所提供的任何教程(包括资源)用于商业用途;
如果确有需要,请自行与该教程的原始所有权者(即:原始作者或出处)联系,本站不提供相关服务;否则,由此而引发的一切后果由您自负!
|