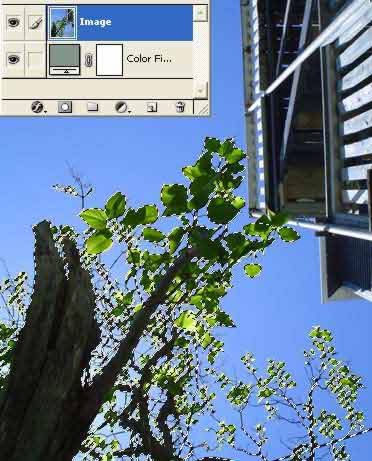
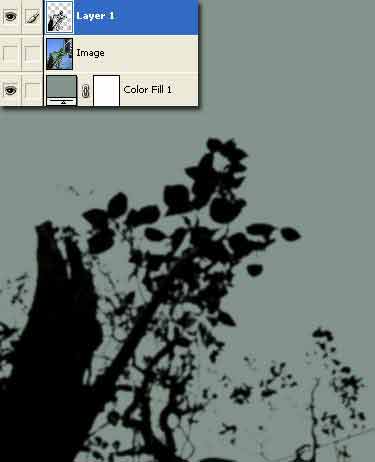
In the Layer Palette I added another Color Fill layer with #82948A (your choice), and dragged it below the image layer. This Color Fill layer will be used later when the layer masked is applied to the tree portion of this image.
Here is the layers palette view.
To begin lets switch to the
Channels Palette.
To help make a clear cut selection with a mask, pick the channel that has the least amount of MIDTONES. In my case it's the Blue channel.
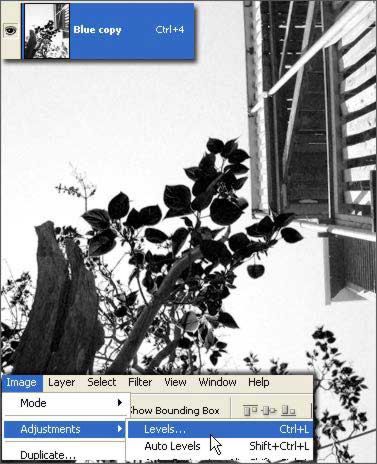
As captured below, select that channel and drag it to the New Channel icon to duplicate it, to create 'Blue copy' channel.
Next, with that Blue copy channel active, go to 'Image/Adjustments/Levels'.
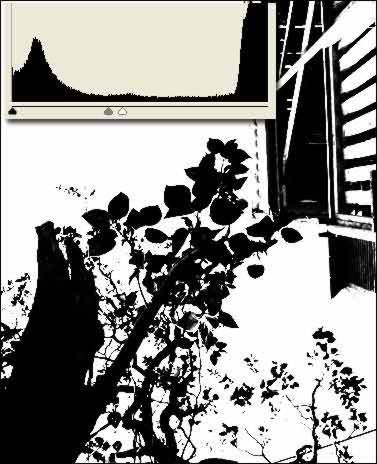
At the Levels dialog, adjust the White & Midtone sliders to your left as I have captured below.
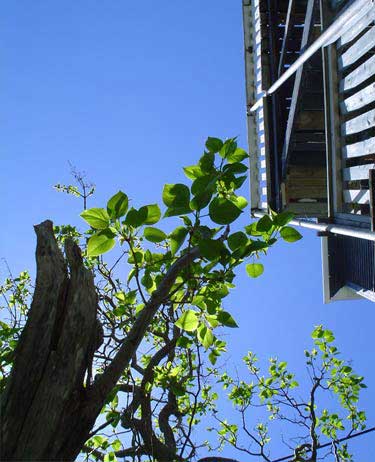
Finally, set the Foreground Color to White (#ffffff), with a hard edge Brush and paint over the area of the house, as I have captured below. The goal here is to select only the tree.
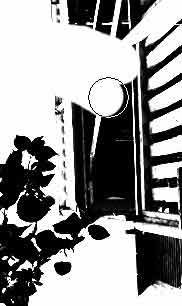
So all your left with is the below tree element within the Blue Copy channel.
Next hit the 'Load Channel as Selection' at the bottom (encased in red) of the
Channels Palette.
Then go 'Select/Inverse' to focus the Selection marquee to the tree element.
Switch back to the Layers Palette and you should see the marquee selection still active around the tree element.
Next, with the selection still active, create a new empty floating layer, then go 'Edit/Fill' with Black (#000000). Then hide the original Image layer in the layers palette.
The remaining elements is asthetics to the picture.
I next added a new 'Gradient' fill layer as captured below.
Added another 'Gradient' fill using 'Transparent to Black' set to 'Soft Light' mode.
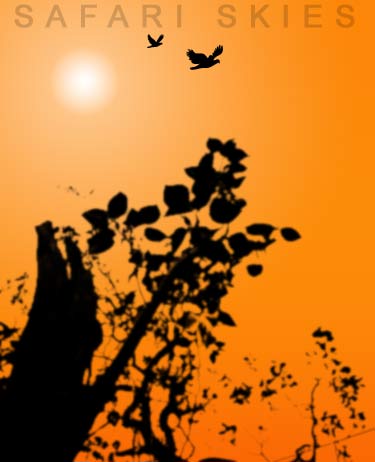
Finally, select the 'Custom Shape Tool (U)' with Options Bar 'Shape Layers' activated, then from the preset picker, then the Preset Picker palette
menu comman icon select 'All', then browse to 'Bird 2' preset.
Draw two of these shapes onto the document as I have captured below.