Did you ever want to create the illusion of smoke in your photoshop artwork. There are many tutorials out there on creating smoke, but what I like most about this technique is that it provides the artist with full control over how the smoke behaves. This technique allows you to create any shape you want with the smoke (rather than relying on the random effects of filters).
Step-by-Step Instructions:
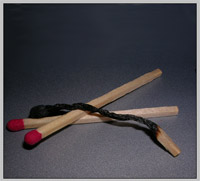
1. Open up an image in photoshop that you wish to apply smoke to.
2.
Create a new layer. Name it "Smoke".
3. With the Smoke layer selected, use the paintbrush tool to draw some white areas for the smoke. We'll tweak these white paint brush marks later to look like smoke.
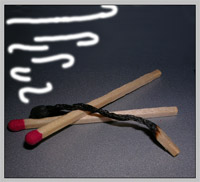
4. Now select the Smudge tool and set the "Strength" settings to 50%. Begin smudging the white areas to make them appear more like smoke.
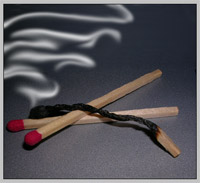
5. Once you've smudged the smoke into the shapes that you find pleasing, select the Eraser tool. Set the Opacity settings to 40%. Then begin applying the eraser to the areas of the smoke that need to be lightened.
6. Congratulations! You should now have your smoke in the exact shape you wanted. Try it again, but experiment by drawing faces with the paintbrush in Step 3.


