We're going to use the following image for this
Photoshop tutorial:
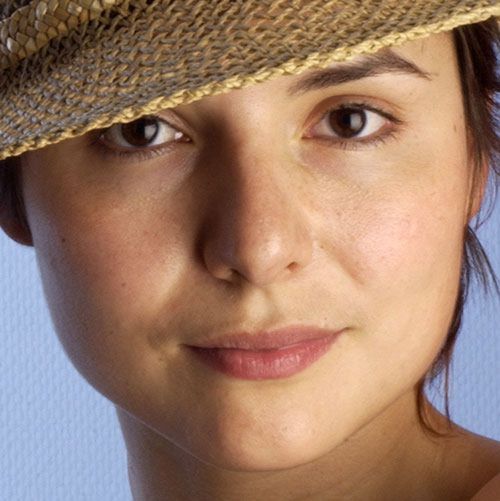
Download this image to your hard drive by right clicking on it and selecting (when you use Windows) Save Picture As...
The first thing we're going to do is removing blemishes in the face. In the following image I've marked which areas I considered needed a correction:
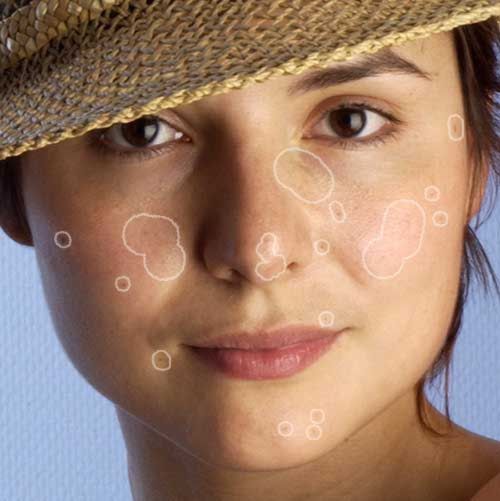
The reason why we're going to remove blemishes first is because we will have better results when we soften the skin in our next step.
The tool that we're going to use to remove blemishes is the Healing Brush Tool  which can be found in the tool bar:
Let's first add a new layer by clicking on the Create a New Layer icon  in the layers palette. Rename this layer by double clicking on its name in the layers palette and name it Blemishes.
With the Healing Brush Tool still selected, let's look at the option bar:

On the left we can see a black dot with a sharp edge; it means that the brush is going to have a hard edge (also called 100% hardness). Underneath we can see the size of the brush which is 19. More to the right we notice the selected Blending Mode for this brush. For this tutorial we're only going to use Normal mode. If you want to know more about blending modes then you might consider to look at this very detailed article by Jay Arraich: Blend Modes
The next option is called Source, for which we have two options; Sampled or Pattern.
Sampled means that we're going to use our image as our source.
Pattern means that we're going to use an existing pattern as our source.
In most cases you will use the Sampled option, because quite often we want the new area to have the same texture as the area surrounding it. Pattern can be useful if you don't have any descent area in your image that you would like to use as your texture.
We are going to use Sampled.
The Aligned option allows us to have a source area that follows our mouse cursor. Look at the following screenshot:
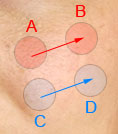
In this example the user has selected area C as the source (later we will learn how to set the source). The first moment the user presses the mouse button to remove a blemish (in this case at A), Photoshop will remember the distance and angle between A and C. So if the user now decides to remove a blemish at B, then the source will be D (same angle, same distance).
So you could say that after the user starts to use the Healing Brush that both cursor and source are 'glued' together as shown in this little animation:
The advantage of the option Aligned is that we always stay close to the area that needs to be corrected and that the texture resembles the texture we want to use for our correction.
Notice that the option Use All Layer is selected. This means that the source area doesn't have to be on the same layer, in our case the Blemishes layer. It also means that the result of using the Healing Brush Tool will be placed on the active layer, which is in our case the Blemishes layer. The Healing Brush however only uses those pixels that are visible in our document window, but like I said, it doesn't matter on which layer they are.
If you return to the screenshot of the options bar you'll notice that I have placed the letter A beside a little black triangle. Click with the mouse on this little triangle and a new window will pop up:

We're going to use a small brush size for our Healing Brush Tool so we select a value of about 20 px. We also want to have soft edges to avoid that our corrections are noticeable in the final image and that's why we're going to select a value of 0% for Hardness. The other settings have Photoshop's default values and don't need to be changed. If these values are different in your case then change them according to the values of the screenshot of the options bar.
The last thing we have to do before we start removing some blemishes is setting the source area. Move your mouse cursor close to an area that needs to be fixed (the source area and the area that needs to be fixed shouldn't overlap) and hold down the Alt key (option key on the Mac) and press your left mouse button; this will mark the source area. With the source area set you can start by removing blemishes by using your mouse cursor as if it were some magic brush.
Note: sometimes it's necessary to change the source area of the Healing brush Tool. You can do this at any time by following the same steps that we used to set the initial source area.


