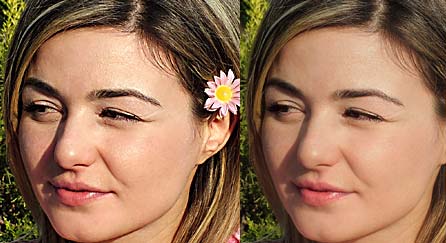
The tutorial below will show you how you can softening the skin tones and lowering the contrast at the same time.
Step 1.) Press ctrl-j to make duplicates of your background layer in your Layer Pallete. Now that you have ‘layer 1 copy’ and ‘layer 1′, hide the ‘layer 1 copy’ by clicking the eye icon and change the ‘layer 1′ layer mode to Darken.
Step 2.) Apply 45 pixel gaussian blur filter to your ‘layer 1′ ( filter > blur > gaussian blur)

Step 3.) Now hide the ‘layer 1′ by clicking on the eye icon, and make the ‘layer 1 copy’ visible by clicking the empty box on the left. After that, change the ‘layer 1 copy’ layer mode to lighten.
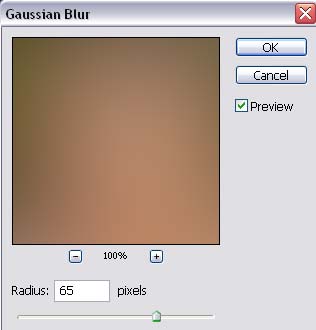
Step 4.) Apply the 65 pixel gaussian blur to ‘layer 1 copy’ (filter > blur > gaussian blur)
Step 5.) Hide your ‘background’ layer and create a new layer above the ‘layer 1 copy’ layer
Step 6.) Now you want to merge ‘layer 1 copy’ & ‘layer 1′ and create a flattened version in your ‘layer 2′ by selecting ‘layer 2′ first, then pressing the alt key and at the same time go to layer > merge visible. Or you can just press alt +shift +ctrl +e.

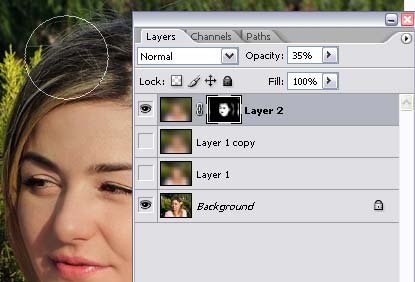
Step 7.) Hide ‘layer 1′ and ‘layer 1 copy’ and make your ‘background’ layer visible. Lower the ‘layer 2′ opacity to 35% or 40%.
Step 8.) Mask the ‘layer 2′ to keep the detail areas such as eyes, lips, eyebrows, hair by clicking on the add vector mask button on the bottom of your layer pallete.
Step 9.) Choose the soft-edged brush, and start to paint the layer vector mask to black to the areas that you should have full detail. Mine is pretty much everything but the skin.