First, open a new document (Ctrl+N), and make the new document 800x800 pixels, in RGB color. Keep the resolution at 72 dpi. Once the new document comes up, hit "D" to reset the foreground and background colors. Then hit Alt+Backspace to fill the selection with black.
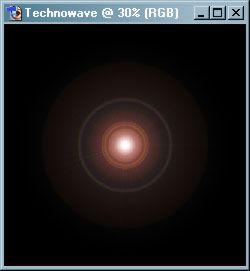
Now go to Filter>Render>Lens Flare, and leave the settings as they are. Using your mouse, position the lens flare in the center of the selection like this and hit OK. Your image should now look like this:
Go to Filter>Stylize>Extrude and make your settings Type: Pyramid, size: 30 pixels, Depth: 255 Random. Hit OK. Now hit Ctrl+F to apply the filter again. Your image should look like this now:

Now go to Filter>Distort>Polar Coordinates and leave the default settings. Click OK. Go to Filter>Blur>Radial Blur and change the amount to 35 and leave the rest of the settings alone. Now go to Image>Adjustments>Auto Contrast. Your image should now look like this one:

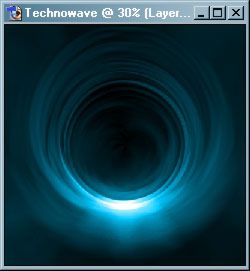
Go down to the layers pallet and create a new layer . Change the Blending of the new layer to "Color". Select a light blue (or any color you wish - light colors work best) from the color pallet. I used #00BFF3 below. Fill the new layer with the light blue (Alt+Backspace). Your image should now look like: