1 Create a new image 1000 x 1000 72 dpi with a white background.
Then hit the Alt + Back Space keys on your background layer to fill it in black.
Next create a new layer.
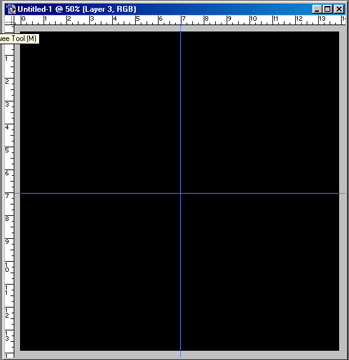
2 Now add 2 guides in the center of your canvas as shown in the example below.
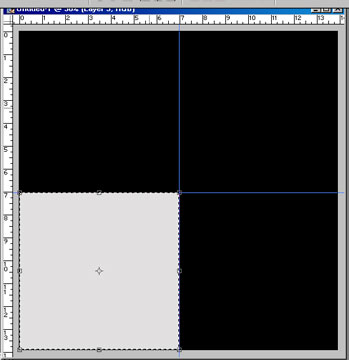
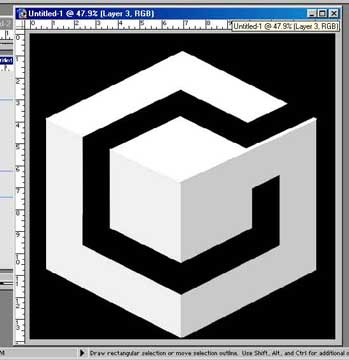
3 Next, you want to create a new layer and select your Rectangular Marquee Tool.
Create a selection on the bottom left corner, following your guides and fill them in gray.
Now do the same on the top left side but filing it with a lighter gray and the bottom right side with a darker gray.
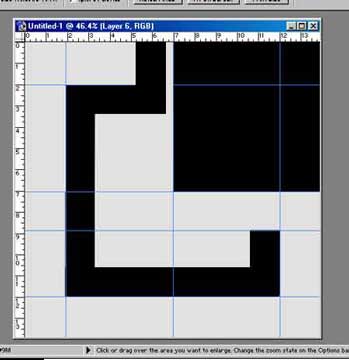
4 Now on your bottom left side box layer you need to select a fixed size for your Rectangular Marquee Tool. Set the width to 520 px and height to 100 px. Delete the horizontal areas that are not needed by using the image below to help guide you.
Keeping your selection, click Select + Tranform Selection and adjust the selections vertical and delete your shapes.
Do the same for the next to layers.
Adding guides as shown below, will help you in being a lot more accurate.
5 On each layer you want to click Edit + Tranform and Distort to transform your selections.
The bottom left box is set to X: 231.0px and Y: 647.1px.
The bottom right box is set to X: 751.0px and Y: 647.1px.
The top left box is at X: 501.0 and Y: 276.3px.
(You may need to make minor adjustments to your shapes to get a similar effect as shown below).
6 These next steps will test your lighting skills. You want to add your lighting effects by clicking Filter + Render + Lighting Effects.
In this first example we used 5 different lights, some of which were tinted blue.
To add more lights you need to click and drag the light bulb icon located on the bottom of the lighting effects window .
Use the example below to help placing the lights. We also recommend looking at our finished logo when adjusting your lights.
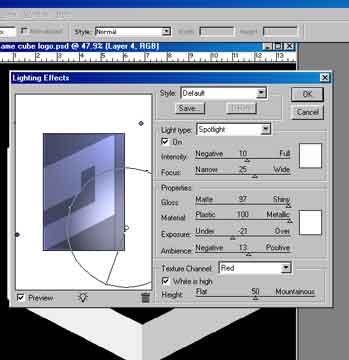
7 Next step is to select the bottom left box and add your lights. We used 3 lights to get the effect needed.
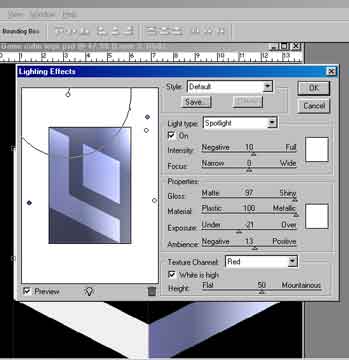
8 For the top left side box you may want to use our finished image for reference when applying your lighting effects.
When adding the bevels it's just a matter of duplicating each shape underneath their layers.
After you have done this you need to cut out the areas where there should not be a bevel.
From here you just have to adjust the Brightness and Contrast. Tip: (Selecting an area of a shape will centralize it so it may be adjusted in that part of the shape only. For example: brightness, levels, curves and transformations).
9 Now you want to resize the logo by linking the layers together. Bring it down enough to allow room for the type.