|
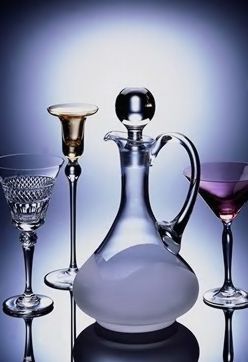
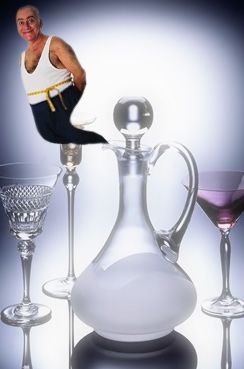
Start by opening an image of a bottle. |
|
|
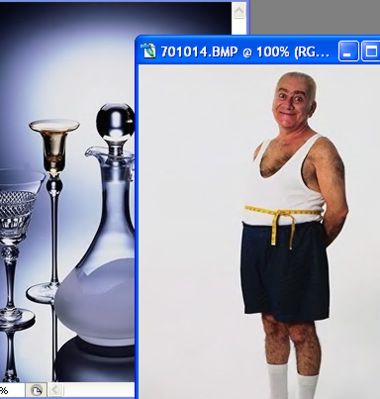
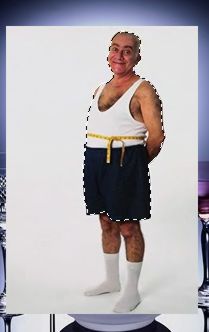
| Open another image of a funny looking man and drag the file to the main file. |
|
|
|
|
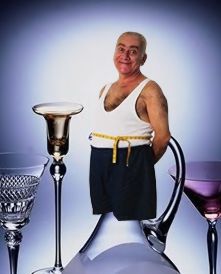
| Press Ctrl_T to transform the layer. Scale it down. |
|
|
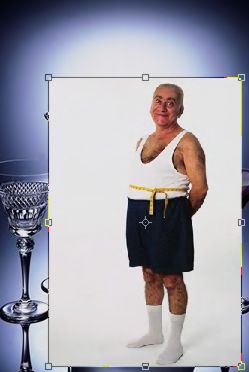
| Create a selection of the man. |
|
|
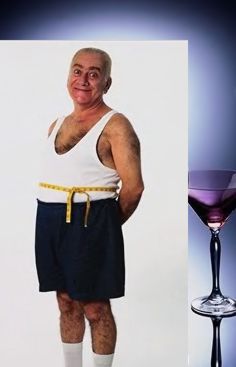
| Press Ctrl+Shift+I to inverse the selection and press delete. |
|
|
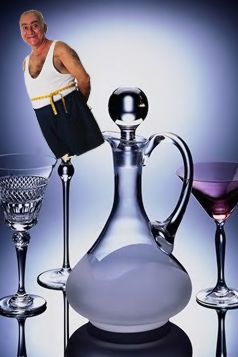
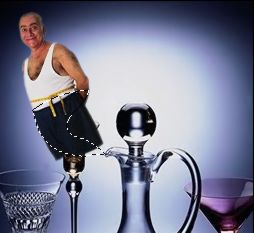
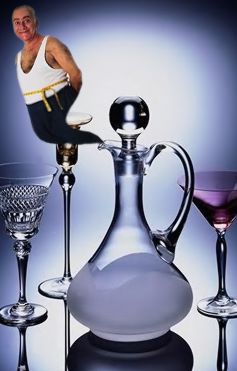
| Rotate the man and move it up. |
|
|
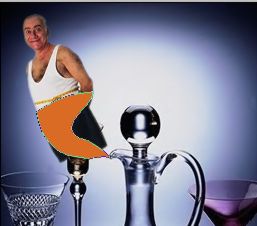
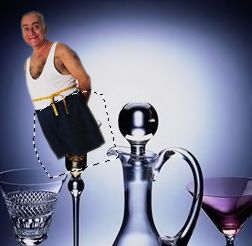
| Draw a shape using pen tool. |
|
|
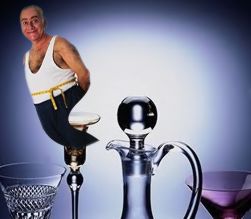
| Ctrl select the shape layer to get the selection and then hide the shape layer. Select the man's layer and press Ctrl+J to copy the selection in a new layer. |
|
|
| Select the man's layer using lasso tool delete the unwanted area. |
|
|
|
|
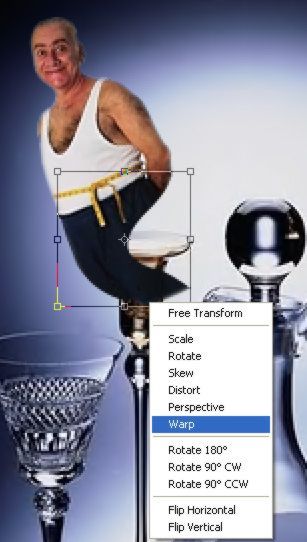
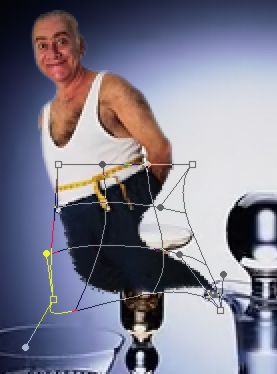
| Press Ctrl+T to transform. Right click the layer and select warp. |
|
|
| Adjust the nodes. |
|
|
|
|
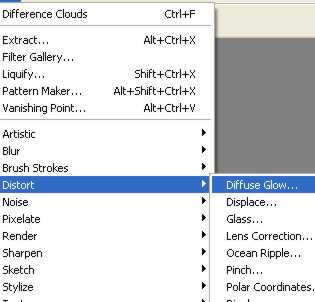
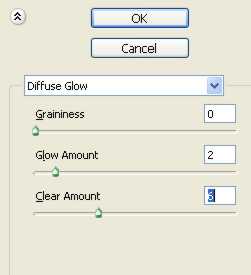
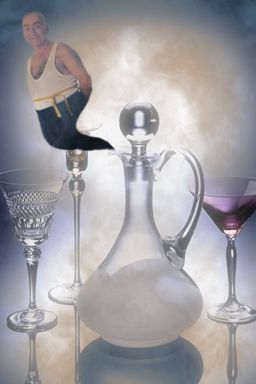
| From layer menu select distort diffuse glow. Apply settings as shown |
|
|
|
|
|
|
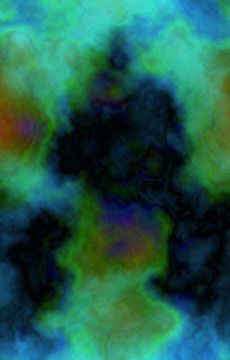
| Create a new layer and fill it with white color. |
|
|
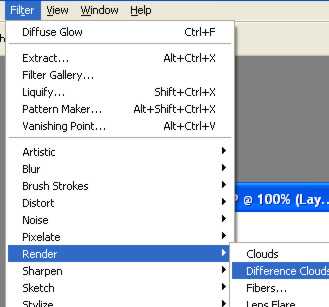
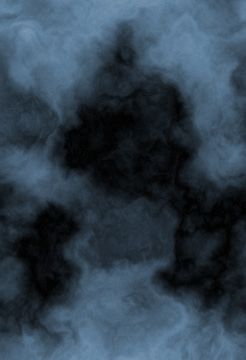
| From layer menu select render>>difference clouds. |
|
|
|
|
| Press Ctrl+F until to get the result like this. |
|
|
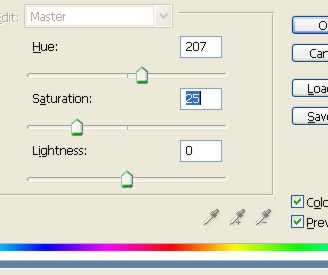
| Press Ctrl+U to open hue saturation window. Apply settings as shown |
|
|
|
|
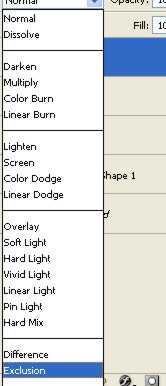
| Change the color mode to exclusion. Reduce the transparency of this layer. |
|
|
|
|