Step 1
Use the next picture in a new document window in Adobe Photoshop, with a black background:
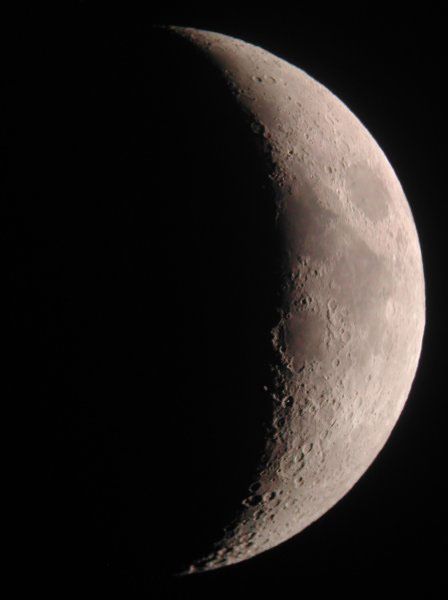
We were allowed to use this picture thanks to Mr. John Steven French from Abrams Planetarium at the Michigan State University.
Step 2
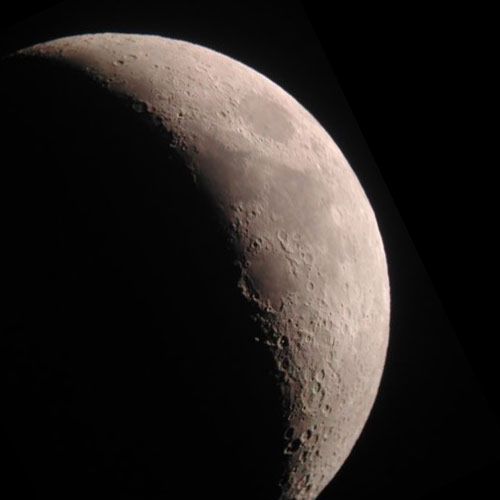
Adjust the picture’s position like here:
Step 3
Adjust the picture colors using Image > Adjustments > Color Balance with the next settings:
Set the contrast and luminosity like here, using Images > Adjustments > Contrast/Luminosity:
Step 5
Adjust the picture position again and export the picture:

Step 6
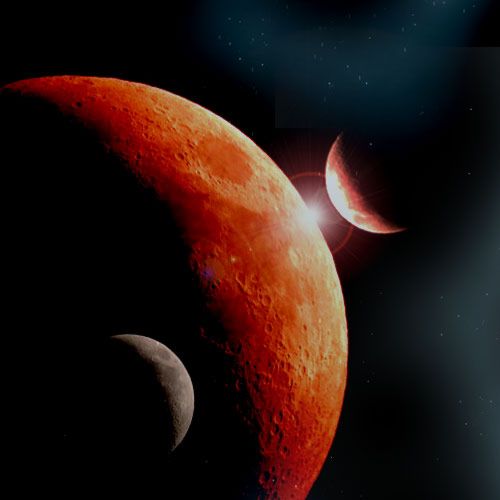
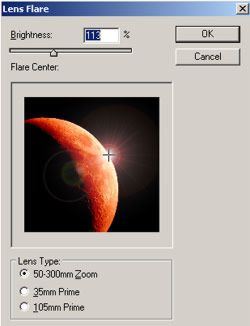
Open the picture which you exported using File > Open. Choose Filter > Render > Lens Flare with the next settings to add a lighting effect to your picture:
<!--
ch_client = "sheic";
ch_width = 468;
ch_height = 180;
ch_non_contextual = 1;
var ch_queries = new Array( "design", "web design", "graphic design", "photoshop", "adobe photoshop", "design tutorials", "corel draw", "adobe illustrator", "macromedia flash", "templates", "camera", "Digital Camera", "powershot");
var ch_selected=Math.floor((Math.random()*ch_queries.length));
ch_query = ch_queries[ch_selected];
//-->
Step 7
Use the first moon picture from this tutorial and the “drag & drop” technique to insert a new moon in your scene, resize it and rotate it like here:
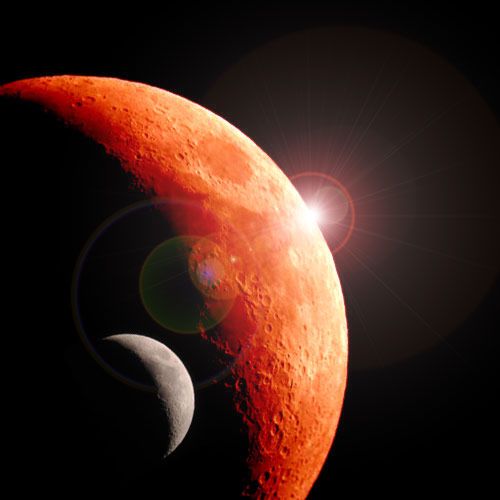
Set the Blending Mode for The Layers in the Layers Tab to “Opacity”.
Step 8
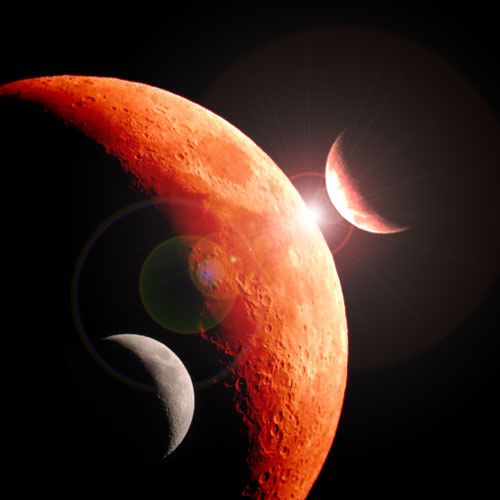
Duplicate the moon’s satellite and place it in a new position; flip it horizontally and vertically like in the picture below:
Step 9
Using a scene effect you can obtain a result like this or something even better (probably I will show you how to do that in another Photoshop tutorial, so don’t forget to check DesignTutorials.info frequently