|
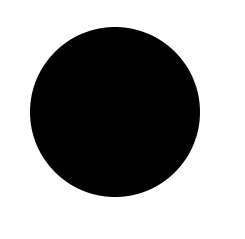
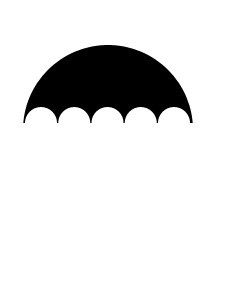
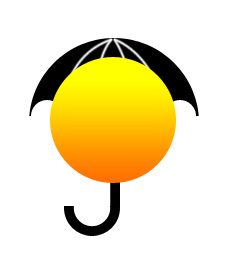
Start by creating a circle using elliptical shape tool. |
|
|
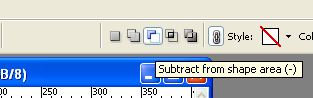
| Enable "subtract from shape area at top bar". |
|
|
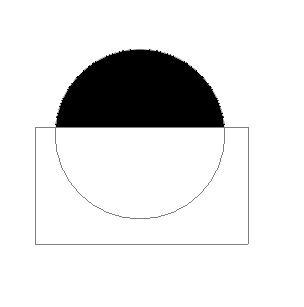
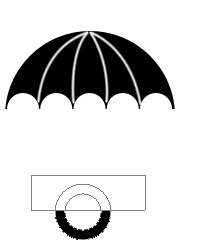
| Draw a rectangle in lower half of the circle. |
|
|
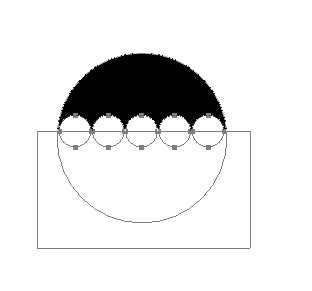
| Keep "subtract from shape area still enabled and draw some circles as shown in the image below. |
|
|
|
|
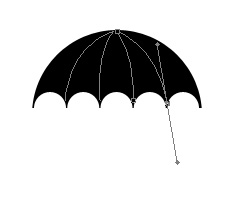
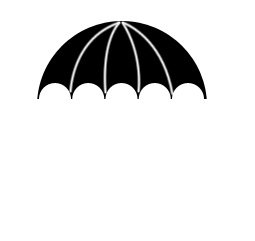
| By now the umbrella shape must be visible to you. Select pen tool and from top bar select the path mode. |
|
|
| Draw some curved lines using pen tool as shown in the image below. |
|
|
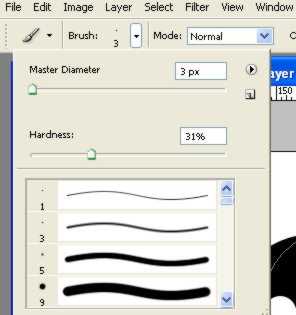
| Select brush tool. Adjust settings as shown. |
|
|
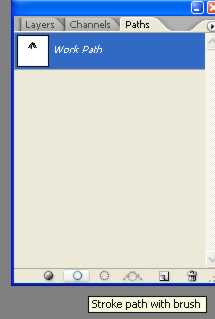
| In path window click "stroke path with brush button" to stroke the path with the brush we set in previous step. |
|
|
|
|
| Create a circle frame shape using custom shape tool. As we did initially enable subtract from shape area at the top bar and create a rectangle to remove the upper half of the circular frame. |
|
|
|
|
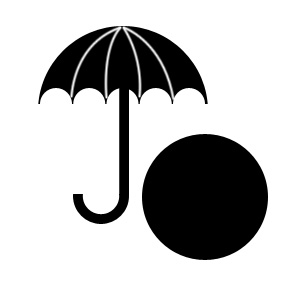
| Draw a thin vertical rectangle that connects the handle and top of the umbrella. |
|
|
| Create a circle using elliptical shape tool. |
|
|
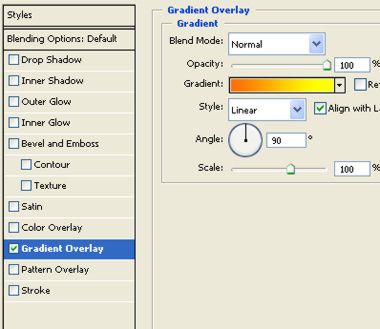
| Double click the layer to open layer style window. apply gradient overlay using settings shown. |
|
|
|
|
| Move the sun layer below umbrella layers in layer window. |
|
|
| Select all layers. Scale down and move to the left. Type the company name etc with a nice font. |
|
|
| Apply some nice stroke to the text. |
|
|