Step 1
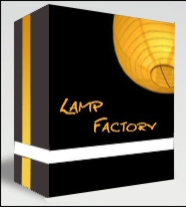
The theme of the tutorial will be a box design for a paper lamp. You can use any picture with a lamp, I picked this one.
<!--
ch_client = "sheic";
ch_width = 468;
ch_height = 180;
ch_non_contextual = 1;
var ch_queries = new Array( "design", "web design", "graphic design", "photoshop", "adobe photoshop", "design tutorials", "corel draw", "adobe illustrator", "macromedia flash", "templates", "camera", "Digital Camera", "powershot");
var ch_selected=Math.floor((Math.random()*ch_queries.length));
ch_query = ch_queries[ch_selected];
//-->

Open a new document 400x400 pixel with white background. Now go to View->Show->Grid. This will help you to keep the proportions right.
Step 2
Make a new layer Layer->New Layer. Select the Polygonal Lasso Tool and draw a shape just like in the image below.
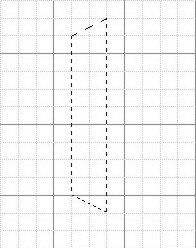
You can keep those proportions. Now fill the new shape with #3e3636, a lighter black. Now make a new layer and draw the rest of the box just like in the image,
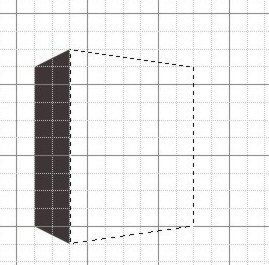
Fill the shape with black and go to View->Show->Grid to deselect the grid.
Step 3
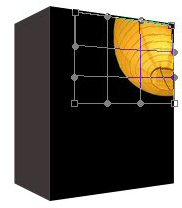
This part is a bit tricky. Make sure the image with lamp, or the image you choose it’s open. Be sure the last layer created is selected and drag the image in the box. No go to Edit->Transform->Warp.
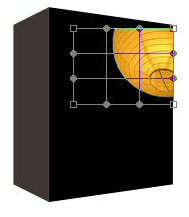
Now hold left click and drag the corners and the other points until the picture take the shape of the box.
Step 4
Make a new layer and with the Polygonal Lasso Tool draw a rectangular on the front of the box.
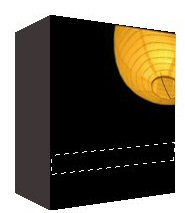
Fill it up with white and do the same shape on the other part of the box and again fill it up with white.
Step 5
Select the Background layer. Set the Gradient Tool from a dark grey to an almost white and fill the background.

With the Polygonal Lasso Tool draw a rectangular like the one in the image and fill it up with dark grey.
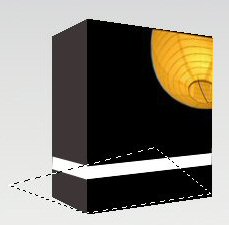
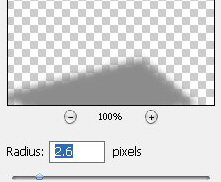
Go to Filter->Blur->Gaussian Blur.
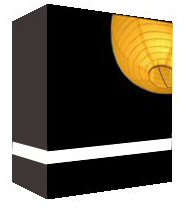
Step 6
Now you can make the same rectangular on the side, like the white one and fill up with orange and yellow, or with the colors from your image. Add some text and here is the box.