|
Start by applying a gradient to the background. |
|
|
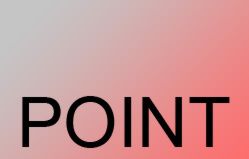
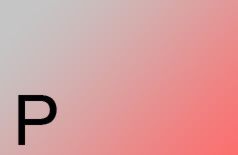
| Type text in a new layer. |
|
|
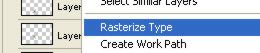
| Right click the layer and select rasterize. |
|
|
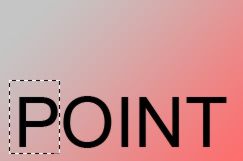
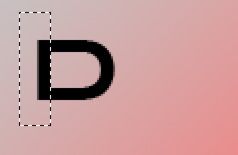
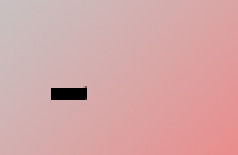
| Using rectangular marquee tool create a selection over "P". Press Ctrl+Shift+J to cut and paste the selection in a new layer. |
|
|
| Similarly cut & paste all the alphabets. |
|
|
| Hide all alphabets except "P". |
|
|
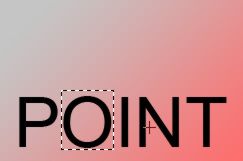
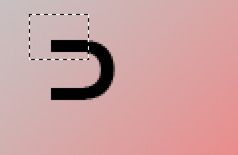
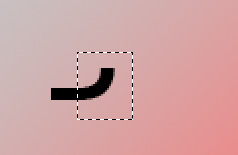
| Select lower portion of "P" using rectangular marquee tool. Press Ctrl+Alt+J to cut and paste the selection in a new layer. |
|
|
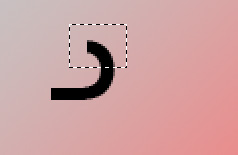
| Similarly split the other parts of "P" in separate layers. |
|
|
|
|
|
|
|
|
|
|
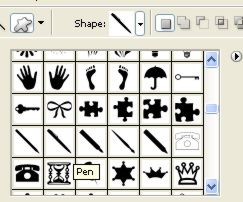
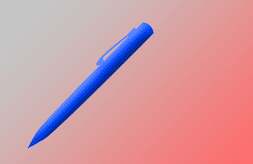
| Create a pen using custom shape tool. |
|
|
| Split the other alphabets in separate layers similarly. |
|
|
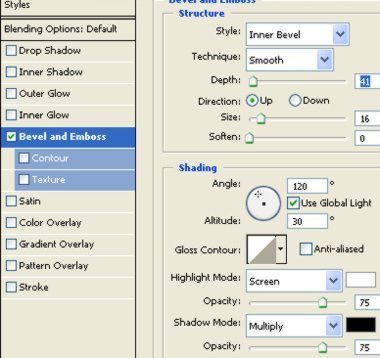
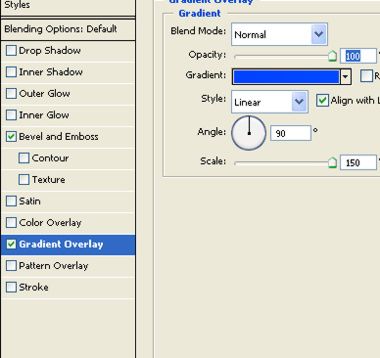
| Double click the pen layer to open layer style window. Apply layer style with the settings shown. |
|
|
|
|
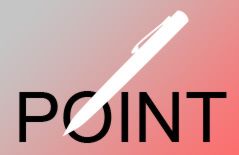
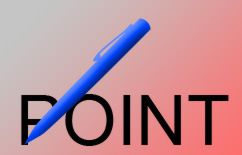
| Place it at the bottom of first letter "P" as shown in the image below. |
|
|
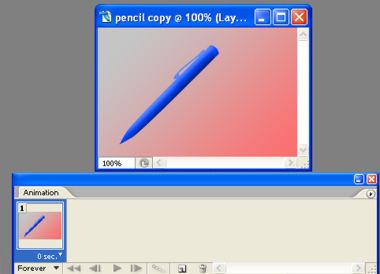
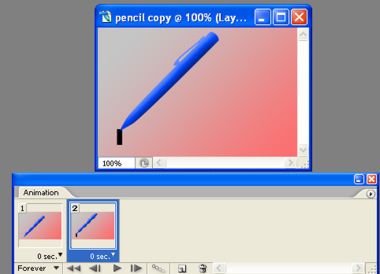
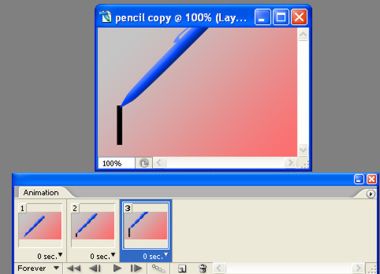
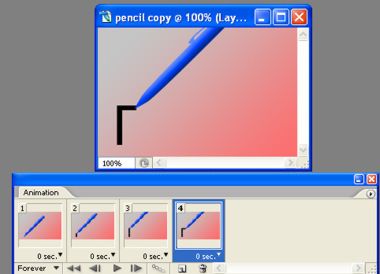
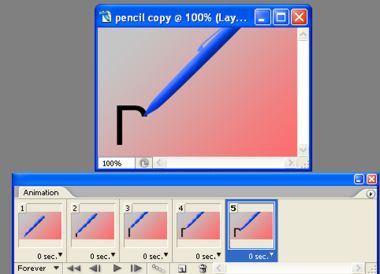
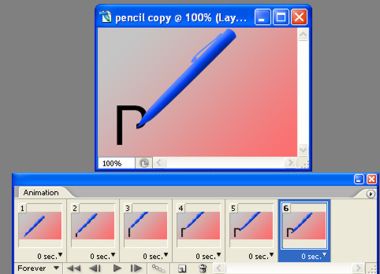
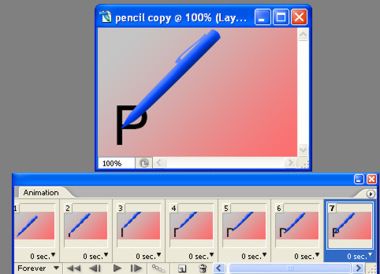
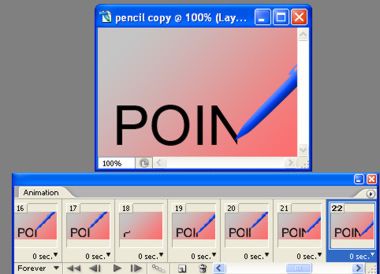
| Open animation window. For the first frame hide all text. |
|
|
| Duplicate frame. Move the pen along with the flow of the text and keep unhiding the alphabet's parts as you move ahead. |
|
|
|
|
|
|
|
|
| Duplicate the layer and scale it up. |
|
|
|
|
|
|
| Adjust delay duration of the frames as per your speed requirement. |
|
|
| Press Ctrl+Alt+Shift+S to save an optimized animated GIF. |
|
|