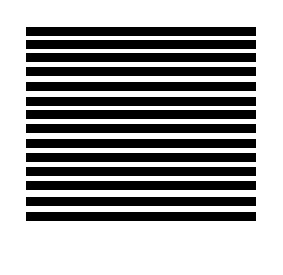
Start by creating a thin rectangular strip using rectangle tool.

Duplicate the strip and place below the first strip with a gap of few pixels.

Similarly create several duplicates and place according to the image below.
Select all layers, link together and merge.
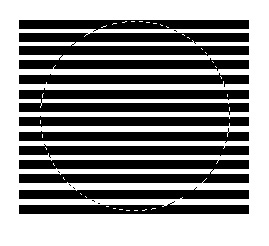
Using elliptical marquee too drag a circular selection over this merged layer. Press Shift+Ctrl+I to inverse the selection and press delete.

Enable lock transparent pixels from layer palette.
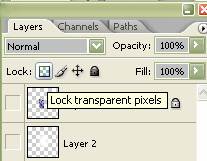
Drag a radial gradient in this layer using gradient tool.

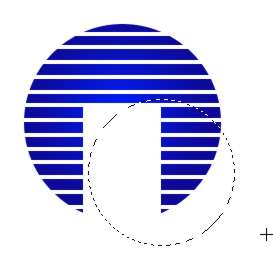
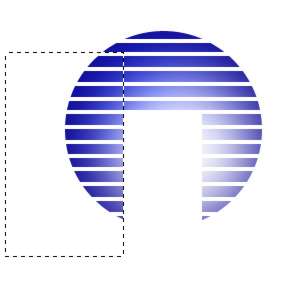
Now we'll create a gate in this shape. Drag a rectangular selection over lower half of this image using rectangular marquee tool. Press Shift+Ctrl+J to take out image area from this selection in a new layer.

Hide this new layer. We'll refer this layer as gate layer.

Create a circular selection using elliptical marquee tool.
Press Ctrl+Alt+D to feather the selection. Use settings shown.

Fill the feathered selection with white color.

Drag a rectangular selection over left half of this image using rectangular marquee tool
Press delete to delete the white halo in this area.

Unhide the gate layer.

Fill it with a darker shade of blue.

Press Ctrl+T, right click and select distort.
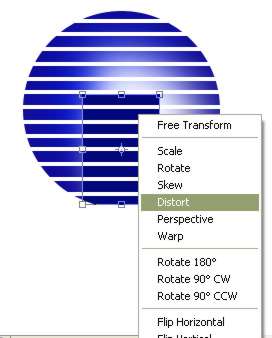
Adjust the nodes to give this shape an open gate effect.

Type the company name at the bottom.

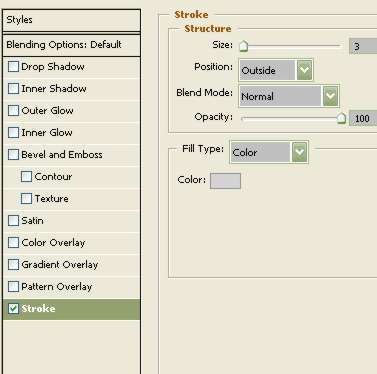
Apply stroke using following settings.

Take a duplicate of text layer. Rasterize it. Ctrl+Click to get selection.

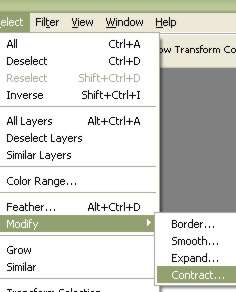
Contract the selection by 1 pixel.
Fill it with white color.

Move it 1 pixel left.

Drag an elliptical selection over this.

Press Shift+Ctrl+I to invert the selection.

Press delete to remove white text in this selection.

Add a nice punchline below the company name.