STEP 1.
Change the "Exposure" to something like, (another decision by you) anything from 15-40%.
Set the size of it to 5.
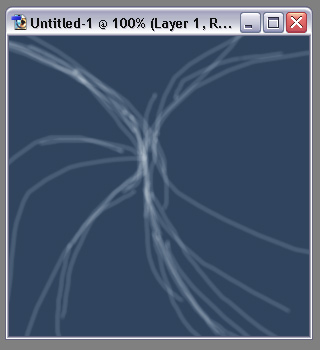
STEP 2.
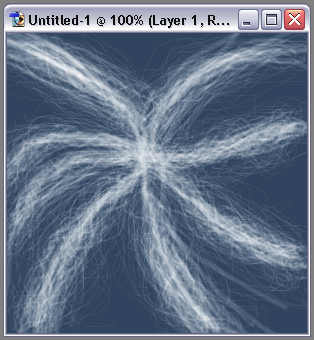
Now, start to 'dodge' in some basic lines, like the ones I have drawn, on the new dark colored layer we made. don't be afraid to make them go in different directions or what not, but for the sake of the tutorial, please have them all originating in the center like I have done.
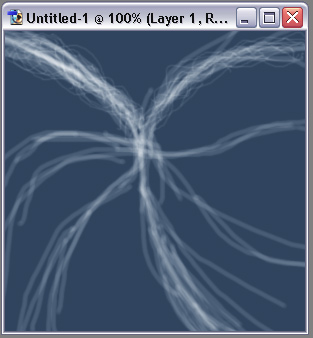
STEP3.
Go over the lines once or twice...
Okay, now you can set your dodge tool to size 3. Go over the lines again, but this time, use a spinney fashion, like wrap the little ones around the thicker ones.
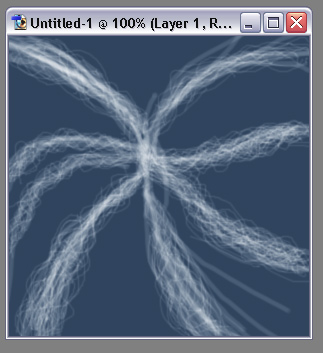
STEP 4.
Keep drawing more lines,...and more lines...
Now, that looks pretty cool already doesn't it? well I think so anyway...
so you can skip the next couple steps if you want...
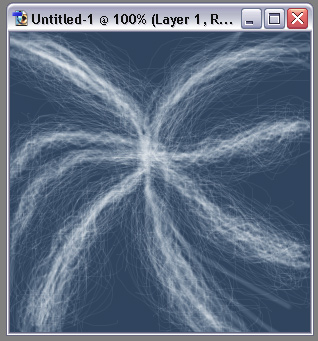
STEP 5.
Keep drawing more and more lines...
STEP 6.
Thicken the lines a bit...
STEP 7.
Okay, now the rest is TOTALLY up to you...you can do some things like:
Image> Adjustments> Brightness & Contrast (values: 0 bright, 65 contrast) Image> Adjustments> Hue & Saturation, and colorize it
Pull out your Smudge tool, if you smudge it right you can make it look like an energy beam from Dragon Ball Z.
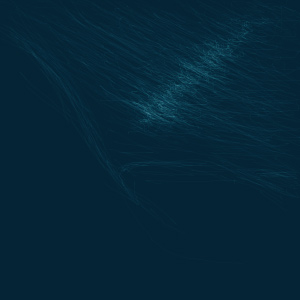
Slap on a few layer modes and layer duplications and put in some anytime.
Or, try and make something out of it. I tried to make a ripple effect, below is the rough draft.


