жӣҙж–°ж—¶й—ҙпј� 2006-08-01
еҪ•е…Ҙпј� й»„еҸ¶йЈһжү¬ пј�
| The following tutorial is courtesy of "Photoshop CS Down & Dirty Tricks" by Scott Kelby |
 The inspiration for this one came from a zoo T-shirt I saw someone wearing. You start with photographs and convert them into silhouettes, and the final effect looks as if you drew the figures in Adobe Illustrator. At the end of the technique, I give you a couple of different examples of how this handy technique can be utilized.
|
|
| STEP 1 |
|
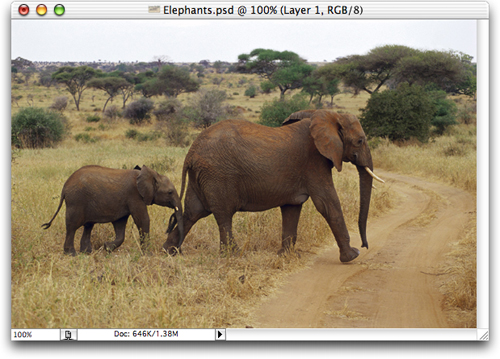
| In this project, we¡¯re going to build a T-shirt design for a zoo by converting three typical animal photos into drawings. Start by opening the first of these three photos. |
|
|
| STEP 2 |
|
| Use any selection tool you¡¯d like to put a selection around the elephant (I used the Magnetic Lasso tool). As usual, the Magnetic Lasso tool didn¡¯t do a perfect job all by itself, so after it was done, I had to add some areas of the elephant to the selection by holding the Shift key and using the Regular Lasso tool. |
|
|
| STEP 3 |
|
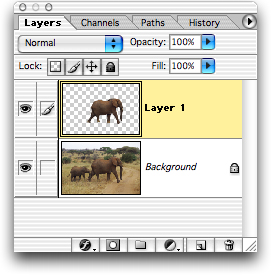
| Once the elephant is fully selected, press Command-J (PC: Control-J) to put the elephant up on its own separate layer above the Background layer (as shown here in the Layers palette). |
<!-- BEGIN ADVERT_SQFLOAT -->
<!-- END ADVERT_SQFLOAT -->
|
|
| STEP 4 |
|
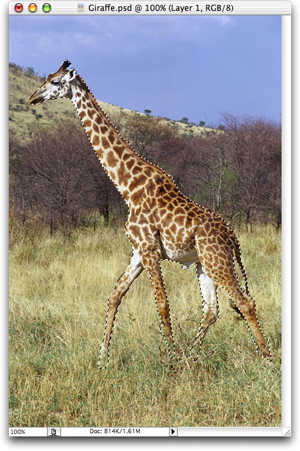
| Slide the elephant photo over to one side of your screen and open the second photo¡ªin this case a giraffe. Put a selection around the giraffe (again, I used the Magnetic Lasso, and then the Regular Lasso tool to add any areas that the Magnetic Lasso tool missed). When your giraffe is selected, press Command-J (PC: Control-J) to put a copy of the giraffe up on its own layer. |
|
|
| STEP 5 |
|
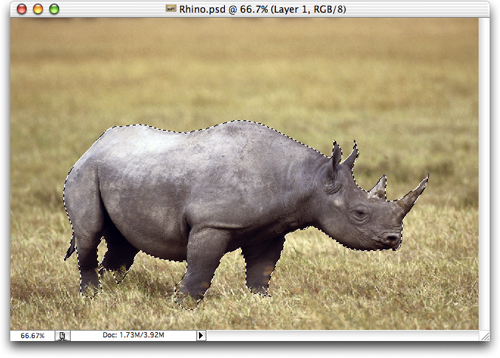
| Slide the giraffe photo out of the way and open the third photo¡ªin this case a rhino. Put a selection around him, then press Command-J (PC: Control-J) to put a copy of the rhino up on its own layer. You should now have three open documents, each with an animal on the top layer. |
|
|
| STEP 6 |
|
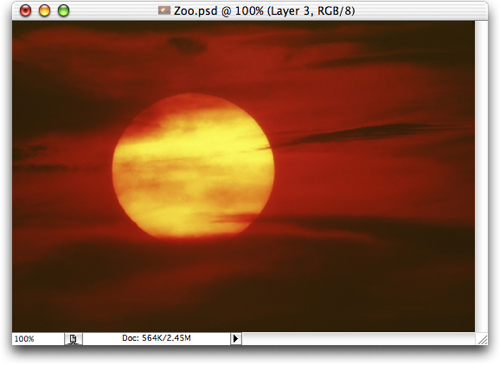
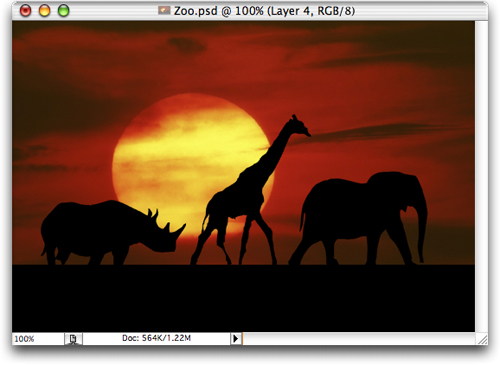
| Now open the photo that will serve as a background for the animals (in this case, it¡¯s a photo of a sunset). |
|
|
| STEP 7 |
|
| Go to the Layers palette, and click on the New Layer icon to create a new blank layer. Then get the Rectangular Marquee tool and draw a rectangular selection across the bottom quarter of your photo. Press ¡В°d¡Вұ to set your Foreground color to black, then press Option-Delete (PC: Alt-Backspace) to fill this rectangle with black (as shown here). Press Command-D (PC: Control-D) to deselect. |
|
|
| STEP 8 |
|
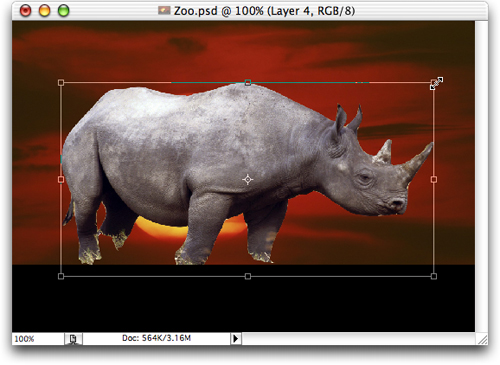
| Now switch back to one of the animal photos. Press the letter ¡В°v¡Вұ to get the Move tool, then drag the animal over onto your sunset background. Once it¡¯s in your sunset document, you¡¯ll need to scale it down in size. Press Command-T (PC: Control-T) to bring up Free Transform. Hold the Shift key, grab a corner point (as shown), and drag inward to shrink the rhino. |
|
|
| STEP 9 |
|
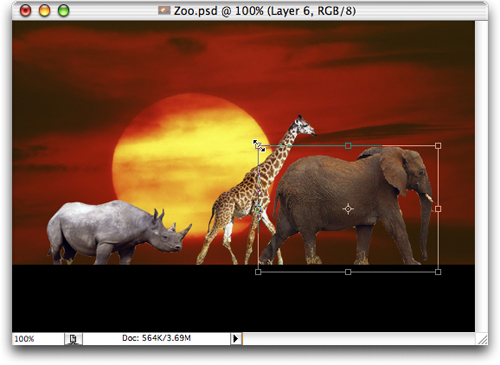
| Scale the rhino to the size shown here, and place him as though he¡¯s walking on the black rectangle. Now, repeat this process for the other two animals: drag them over into your sunset document using the Move tool, then use Free Transform to scale them down to size, to make a row of animals (as shown here). |
|
|
| STEP 10 |
|
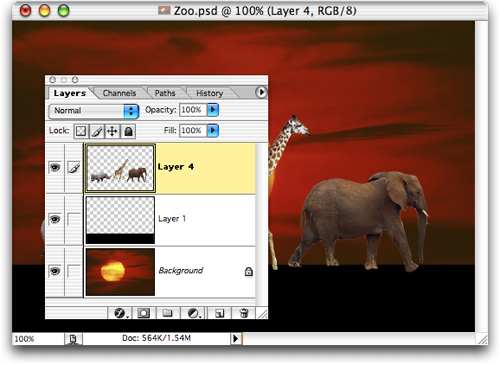
| These animals will be on three separate layers, and we need all three on just one layer, so in the Layers palette, click on the top animal layer, then press Command-E (PC: Control-E) two times. This will merge the three animal layers down into one layer (as shown here in the Layers palette). |
|
|
| STEP 11 |
|
| Black should still be your Foreground color, so all you have to do is press Shift-Option-Delete (PC: Shift-Alt-Backspace) to fill the animals with black, creating a hand-drawn silhouette look (as shown here). |
|
|
| STEP 12 |
|
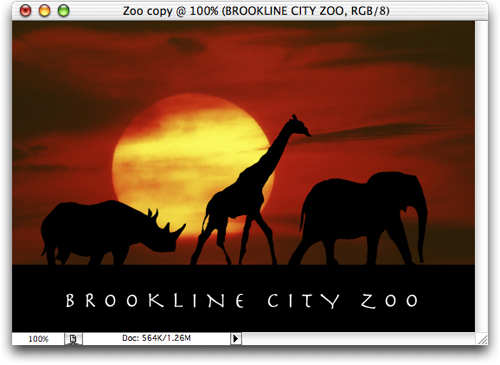
| The final step is simply to add some type. I used the font Herculanum, in all caps with the tracking set to 345 in the Character palette (tracking is the amount of space between letters). On the follow page, I included two more examples of how to use this technique. |
|
|
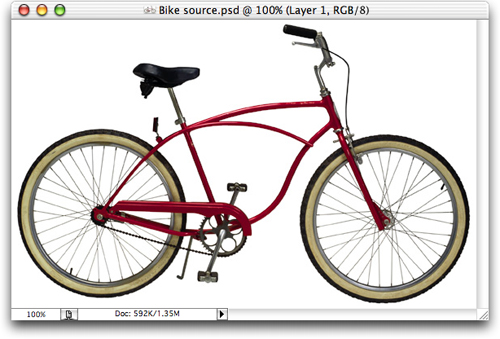
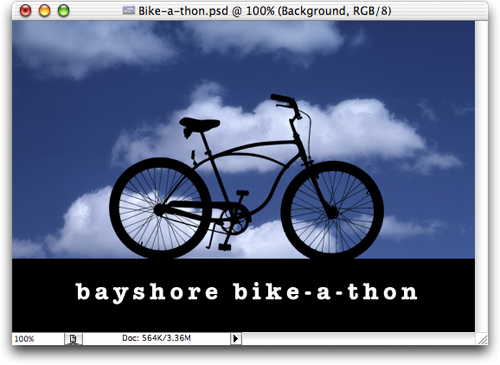
| Example Two |
|
| Here I used a photo of a bicycle, dragged it onto a cloud background, filled the bike with black, and added some type (in the font American Typewriter Bold, from Adobe). |
|
|
| Example Three |
|
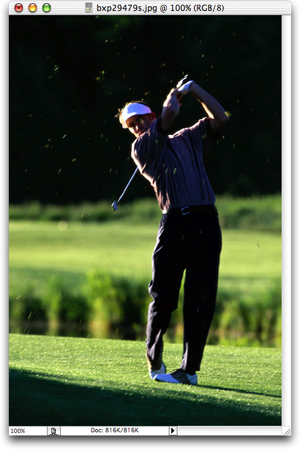
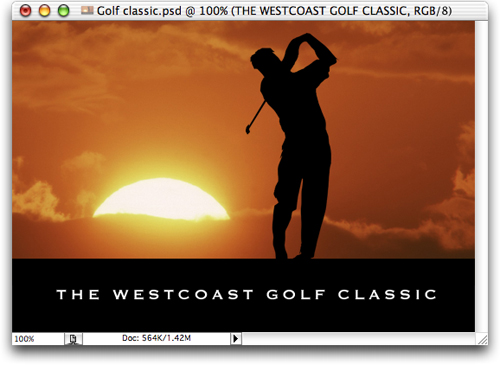
| Here¡¯s a golf photo, where I selected the golfer, moved him onto a different sunset photo, and turned him into a silhouette for a golfing event. The technique is actually easy¡ªwhat will take the most time is finding a photo that translates well into a black silhouette. |