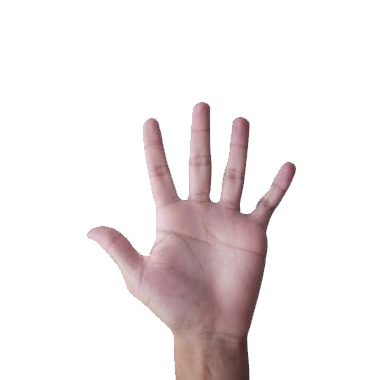
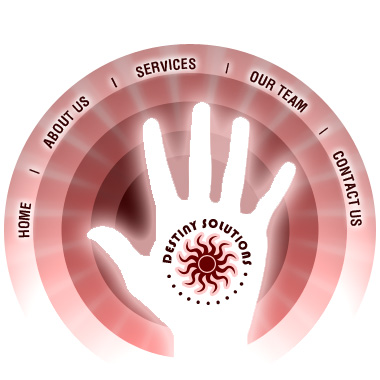
| Start by opening an image of hand. You can even take a digital photo of your hand too. Create a cutout using any of your fav cutout methods. |
|
|
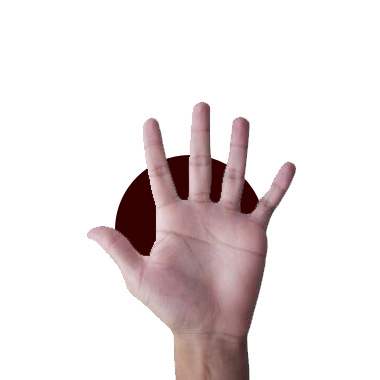
| Create a new layer below hand layer. Create a circle using elliptical shape tool. |
|
|
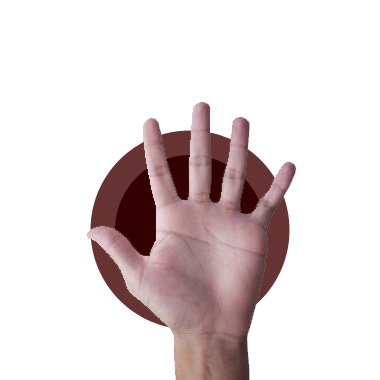
| Duplicate the circle layer and scale up the layer below. Fill with a different color. |
|
|
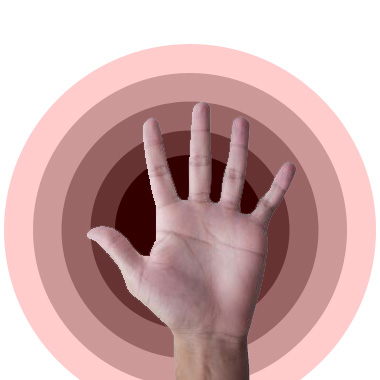
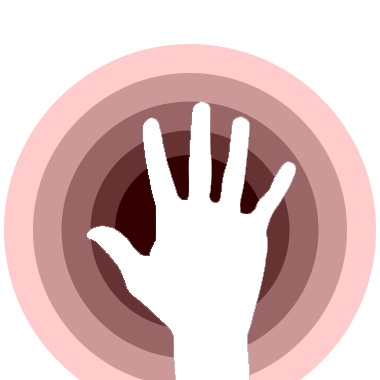
| Repeat the steps and fill the circles with different shades of almost same color. |
|
|
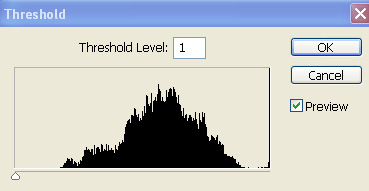
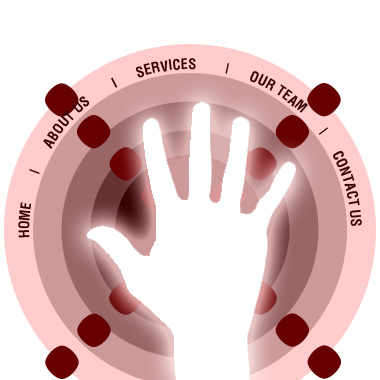
| Select hand layer. From image menu select adjustment>> threshold. Enter settings as shown. |
|
|
|
|
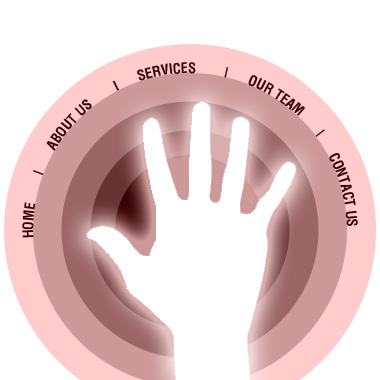
| Double click the layer to open layer style window. Apply settings as shown. |
|
|
|
|
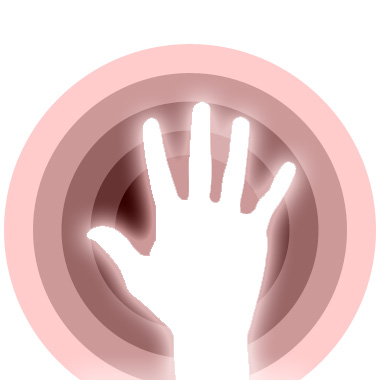
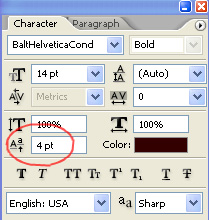
| Select text tool and click on the second most outer circle. Type the button links on this circular path. |
|
|
| In character window increase baseline shift so that text moves a bit up from the circle edges. |
|
|
|
|
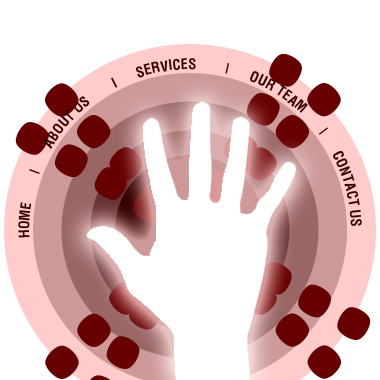
| Using custom shape tool (U), create a shape Tile 3 in a new layer. |
|
|
| Duplicate and rotate 45°. |
|
|
| Repeat the steps to complete the shape below. |
|
|
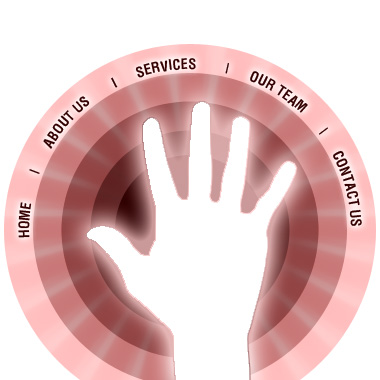
| Merge all layers and change layer mode of merged layer to overlay. |
|
|
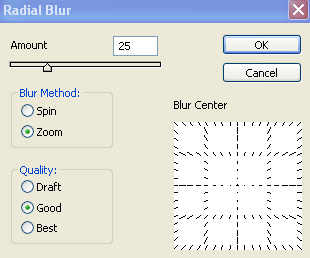
| From filter menu apply blur>>radial blur and adjust settings as shown. |
|
|
|
|
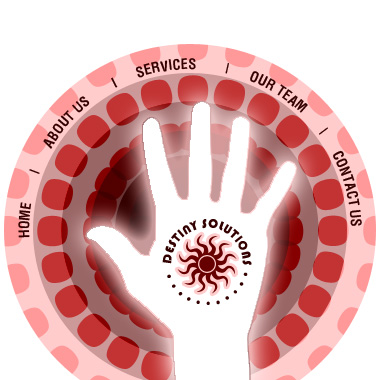
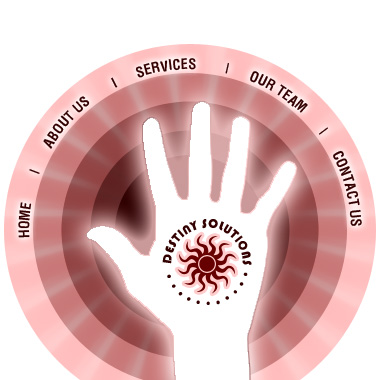
| Insert company logo and place on the palm area. |
|
|
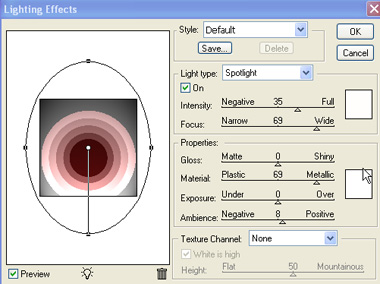
| From filter menu apply render>>lighting effects and adjust settings as shown. |
|
|
|
|