| Start by creating a rectangle to the size of the header. |
|
|
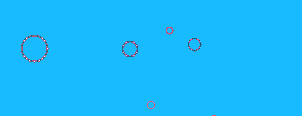
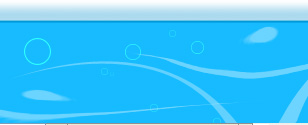
| Using custom shape tool draw some random size circle thin frame shapes. |
|
|
|
|
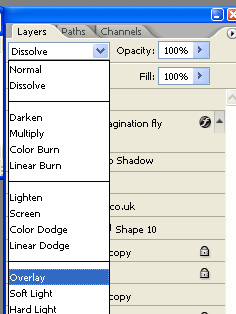
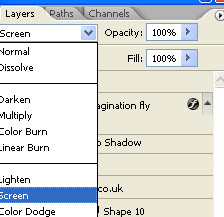
| Change layer mode of this layer to overlay. |
|
|
|
|
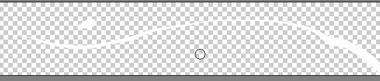
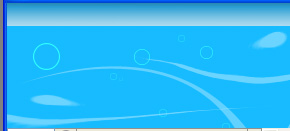
| Using pen tool draw some wave shapes. Don¡¯t bother to get the right shape. We¡¯re going to distort the shape in coming steps anyway. |
|
|
| From filter menu select liquify. From liquify window select forward warp tool. |
|
|
| Drag the tool on wave shape to distort the edges. |
|
|
| Press Ok once you¡¯re finished with the output. |
|
|
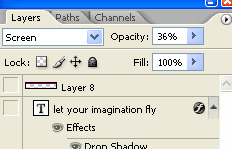
| Change layer mode to screen. |
|
|
|
|
| Draw a rectangular selection at the top using rectangular marquee tool. |
|
|
| Apply a linear gradient in this selection. |
|
|
| Duplicate the layer. Enable lock transparent pixels. |
|
|
| Apply another linear gradient to this layer. |
|
|
| Change layer mode to screen. |
|
|
|
|
| This top bar will serve as a place holder for text links. Draw a thin line below the top bar to divide this from the rest of the header. |
|
|
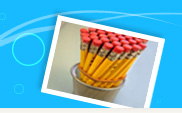
| Place an image of the company product. |
|
|
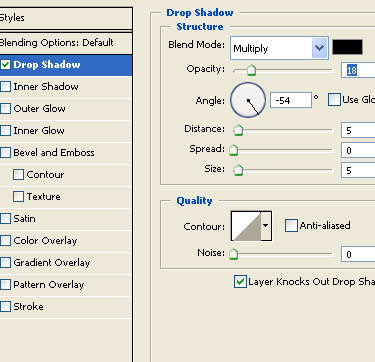
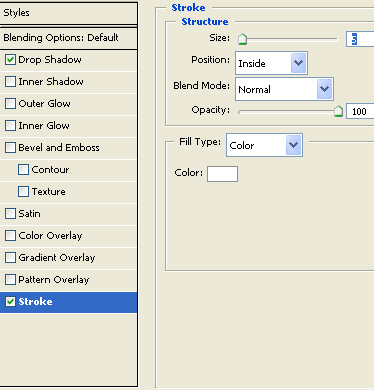
| Apply following layer style using settings shown. |
|
|
|
|
|
|
| Similarly insert more pics and apply same layer style to frame the additional images. Rotate as per your chois. Overlap the images slightly and place all on right side of the header. |
 |
| Insert company logo to the left of the header. |
 |
| Type links text over the top bar and fill the empty space with some punchline using a nice font. |
 |