| Start by creating sky area by applying a light gradient on the background. |
|
|
| Create the ground using a rectangle and fill it with green color. |
|
|
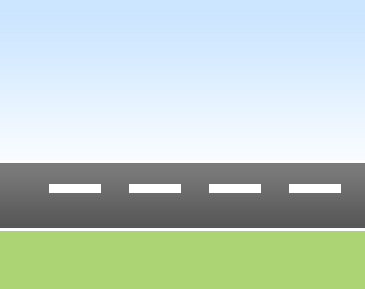
| Create another rectangle above the green rectangle. This’ll serve as a road shape. |
|
|
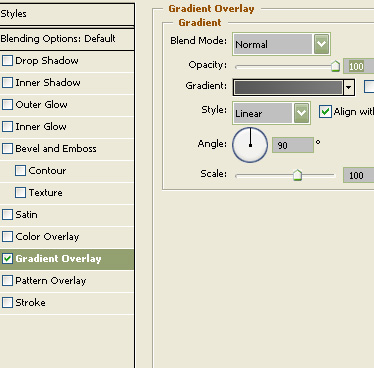
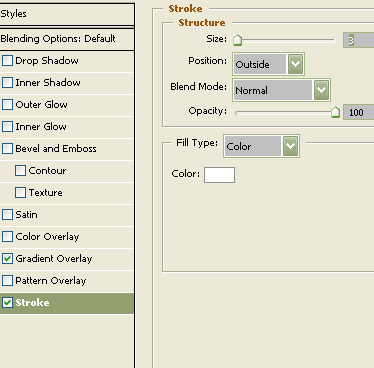
| Apply following layer styles. |
|
|
|
|
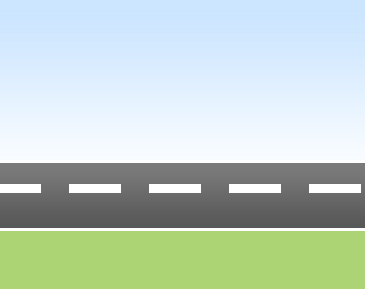
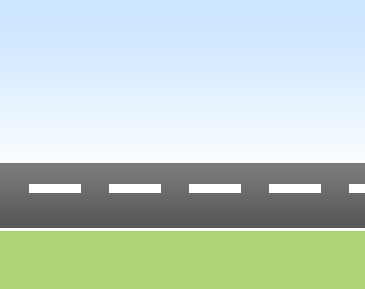
| Create a small horizontal rectangle in the center of road. |
|
|
| Duplicate the rectangle . |
|
|
| Merge all the small rectangle layers. Duplicate the merged layer, and press Shift+Right Arrow 2imes. Hide the original layer. |
|
|
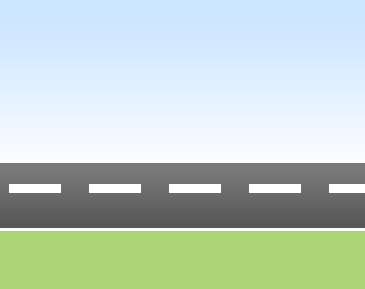
| Similarly create another duplicate of the previous layer and move it 2 times. |
|
|
| Create one more duplicate similarly. |
|
|
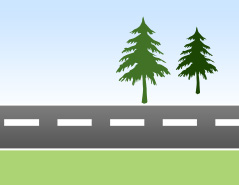
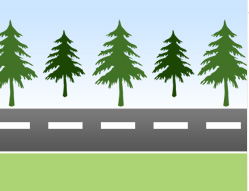
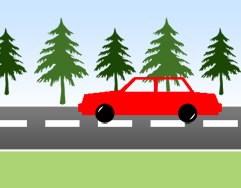
| Using custom shape tool create a tree. |
|
|
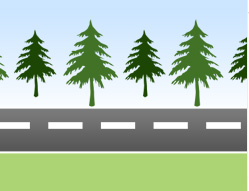
| Populate the area with more trees. |
|
|
|
|
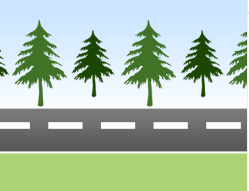
| Merge the tree layers. Create similar number of duplicates and move as you did for the road paint layer. |
|
|
|
|
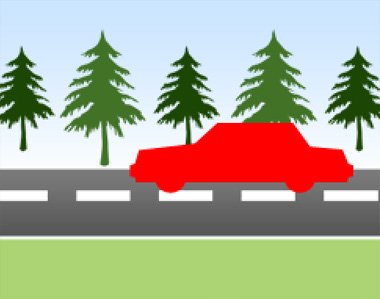
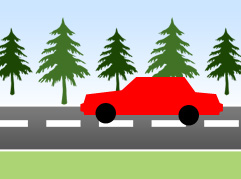
| Create a car shape using custom shape tool. |
|
|
| Draw circles for wheels. |
|
|
|
|
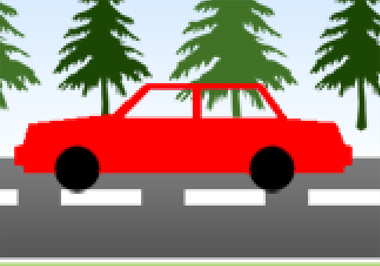
| Merge car and wheel layers. Knock out areas for car windows. Duplicate the car layer. Move a few pixels up. Hide this layer. |
|
|
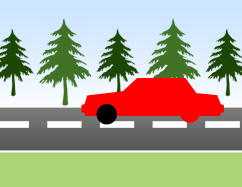
| Add a couple of glints using a small white brush on the car wheels. |
|
|
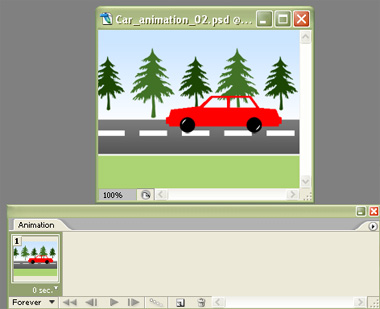
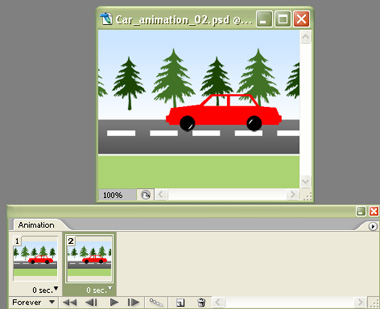
| Open animation window. For the first frame hide the all the duplicate layers of road paint, tress and glint on wheel except the initial ones. |
|
|
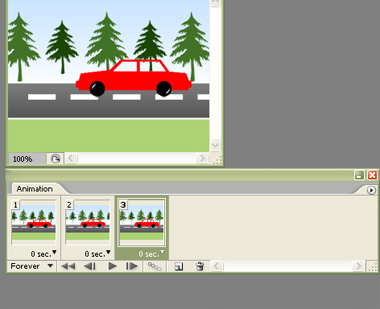
| Duplicate the frame. HIde the initial positions of different elements and unhide the second position/layers of the elements. |
|
|
| So on and so forth repeat the procedure till four frames. |
|
|
|
|
|
|