Description: In this tutorial, you will learn how to add that magical fairy dust to your logo.
Creating a logo with fairydust
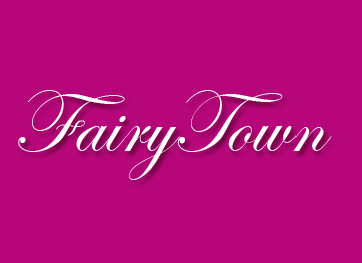
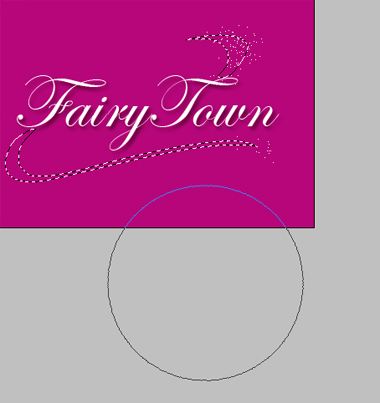
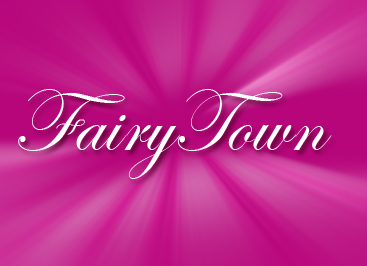
Start by opening a new file. FIll the background with dark pink color.
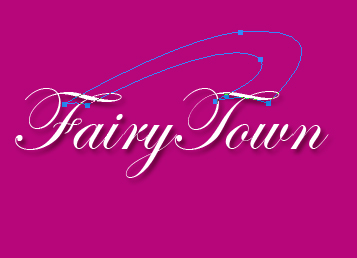
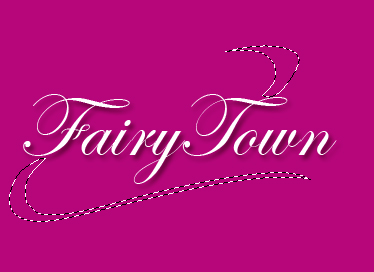
Type the text "FairyTown" using some nice n fancy font.
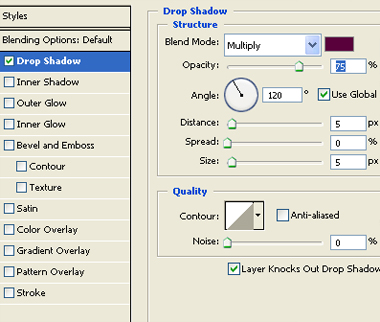
Double click the layer to open layer style window and enable drop shadow. Use settings as shown.
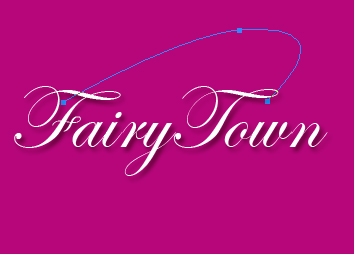
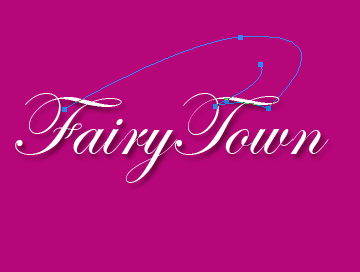
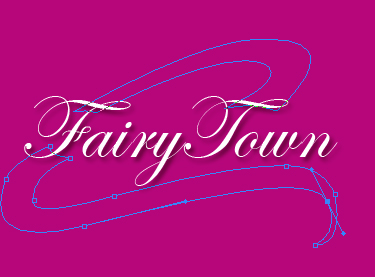
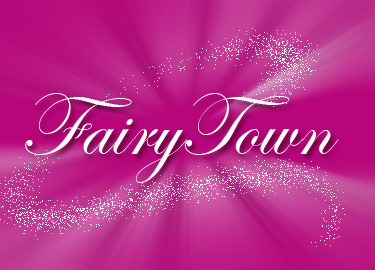
Now we'll create fairydust shape. Using pen tool create a wave like shape.
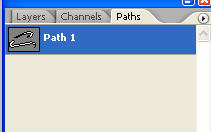
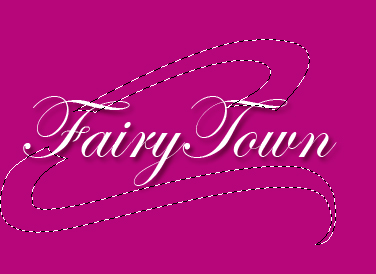
Ctrl+click the path layer to convert the path into selection.
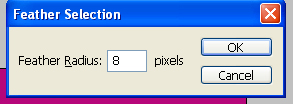
Press Ctrl+Alt+D to feather the selection.
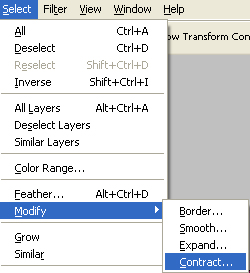
From select menu select modify>>contract.
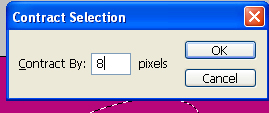
Contract the selection by 8 pixels.
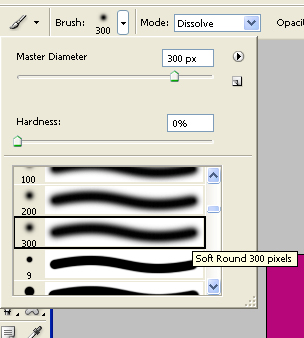
From brush pallete select "soft round 300 pixels brush".
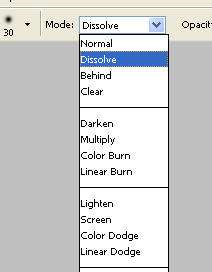
Change the brush color mode to dissolve.
[NextPage]
Apply the brush at the edge of the selection.
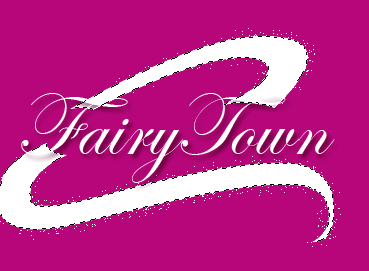
Again select the path and then Ctrl+click to get the selection.
Create a new layer. And fill the selection with white color.
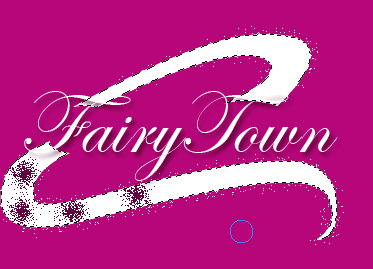
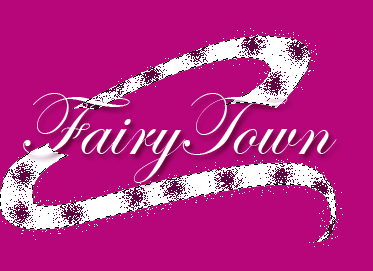
Select small brush with some dark color. and apply the brush in selection. Make sure the brush dissolve mode is enabled.
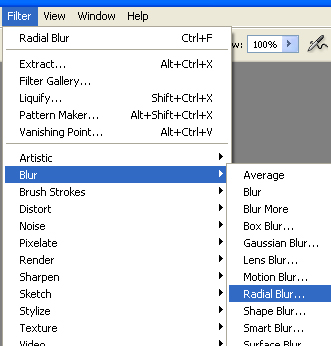
From filter menu select blur>>radial blur.
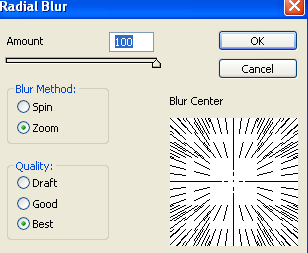
Apply blur settings as shown.
Hide the visibilty of fairy layer.
Press Ctrl+F to apply the effect again. Apply the effect until you get the same result.
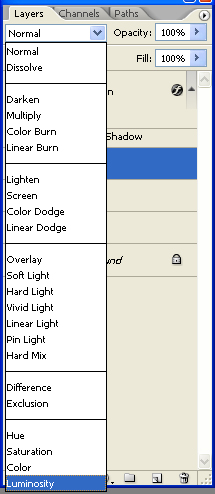
Change the color mode to luminosity.
Enable visibilty of the fairy layer.
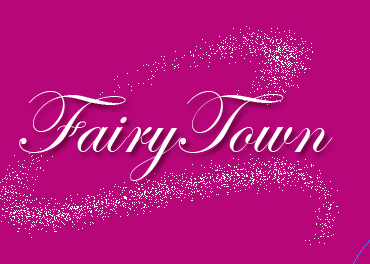
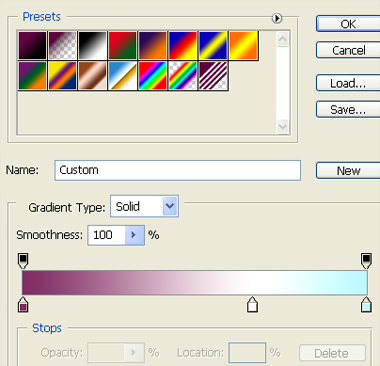
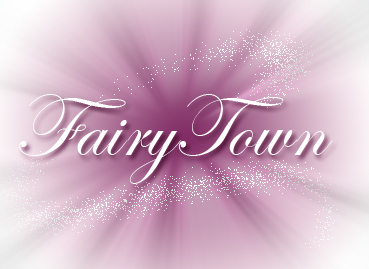
Create a three color gradient. Apply the gradient to the background layer.
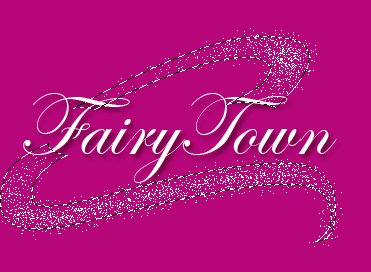
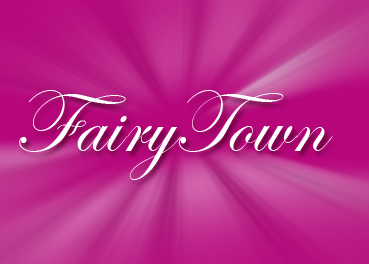
Our magical fairytown logo is ready with fairydust effect.