Simulate traditional photographic filters to darken and shift the color of the sky.
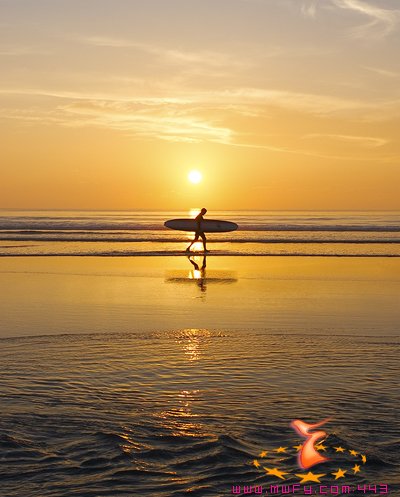
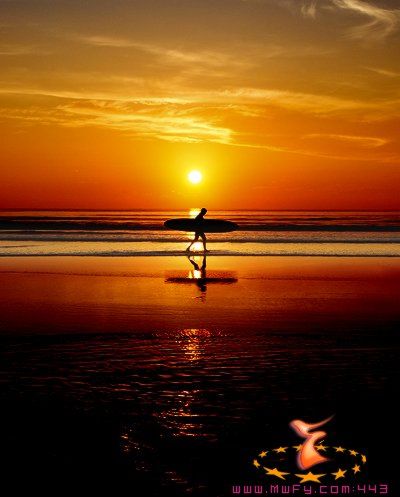
1. Open up your image. Use this one for example.
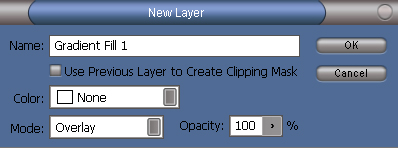
2. Next add an adjustment layer

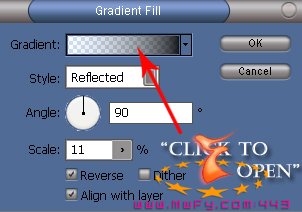
(you'll find the icon on your layers palette) or go to Layer > New Fill Layer > Gradient. When the dialog box comes up use these settings.
Now there are a number of things you can do to get different effects. Here are a couple.
Use a reflected style with a gradient of transparent to black and the reverse box checked to brighten the center and darken the top and bottom.
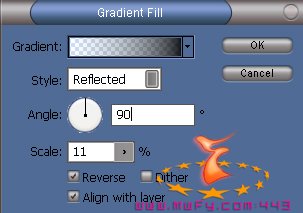
You get this.
Add color to the sky by simply editing the color of the gradient. To do so first open the gradient options by double clicking on the thumbnail of the gradient on your layers palette, this opens the gradient fill settings.

Second click on the color bar to bring up the gradient editor.
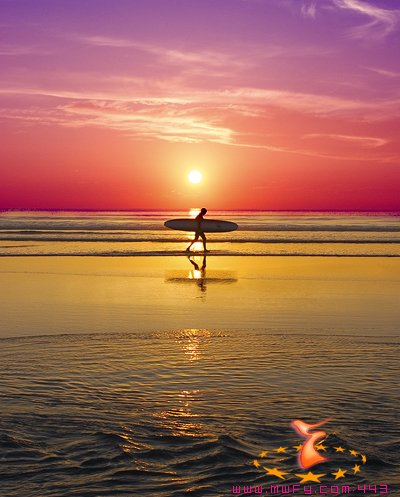
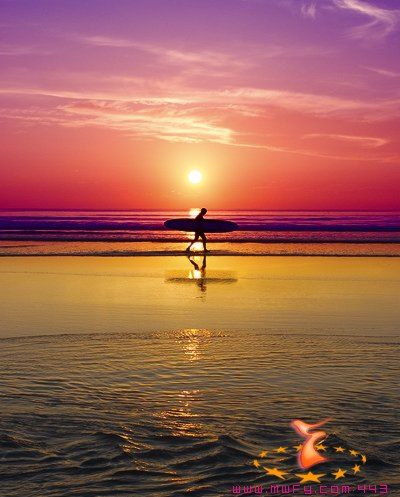
Thrid double click the black swatch to bring up the color picker and then you can choose a custom color for you sky.

Final:
Touch Ups:
As you see the the final image with color some of the color some of the color has come from the sky on the water, lets fix that up.
Simply take a soft edge brush using black as your color, just paint over any unwanted areas, Of course if you like the color glowing on the water you will not need to do this touch up.