With this tutorial, I am going to show you how to achieve a page curl effect in just a few easy steps. This tutorial use the Warp filter so it’s for Photoshop CS2 only.
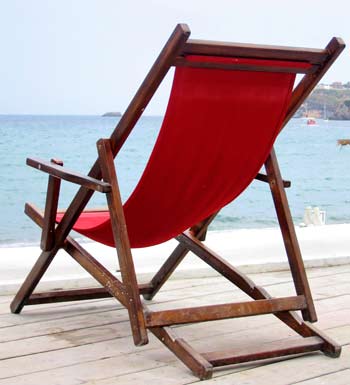
Let’s start by opening the photo you want to apply the effect to. I used this stock photo
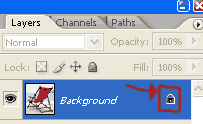
The first thing that we are going to is to unlock the background layer. To do this simply double click on the padlock icon besides your photo thumbnail in the layers palette.
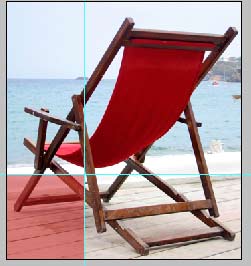
Now select the Rectangular Marquee Tool

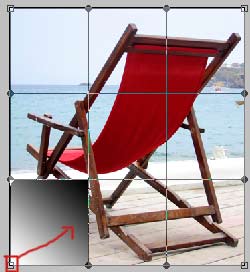
and select a rectangular area in the corner that you want to apply the effect. In the screenshot below I have highlighted my selection.
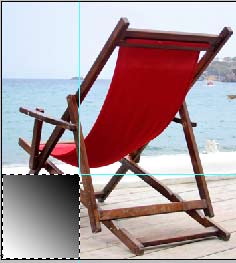
Now select the gradient tool and draw a black to white gradient in your selection. In this case I drew the gradient from the top right corner to the bottom left corner.
Now deselect (Select->Deselect) or (Ctr+D)
Next go to Edit->Transform->Warp.
Drag the bottom left point towards the center like in the screenshot below.
And here is our result.
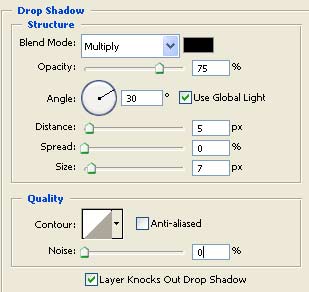
Finally apply a Drop Shadow style. These are the settings I used.
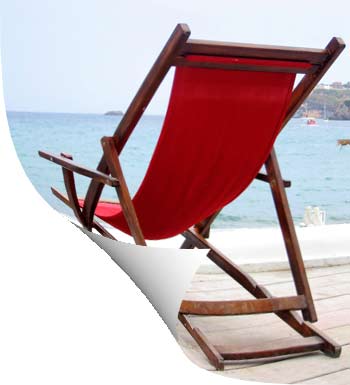
And here is my final result.
≡★ 免 责 声 明 ★≡
除本站原创外,本站所提供的所有教程均收集整理自网络,其版权归该教程直原始作者或原始出处所有!
除特别声明外,您可以在保持教程的完整和注明来源的前提下免费复制、转贴本站所提供的所有教程;但是,不可以盗链本站的图片!
除特别声明外,在未经许可的情况下您不得将本站所提供的任何教程(包括资源)用于商业用途;
如果确有需要,请自行与该教程的原始所有权者(即:原始作者或出处)联系,本站不提供相关服务;否则,由此而引发的一切后果由您自负!


