|
|
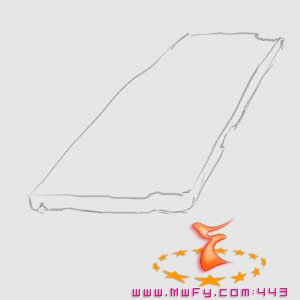
Step 1: First, begin by selecting the ;  |
|
|
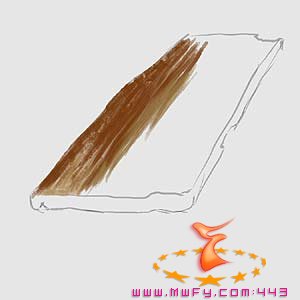
Step 2: Now pick a larger hard brush and start adding colour. Make short strokes, and take care to change the colour you are using regularly. Don't worry about details now, just block in colours. |
|
|
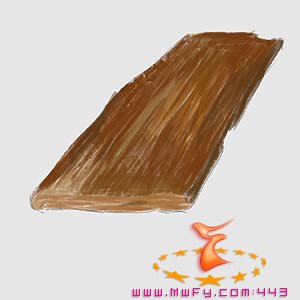
Step 3: Here is my result. As you can see, it isn't really looking like a plank so far, but we will change that now. |
|
|
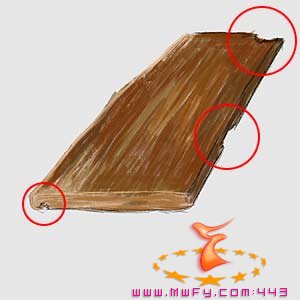
Step 4: The plank needs a clearer shape, so pick a small brush, zoom in using the, ,The Zoom tool magnifies and reduces the view of an image;Zoom Tool, and draw some edges. Be sure to make the edges which are hit by the light a bright colour, while the edges in the shadow remain dark. Since I wanted my plank to look old, I also added details like cracks. ,The Zoom tool magnifies and reduces the view of an image;Zoom Tool, and draw some edges. Be sure to make the edges which are hit by the light a bright colour, while the edges in the shadow remain dark. Since I wanted my plank to look old, I also added details like cracks. |
|
|
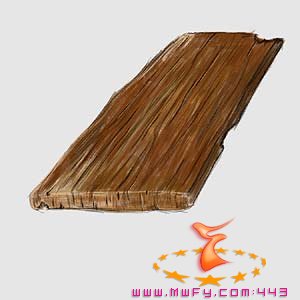
Step 5: Now comes the fun part. Leaving your brush on a small radius, paint more cracks, and give the wood its structure. Take care to ensure a clear flow of lines, making sure they don't cross each other! Cracks are easily done by brushing a dark stroke, with a bright stroke right next to it, bringing out the highlighting. |
|
|
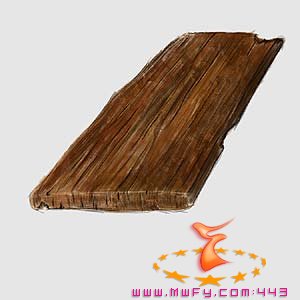
Step 6: In this step you will have to play with your brush settings, I won't give you my ones, I want you to learn something in the end! ;) What I did was add texture to my brush, scattering and some adjustments of the tip shape. Just make sure to get a irregular, rough shape in the end.
Create a new layer, set your opacity to about 30% and over-paint your plank with some brown tones. Also try setting your brush mode to overlay, and shade your plank, simply painting with bright colours at the highlights, and with dark colours in the shadows. |
|
|
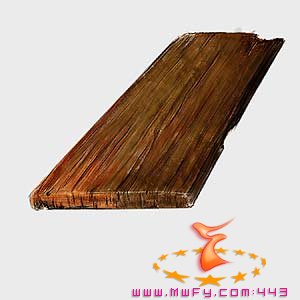
Step 7: I felt that my plank was a little overworked, and looked as if I had added too many little strokes. So I made a layer on top of the others and, with a normal hard brush on about 40% opacity, made some longer strokes over the plank. I also cleaned up my shape a bit. |
|

|
Step 8: You are finished now, in the left you can see an example of what you can do with this technique - this is my recent painting, a secret place. I hope this tutorial was helpful for you! If you have any questions or suggestions don't hesitate to drop me a mail at memod@dp-world.net. Visit my website www.dp-world.net or my portfolio daniel.dp-world.net for more artworks. |


