|
Step 1: Open up an image or artwork file in Photoshop of any size and/or format. If at this stage you have chosen an Adobe Photoshop file with layers, you may have to think about where you want to add the shine. Most people will just apply it to text, but I’ve gone far enough as to apply it selectively to a whole image. It’s really up to you...

|
|
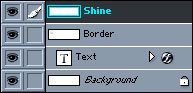
Step 2: Once your thinking is over, create a new layer on top of all the others (shortcut: CTRL+SHIFT+N) and call it ’shine’.
|
|
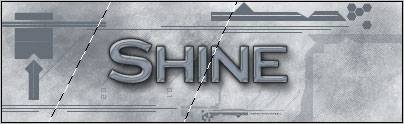
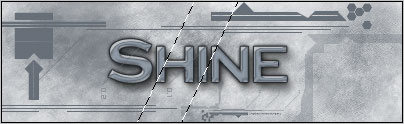
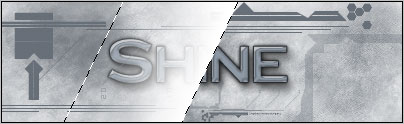
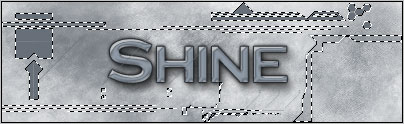
Step 3: Make a selection with your Polygon Lasso Tool. If you are applying the shine to a large object, select a large area akin to the selection in the first image below. Conversely, if you are selecting something smaller (like text), select a smaller area as shown in the second image below. For the sake of this tutorial, I will be using the larger-size selection.
|
|
Step 4: Now select the Gradient Tool, and make sure linear gradient is chosen.

|
|
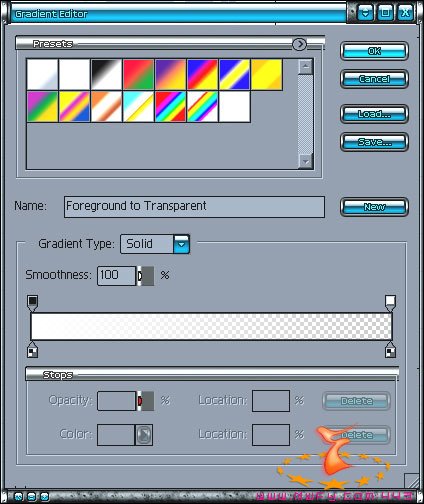
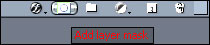
Step 5: Select the "foreground to transparent" gradient, and make sure the color is a light color. Your settings should be similar to those below:
|
|
Step 6: Drag the Gradient Tool from the front of your selection to the back, trying to keep the line at a 90 degree angle to your selection.
|
|
Step 7: Select the layer/object you want to be shine-i-fied using the magic lasso tool (contiguous option unchecked if needed). Alternatively, you can use any of Photoshop’s other selection techniques (there are lots of them! ;).
|
|
Step 8: Now its time for the good stuff! Select the "shine" layer once again (make sure you DON’T deselect your selection), and on the bottom of the layers palette click the "add layer mask" button.
|
|
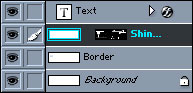
Step 9: Now click on the link icon once (it will vanish, meaning that the layer and the mask are no longer linked). Then move your mouse back to the main layers and click the thumbnail of the shine layer (the one on the left).

|
|
Step 10: You can now freely move your shine effect (it works best if you hold the ’shift’ key when you move it to keep your movement intervals regular).
|
|
Step 11: Now we need to add the animation, so transfer the file over to Imageready by clicking on the appropriate button on the bottom of the tools palette. Just in case you don’t know which one this is, its this one:

|
|
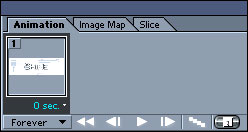
Step 12: As soon as Imageready loads, make sure that the Animation Palette is open. If it isn’t, you can manually open it by selecting it from Window > Animation. For the first frame, move the shine off of the image (just drag it until you can’t see it), then click on the duplicate frame button.
|
|
Step 13: With the Shine layer still selected, move the shine slightly into view, then click the duplicate frame button again. Don’t forget to move the shine in the correct direction - whichever way the solid side of the shine is facing is the front.
|
|
Step 14: Completing the rest of the animation is now relatively simple - Just continue moving the shine a little bit, and then clicking the duplicate frame before repeating the process. Of course, if you want the shine to be fast, drag it more every time, and if you want it to be slower, then drag it only a little every time. After you’ve created enough frames that you can’t see the shine anymore, set the last frame in the animation to have a 2-5 second show time, so that you have a pause in the animation (you can change this simply by clicking on the ’0 sec’ text at the bottom of each frame and selecting an alternate value). You’re now done, so save your masterpiece with File > Save Optimized As... and show it to the world!
Note: Remember that animations have a large file size and are only valid in GIF format (JPEGs do not support animation). If you find that your creation is a little too large, cut down on the number of frames to reduce the bulk a little. A compromise between complexity and file size can always be reached. Have fun! :) |


