|
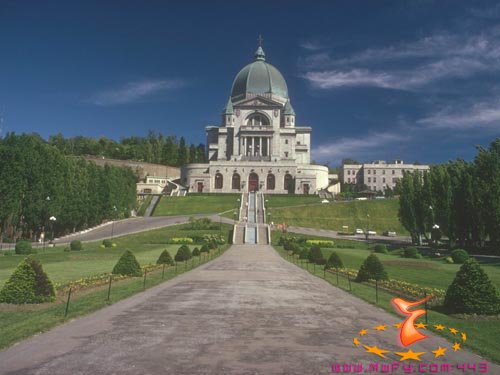
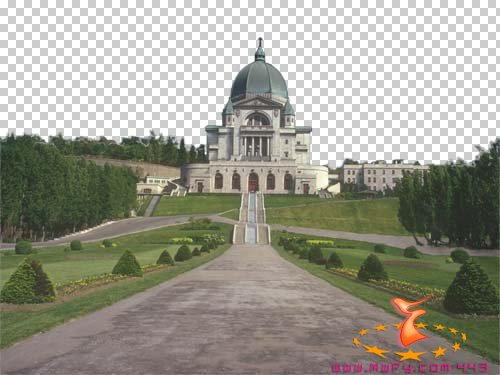
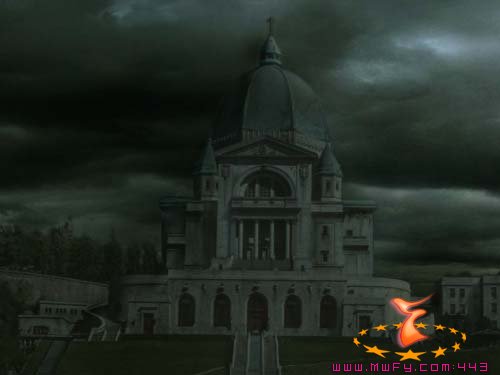
First of all choose a photograph of good resolution. I found the photograph of "l'Oratoire St-Joseph" (in Montréal). |
 |
|
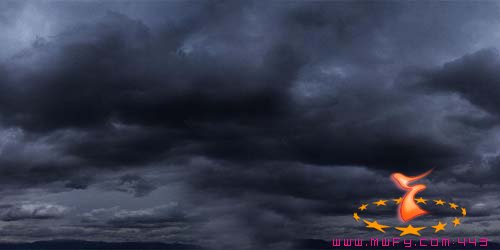
Here is a perfect sky, found on the Net, which will go very well for what I want to make. |
 |
|
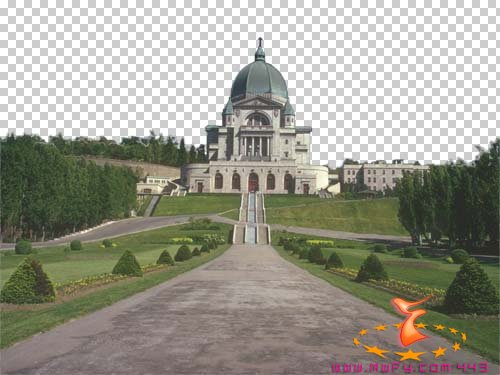
First of all, start by isolating the castle by putting it in a layer and by erasing the original sky.
Here I used the tool polygonal lasso for the building, and a soft gum for the foliages. |
 |
|
Now one will erase all that should not be there a few centuries ago, i.e. the cars, the tourists, the standard lamps and the barriers.
For that, use the tool Clone Stamp. It is not very complicated, nor very long with this example. |
 |
|
I want that this scene occurs in stormy weather, therefore it is necessary to erase the shadows created by the sun.
Always with the Clone Stamp erase the shadows on the ground of the shrubs and the trees.
With the Dodge tool erase a little the contrasts of the elements by clearing up the zones of shadows in order to create an ambient light. |
 |
|
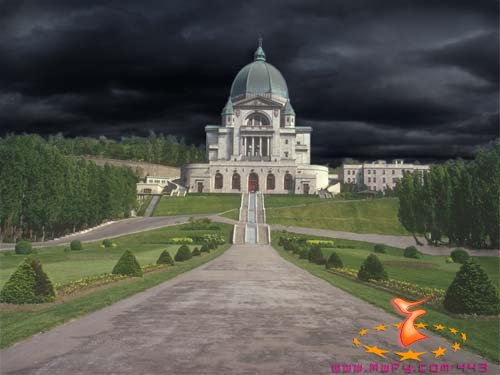
Now one can add the Cloud layer behind that of the castle. |
 |
|
One will accentuate the contrast of the sky while insisting on the clear zones as if a storm lit the clouds by the top.
For that duplicate the Cloud layerand pass the copy in mode Color Dodge. |
 |
|
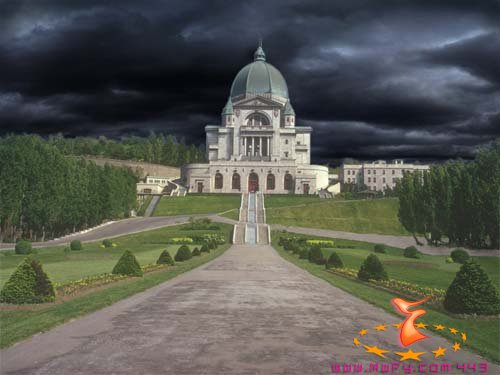
Now it is necessary to harmonize the colors of the two elements: sky and castle.
Modify the color of the castle with menu Image > Adjustment > Color Balance, and make your best so that the tone of colors correspond. |
 |
|
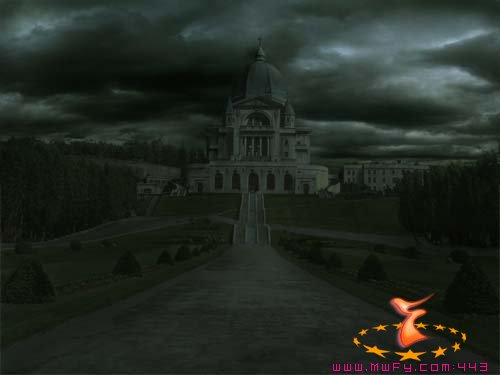
Then select the Castle layer, and in menu Layer > New Adjustment Layer choose Color Balance.
Thanks to this adjustment layer which is created on top of the others, one will be able to change the general color.
Give a distressing atmosphere to the scene. |
 |
|
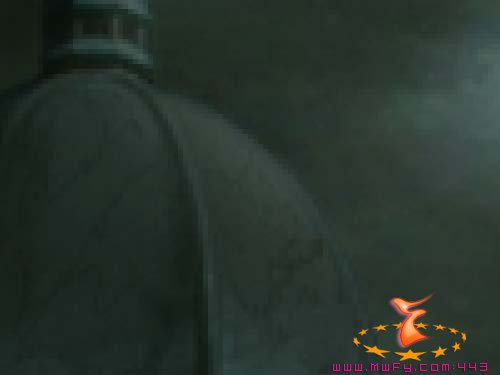
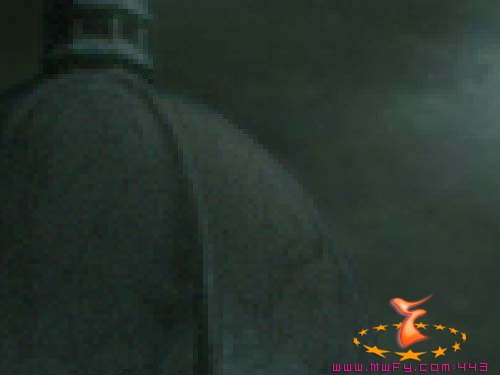
Profit finally to obscure the areas on left of the building with the Burn tool, because they are not exposed to the light of the clouds of right-hand side... hum does it make any sens LOL?
It is a rather subtle effect, but that brings a small significant detail. |
 |
|
Here is a zoom to understand better. |
 |
|
Now one will add a little grain to the Castle layer by adding noise.
BEFORE |
|
|
However do not put too much grain not to contrast with the sky.
AFTER |
 |
|
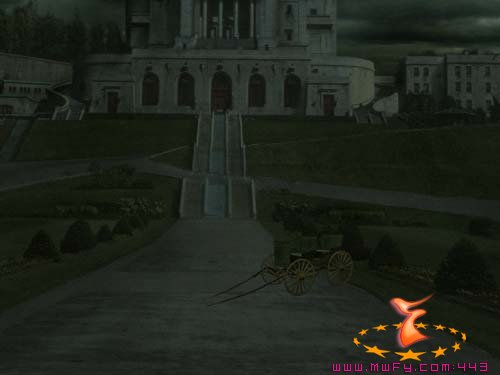
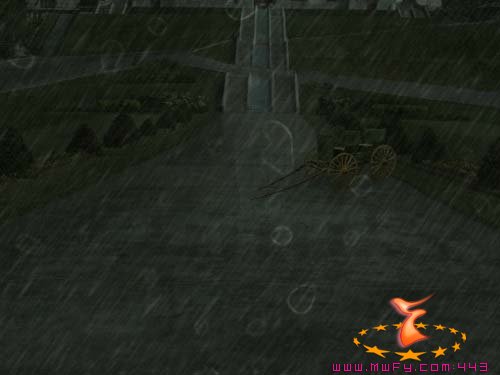
One now will add a small detail, that can be anything, I chose an old carriage found on google.
Place this layer below the adjustment layer, thus its color will be automatically adjusted with that of the scene. If there are still differences correct that by going in Color Balance. |
 |
|
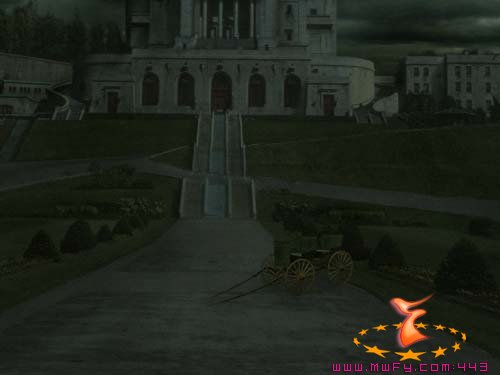
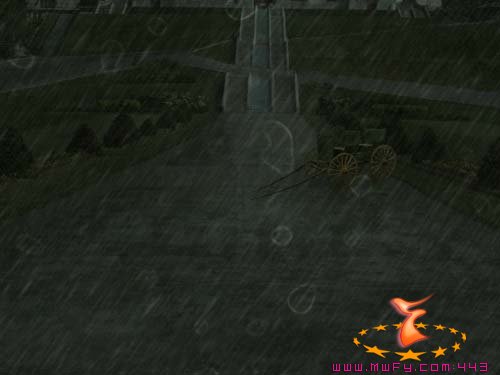
Encore une chose avec la calèche, il faut lui faire une ombre. Alors sélectionnez le calque Château et avec l'outil Burn assombrissez légèrement le sol en dessous de la calèche. Effet subtile mais important.
Still a thing with the carriage, it is necessary to give it a shadow. So select the Castle layer and with the Burn tool slightly obscure the ground below the carriage. Subtle effect but important one. |
 |
|
Alors évidemenent pour un matte painting déstiné au cinéma la pluie serait créer en compositing et animée. Mais ici c'est simplement pour faire une image fixe, alors tanpis si la pluie reste figée !
Here is the result !
Not that bad, but now I want to add rain.
Obviously for a matte painting made for a movie the rain would be created in compositing and animated. But here it is simply to make a still image, so we don't care if the rain remains frozen ! |
 |
|
Let's work on the rain.
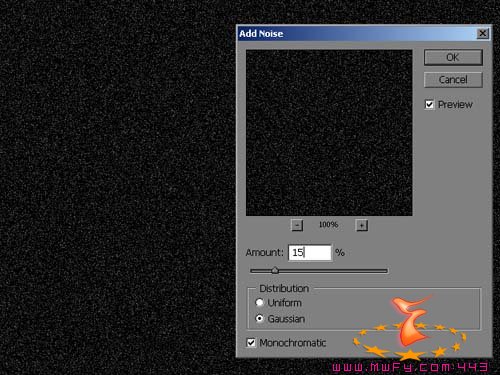
Create a new layer and fill it with black with the Paint Bucket tool. In menu Filter > Noise apply Add Noise, choose Gaussian and Monochromatic, 10 or 15 should suffy for Amount.
Go in Image > Adjustments > Levels and tweak it to erase some noise and to make it more visible. Finally in Filter > Blur apply a Blur Motion, which simulates a basic rain. |
 |
|
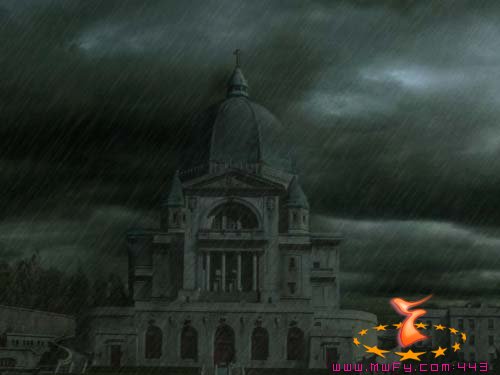
Change the Rain layer mode to Screen mode in order to blend it in the scene.
Play with the opacity of the layer to adjust it with your scene. |
 |
|
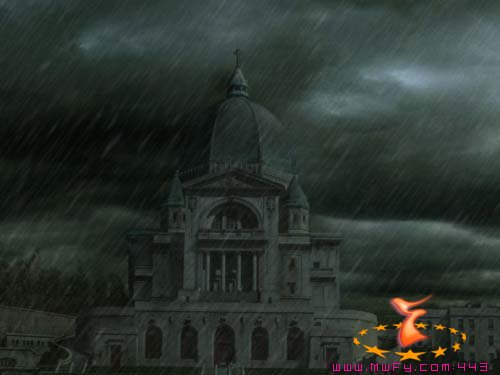
Repeat the creation of a second Rain layer but with a little more noise to get a denser rain.
Lower the opacity of this second Rain layer to simulate the rain in the background. |
 |
|
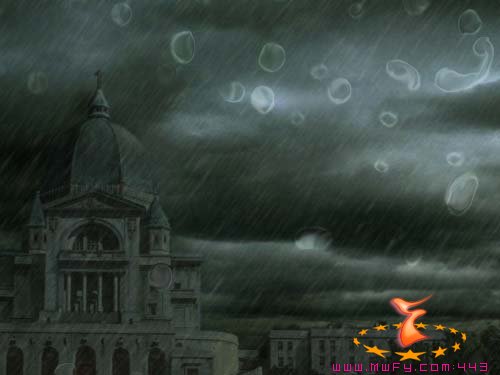
Now one will create large water drops on the image as if the scene was seen from behind a window.
Create a new Drops layer filled with black, add noise. |
 |
|
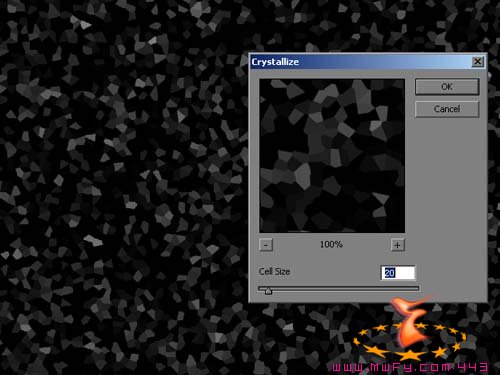
In menu Filter > Pixelate choose Crystallize in order to obtain large crystals of noise instead of the small points. |
 |
|
Adjust the number of crystals in menu Levels. |
 |
|
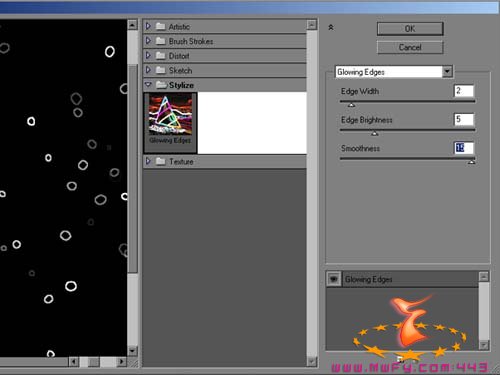
Then apply the Filter effect > Stylize > Glowing Edges, which will create circles around each crystal.
It looks more like water drops now. |
 |
|
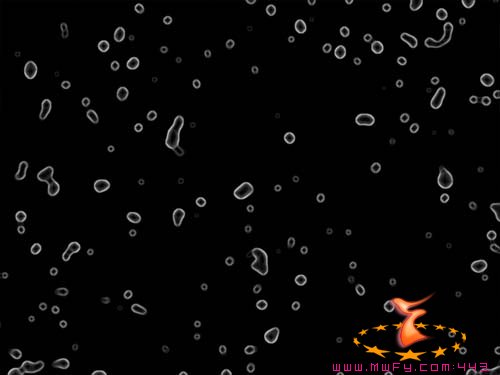
Here the result which I obtained with this method. |
 |
|
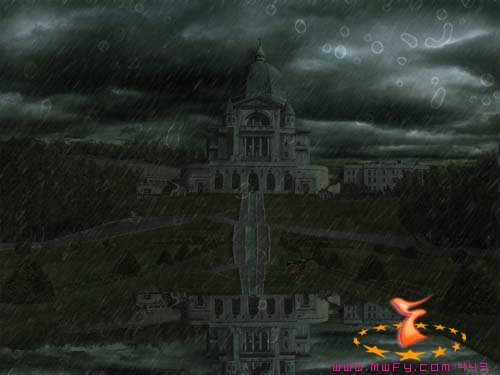
Now change the layer mode to Color Dodge, which will make the drops less visible in dark areas of the scene.
We leave for the moment the drops like that, we'll return there at the end. |
 |
|
Here we'll create reflexions on the wet ground.
Start by duplicating the Castle layer and Clouds layer and merge them together.
Now in Edit > Transform choose Vertical Flip to reverse the Reflexions layer. Move it so that the bottom of the stairs is the line of symmetry.
Finally you can cut out this layer so that it is only visible on the principal alley of the castle. |
 |
|
Change this layer mode to Darken and opacity to 30%. |
 |
|
Here is the very light reflexion but which brings a small key of realism. |
 |
|
Finally I added the filter Filter> Distort > Glass in order to scramble the reflexion a little.
It is not really essential, but if one wants to look more closely at the image we'll see that water disturbs the reflexion. |
 |
|
Now do the same with the carriage ! |
 |
|
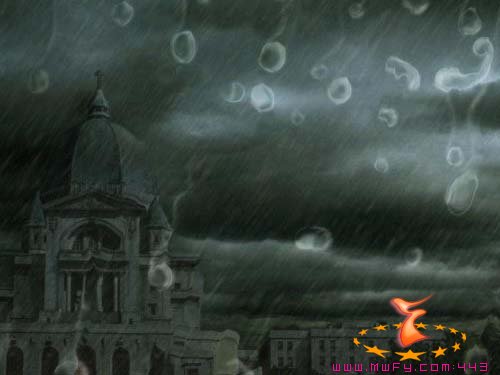
We return to our water drops!
For this final effect it is necessary to flatten all the layers of the scene, so make a copy of your file and choose Layer > Flatten Image. The image is now made of one single layer, we will be able to apply effects to the whole image now.
In menu Filter choose Liquify. Click on the Bloat tool in the toolbar on the left of the Liquify window. Setup your brush radius and its density and paint on each drop in order to simulate an effect of diffraction. It is not very easy at the beginning so do not hesitate to start again as many time as you want. |
 |
|
Once that you made all the drops you can also create water trails behind the drops which run along the window. I used a mix of several tools of the Liquify module like Forward Warp or Turbulence.
Leave Liquify.
Finally we will accentuate the light and dark areas of the drops by painting with the tools Dodge and Burn.
This water drops effect is oviously not essential, but in fact I especially wanted to test it. |
 |